Lemon Dill Potato Salad

Barbecue season is upon us and I don’t know about you, but I am always looking for a good salad that covers two requirements and this one fits both beautifully. A vegetable and a starch, combined in one pretty little package! It’s great for a crowd and refreshingly delicious as well. Trust me this will be a hit at your next barbecue.

INGREDIENTS
Dressing
1 tsp. lemon zest
1-1/2 Tbs. lemon juice
1-1/2 Tbs. white wine vinegar
1/2 tsp. dijon mustard
1/2 tsp. honey
1/4 tsp. kosher salt
1/2 tsp. fresh ground pepper
3 Tbs. extra virgin olive oil
2 Tbs. chopped fresh dill
Salad
1-1/2 lbs. fingerling potatoes, cut larger ones in half
1 bay leaf
2 cloves garlic, smashed and peeled
12 oz. haricots verts (very thin green beans)
about a half pint of cherry tomatoes
1 large shallot, finely chopped
2 Tbs. extra virgin olive oil
dill sprigs and lemon slices (optional garnishes)

DIRECTIONS
Dressing
Combine the first seven dressing ingredients in a small bowl. Next, while whisking constantly, drizzle in the olive oil, until the mixture is emulsified. Then, whisk in the dill and set the dressing aside.

Salad
Place the potatoes, bay leaf and garlic in a pot, add cold water to cover slightly. Bring to a boil then, reduce the heat and simmer until the potatoes are just tender, 8-10 minutes, depending on the size of your potatoes. With a slotted spoon, remove them from the water and transfer to a large bowl. Discard the bay leaf and garlic, but keep the water to cook the green beans. While the potatoes are still hot, add about 3 tablespoons of the dressing and toss to combine.

Next, return the pot of water to a boil, add the green beans and cook for about 2 minutes or just until crisp tender. With a slotted spoon, transfer the beans to a bowl of ice water, to stop them from continuing to cook.

Sauté the shallots in the olive oil for a minute or two, then add to the potatoes. Drain the green beans, pat dry and add to the potatoes and shallots. Add the tomatoes and most of the remaining dressing. I like to hold some back, if not serving immediately. Then, when ready to serve, if it seems a bit dry, you can add more to moisten and freshen it up. Garnish with the dill and lemon slices and serve.

NOTES
Variations abound with this basic recipe. Try small red bliss potatoes, sugar snap peas or fresh corn. Try some fresh basil and parsley, the difference is always surprising and delicious. Play around with ingredients, use what you have available, you won’t be disappointed.
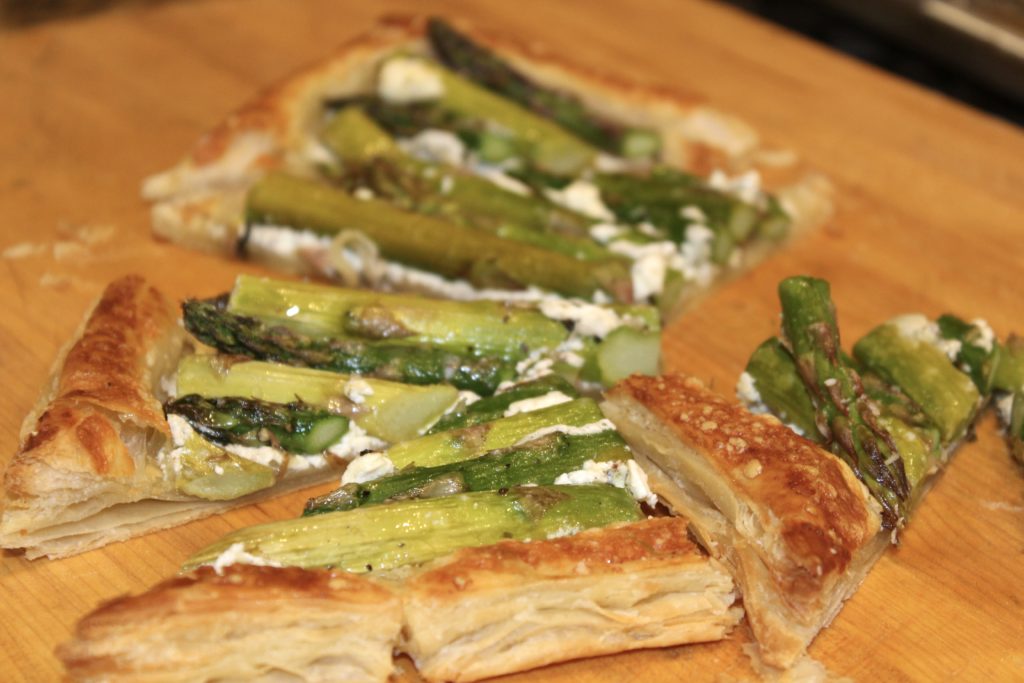
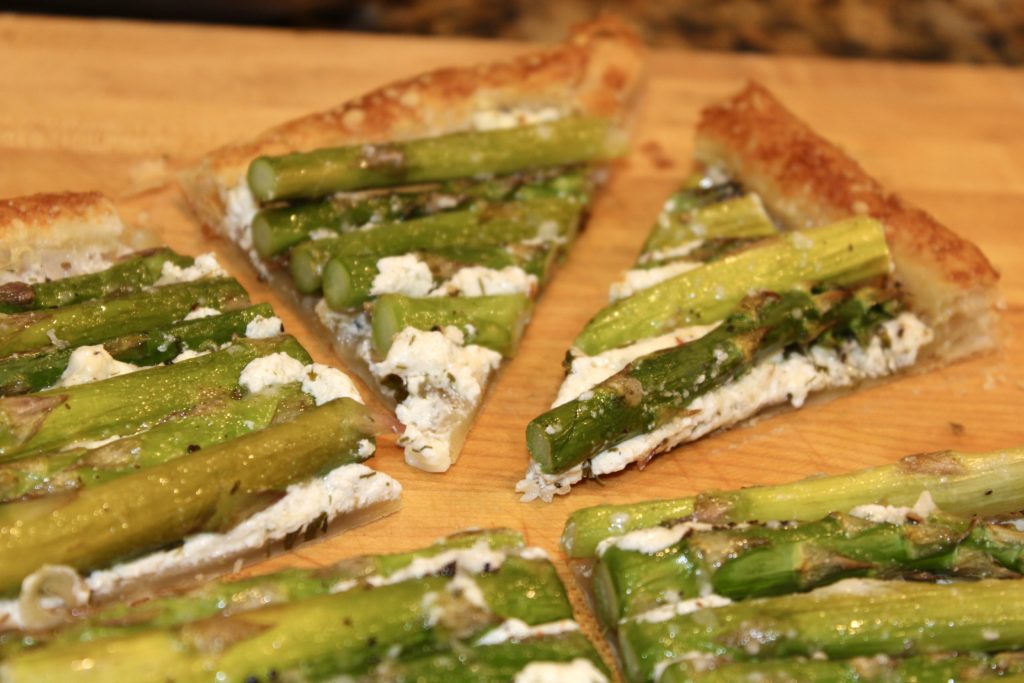
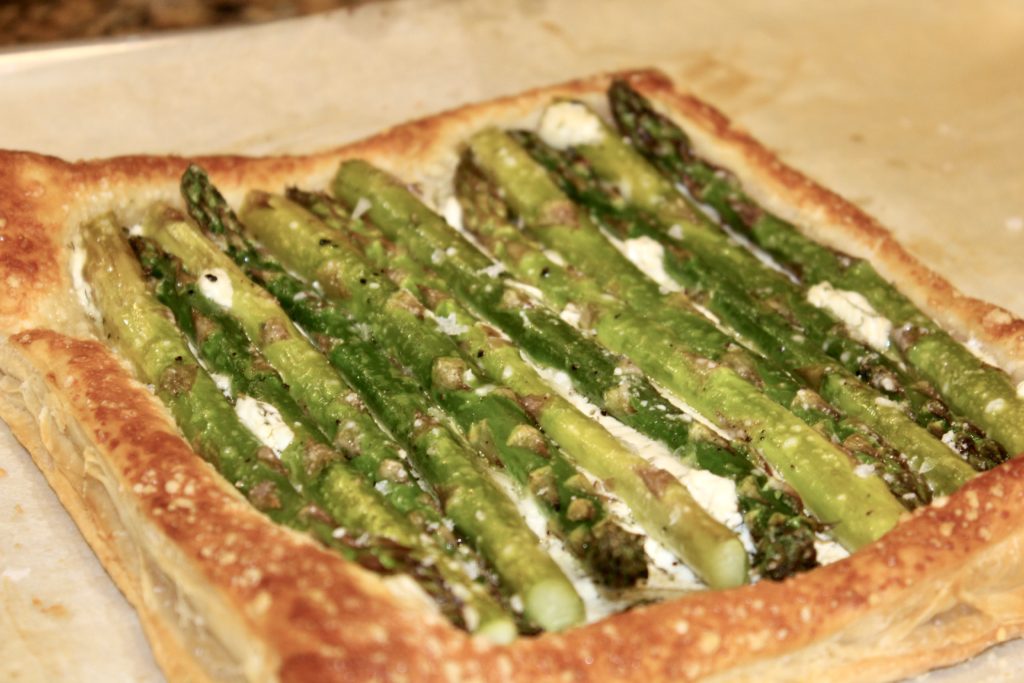
Asparagus Tart

Spring has arrived…supposedly. I sit here in New England, where currently, it is 42º outside and it’s mid-May! But given the calendar, the warmer weather has to be around the corner.

At the market, the asparagus were looking so good and they are one of my favorite spring vegetables so, I had to buy them. Then, I decided I wanted to prepare them a little differently and thought this would be a nice change and a nice spring-looking dish.

Honestly, you will be so impressed with yourself when you make this tart! It is just silly easy and it tastes even better than it looks. Now don’t be deterred by the length of these directions, I am going a bit overboard to explain each step, but believe me, this came together in no time.

INGREDIENTS
1 sheet puff pastry
goat cheese log, room temperature and preferably marinated goat cheese
1/2 cup freshly grated parmesan cheese
fresh asparagus
extra virgin olive oil
kosher salt and fresh ground pepper
1 egg, for egg wash
Maldon salt (or other flaky, finishing salt), optional

DIRECTIONS
First, thaw the puff pastry, using the package instructions; that’s usually overnight in the refrigerator. Then, when you’re ready to prepare the tart, preheat your oven to 400º.

Clean and trim your asparagus and place them on a sheet pan. Then, sprinkle them with a little olive oil, kosher salt and some fresh ground pepper. Roll them around to coat them evenly. Next, place them in the preheated oven and roast for about five minutes. You are not looking to fully cook them, just a short precook. After about five minutes, remove from the oven and let them cool.

Now, I must say, if you have very thin asparagus, you probably don’t need to do that step. However, mine were a bit chubby and I wanted to make sure they would be cooked through in the finished product. If you don’t precook them, you should still coat them with the olive oil, salt and pepper.

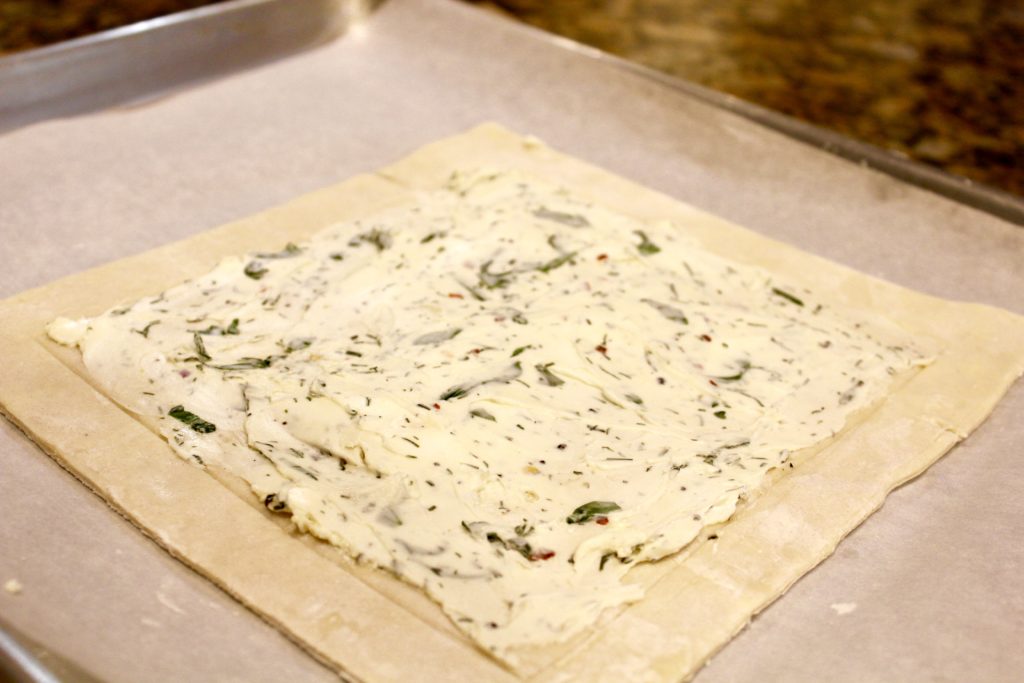
While the asparagus are roasting, on a lightly floured surface, roll out the sheet of pastry. You not really looking to enlarge the pastry sheet, you just want to smooth it out a bit. Then, take a sharp knife and score the pastry about 1″ to 1-1/2″ from the outer edge, all the way around. This will give you the nice puffy edge. Make sure you don’t cut all the way through.

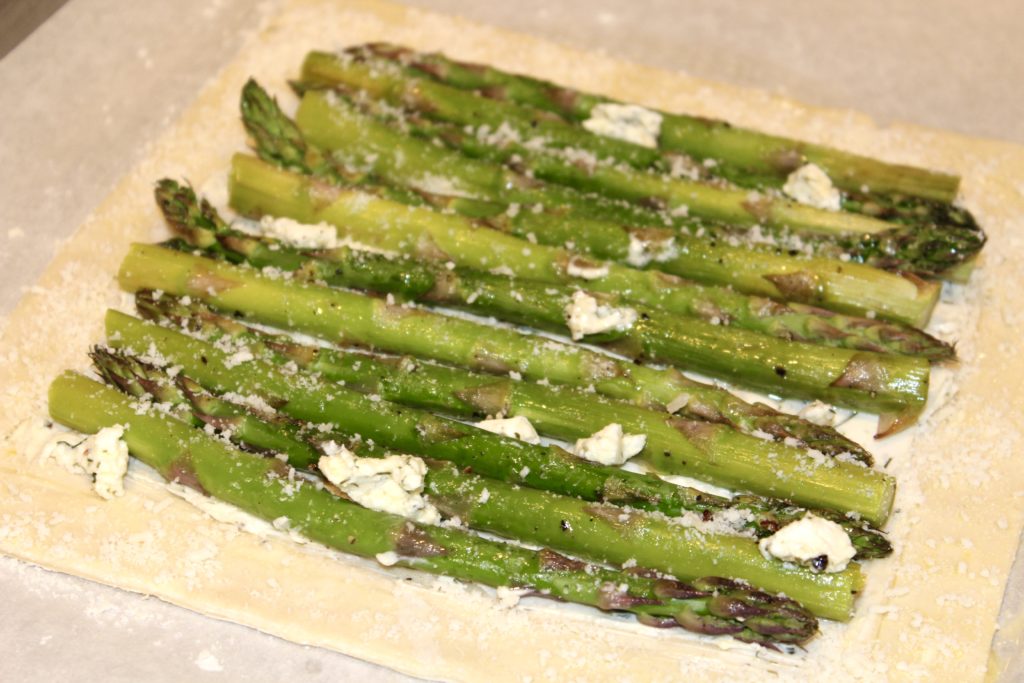
Next, spread the room temperature goat cheese on the pastry sheet, inside your scored edge. A thin layer is all that you need here and you probably won’t use all of the cheese that you have. Then, place the cooled asparagus on the cheese, in any pattern or order that you like. Add a few small dollops more of the goat cheese over the asparagus and a sprinkling of the parmesan.

Now, add a tablespoon of water to the egg and mix well. Brush the egg wash on the empty, scored border. Then, sprinkle some parmesan cheese over the egg washed border and place in the oven. Cook for about 15-20 minutes or until the pastry is browned and the asparagus are cooked tender (not mushy!). Remove from the oven, immediately sprinkle a small pinch of the flaky salt over the asparagus (if using) and let cool slightly. I prefer serving this barely warm or at room temperature, the choice is yours. Enjoy and let me know how you liked it.

NOTES
You can pretty much do any free-form shape in this recipe. However a large rectangular shape works easiest, for me. Alternatively, doing a few smaller squares works well too, especially if you are intending it as individual servings. Try cutting them in triangles to pass as an hors d’oeuvre.


Pan Seared Sea Bass

Lately, I’ve been trying to add more fish to my daily roundup and because of its simplicity and lightness, this recipe fits nicely. Honestly, it is a bit embarrassing to even call it a recipe, since it couldn’t be easier or faster to get on the table. However, isn’t that what we all want…quick, super simple AND tasty. This will not disappoint.

Although I use sea bass here, you can actually use most any firm, white fish, the choice is yours. Just use what you like or whatever is fresh and available. They are all equally delicious and quite suitable to this preparation.

INGREDIENTS
4 sea bass filets
1 Tbs. olive oil
1 Tbs. butter
kosher salt
fresh ground pepper
mango salsa (store bought is fine)

DIRECTIONS
First, preheat a pan with the olive oil and the butter. Then, pat the filets dry with a paper towel and season them with the salt and pepper.

Next, sautè the filets 2-3 minutes per side, depending on their size and thickness. Remove to a platter and immediately squeeze some lime juice over each filet. Top with the mango salsa, a sprinkling of parsley (forgot that in the picture!) and serve with a simple side salad. That’s it, you’re done!

My preference here is an arugula salad, lightly dressed with good olive oil, a squeeze of lemon and some salt and pepper. That’s it, easy, beautiful and quite tasty…and best of all no guilt!


Mango Salsa

I just love this recipe, it’s clean, tasty and easy! Additionally, it’s quite versatile. Use it as a dip with tortilla chips, a yummy condiment with fresh grilled fish or as a simple side with grilled chicken. And, truth be told, I’ve been known to have just a small bowl of this as a snack. It really is a great recipe, as I said…healthy, tasty and easy, you just can’t go wrong with this one!

INGREDIENTS
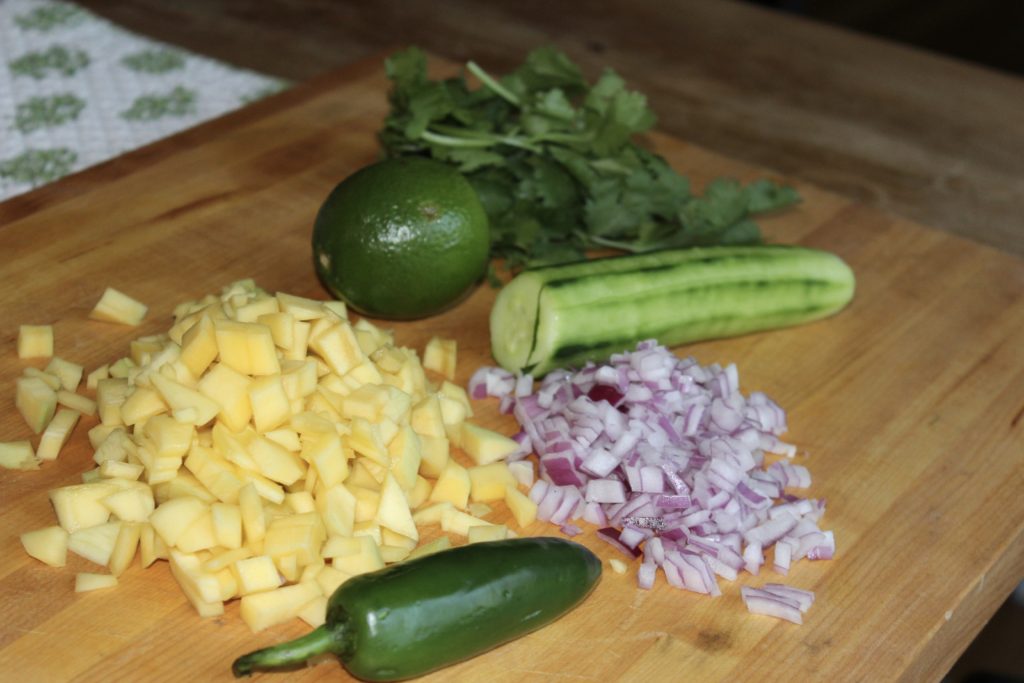
1 mango, peeled and diced
1/2 cup peeled, seeded, diced english cucumber
1 Tbs. finely chopped jalapeño
1/3 cup diced red onion
juice & zest of 1 lime
1/3 cup roughly chopped cilantro

mango salsa

DIRECTIONS
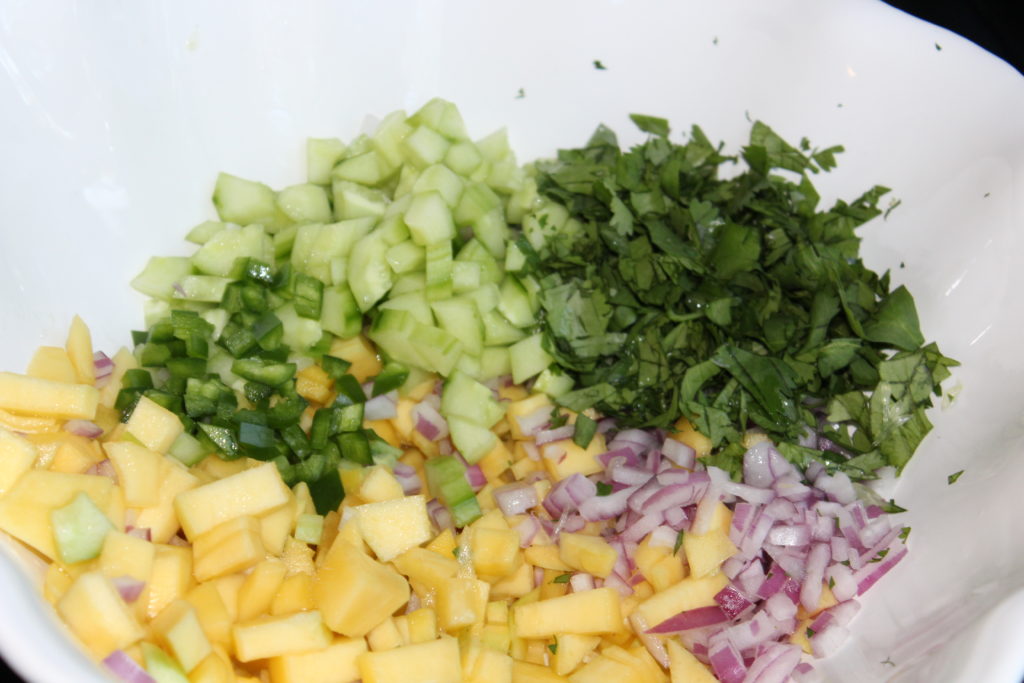
Combine all ingredients, add salt & pepper to taste. Serve cold with either tortilla chips or as a side/topping for your favorite fish. If you prefer your salsa with a bit more kick, keep the jalapeño seeds, if not, discard the seeds. Also, if your lime doesn’t seem juicy enough, feel free to add more if it seems too dry.