Easiest Ever Honey Oatmeal Bread
Okay, this is for all of you non-bread bakers. I understand your hesitation because that was me too, until I found this recipe. It is part of the no-knead trend in bread baking and it is a definite game changer. Not only is it easy, but it is delicious. Give it a try, you won’t be disappointed and I dare say, you’ll be quite pleased with yourself!
INGREDIENTS
16 oz. warm water
1/4 tsp. yeast
1 1/2 tsp. fine sea salt
1 1/2 Tbs. honey
3 1/2 cups all-purpose flour
1 cup oats, plus 3 Tbs. for garnish
DIRECTIONS
First pour the water into a large mixing bowl. Next, sprinkle the yeast (this prevents clumping) into the warm water. Then, add the salt and honey; stir to combine, because the honey will just sink to the bottom otherwise. Next, add the flour and then the oats. Using the handle end of a silicone spoon; you can use a wooden one as well, it just sticks more, stir to combine the ingredients. This will be a very sticky dough and seem hard to combine, just keep going until it feels like a dense, scraggy mass. Then, cover with a dampened dish towel and set aside to proof, for about two to three hours or until roughly, doubled in size. Ideally, you would proof it overnight, but you still will get a good rise with the 2-3 hours.


Once the dough has doubled, use the handle end of your spoon and mix the dough around. This will deflate it a bit and it should roll somewhat into a ball. (Sorry I don’t have a picture of this technique, but check out this video to see it in action.) Sprinkle 2-3 Tbs. of the oats on top and roll it around again. The goal here is to lightly coat the ball of dough with the oats, no hands need to touch the dough.
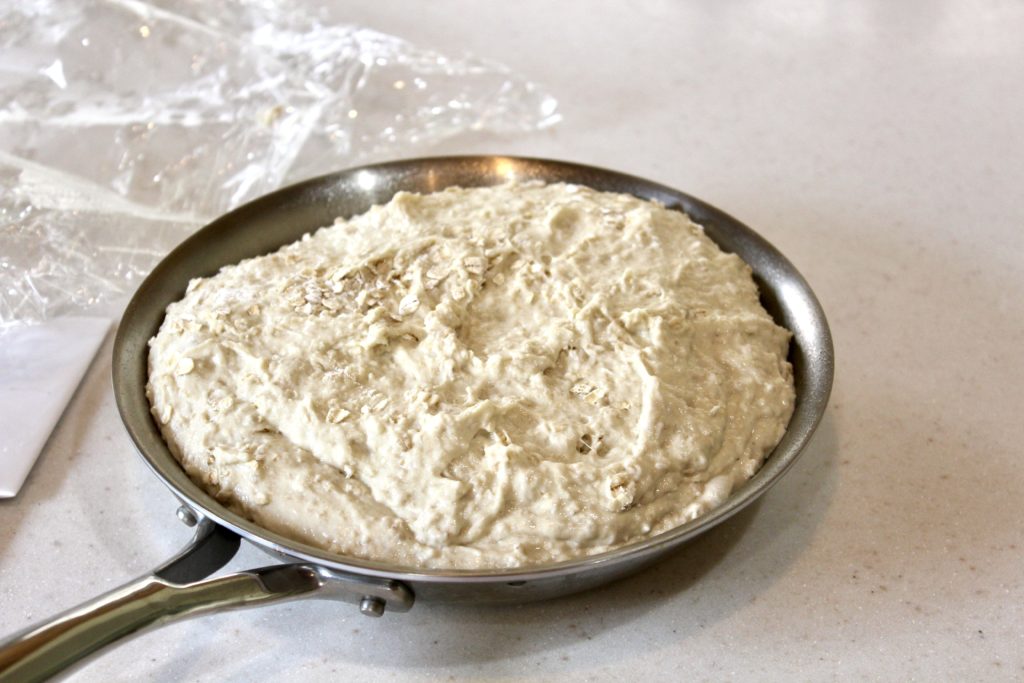
Next, use an 8″ non-stick frying pan as your proofing bowl. It should be smaller than the dutch oven that you will cook the bread in. Spray the pan with non-stick spray to ensure nothing sticks. Turn the dough into the pan and let sit or proof, for 30-60 minutes. Meanwhile, place your oven rack in the bottom third of the oven, place your covered dutch oven into the oven and preheat to 450º. A dutch oven isn’t essential, but definitely preferred. Alternatively, you could use an oven-safe, covered baking dish, with varied results.
When the dough has finished proofing and the oven is properly preheated, remove the dutch oven. Next, remove the lid and flip the dough into your hot dutch oven, sprinkle the top with a few more oats (this is really just cosmetic). Then, bake in the oven for 30 minutes, with the cover on and another 3-10 minutes with the cover off.
-
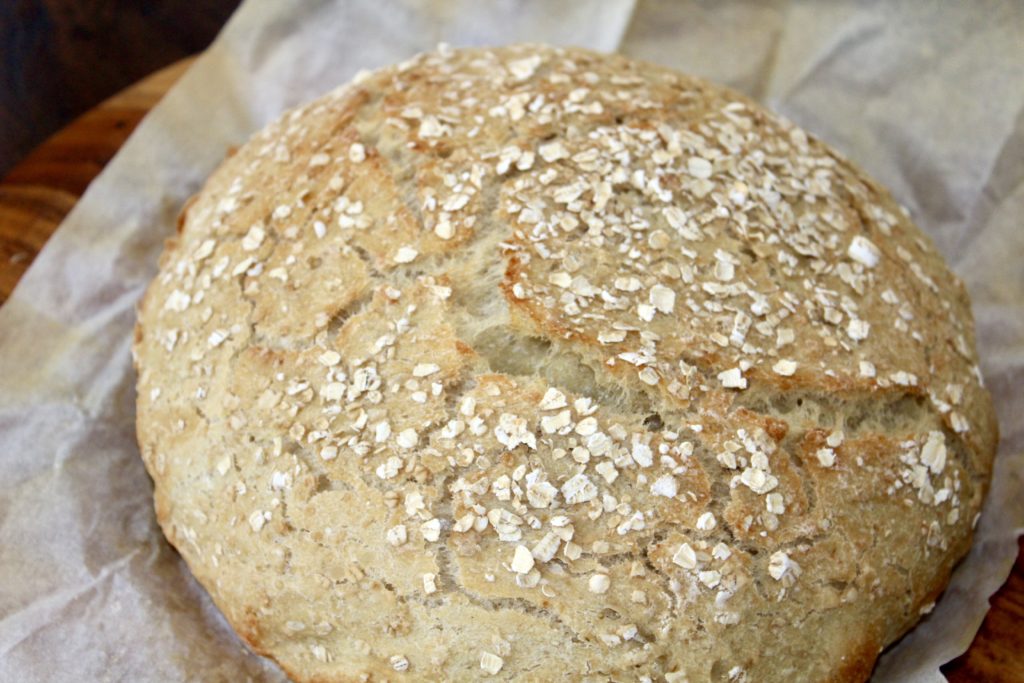
after 30 minutes -
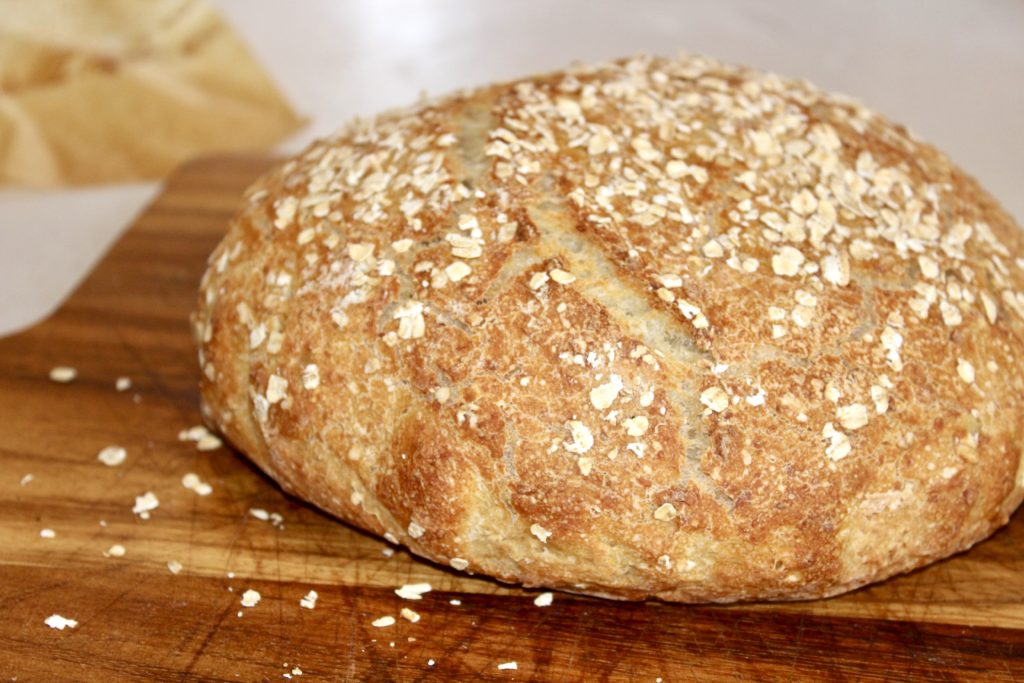
additional 3 minutes -
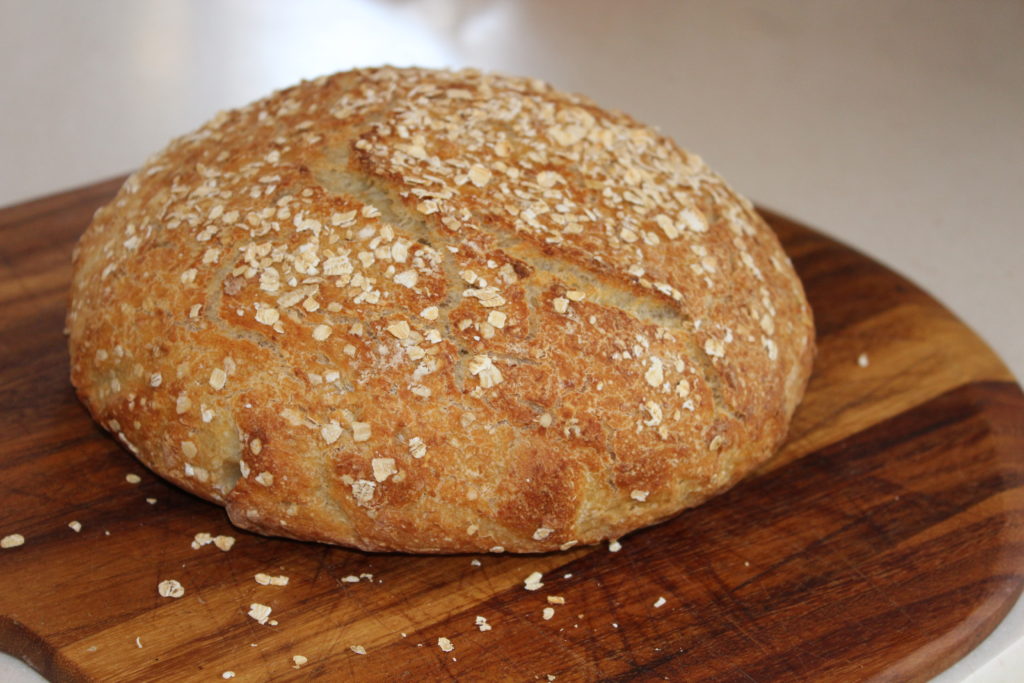
additional 6 minutes -
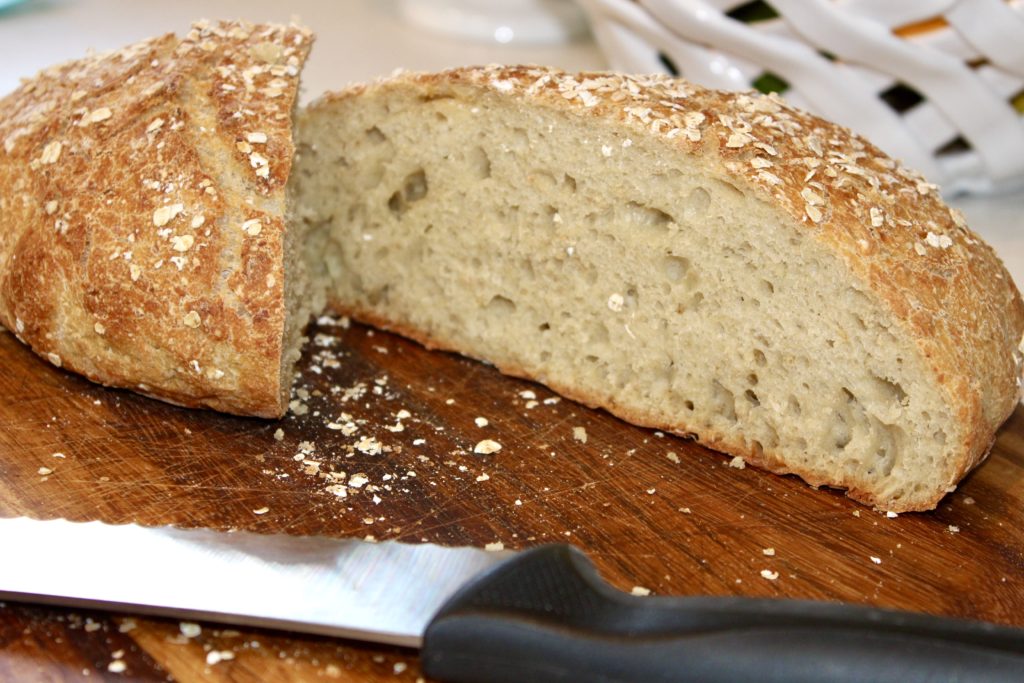
The timing of the final bake without the cover is to brown the crust to your liking and all ovens are different. I prefer a browner crust, so I usually do 5-6 minutes. Just make sure you watch those last few minutes carefully, because it does darken pretty quickly. Finally, remove from the oven and place the bread on a wire rack to cool, for about an hour…if you can wait that long! There actually is a legitimate reason for letting it cool a bit. If you cut into it too soon, you may find the inside a bit gummy. By letting it cool completely, or nearly so, you allow the inside to fully firm up.
NOTES
I adapted this from a recipe I found on youtube. I will attach the link below, it is well worth watching. He does a great job of explaining and demystifying the process.
Steve’s Honey Oatmeal video
Another tidbit, I often use a cup of whole wheat flour, instead of 100 percent all-purpose. So, the breakdown would be 1 cup whole wheat and 2 1/2 cups of the all-purpose. That’s just my preference, I feel it’s a bit healthier. Either way, it comes out irresistibly delicious.
