Key Lime Pie
This is a classic dessert, that needs no introduction. However, making it fresh adds a whole new dimension to the yummy factor. I know many stores have a version of this, but honestly you can’t compare them to the homemade version. My first encounter with this recipe, was at a friends house for dinner (thanks Betsy) and I’m not sure I had ever had a homemade version of key lime pie. It was so delicious and everyone was talking about it. I have now made it several times and the reactions are always the same, it just never disappoints. An added bonus, when entertaining, you can make it well ahead of time and just keep it chilled.
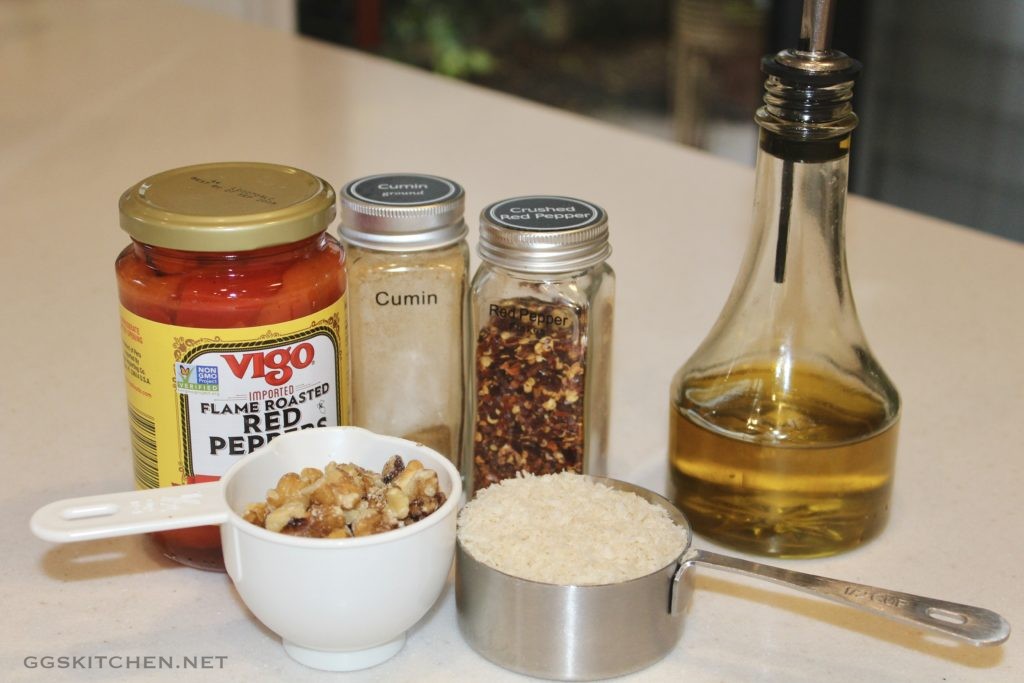
INGREDIENTS
Crust
11 graham crackers
1/3 cup sugar
6 Tbs. butter, melted
Pie Filling
2- 14oz. cans sweetened condensed milk
1/2 cup light sour cream
zest from 2 regular limes or 4 key limes
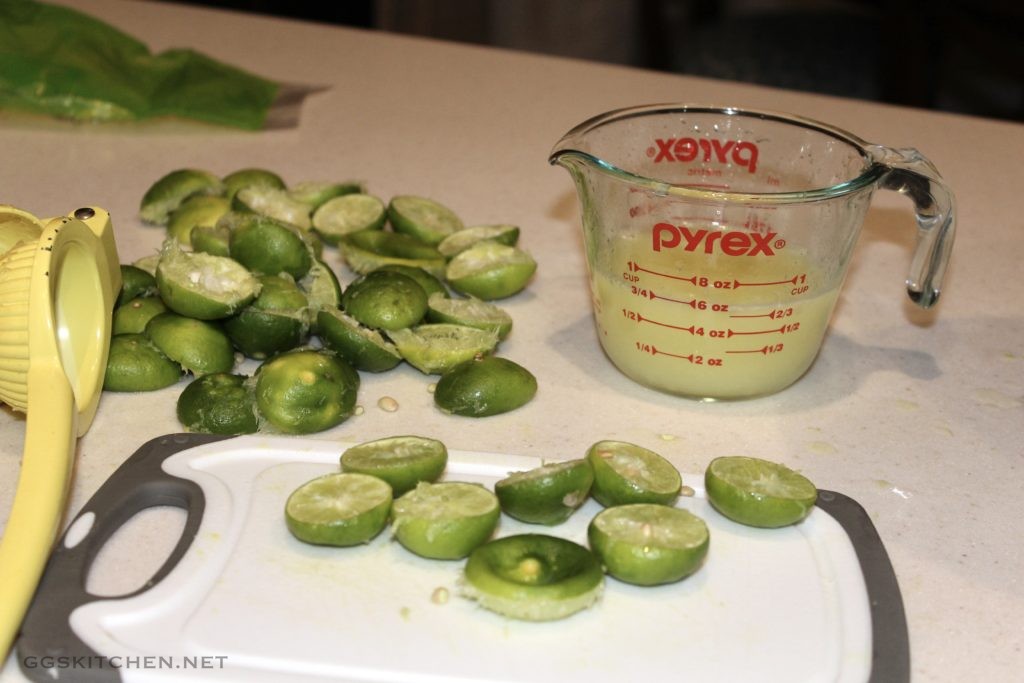
3/4 cup key lime juice
Topping
1 cup heavy whipping cream
1/2 cup powdered sugar
1 tsp. pure vanilla extract
DIRECTIONS
Preheat the oven to 375º.
Roughly crumble the graham crackers into the bowl of a food processor and pulse until finely crumbled. Then, add the sugar and melted butter and process until it starts to stick together. Press the mixture into a 10″ pie pan and bake for 7 minutes. Set aside to cool for 20-30 minutes.
Reduce the oven to 350º.
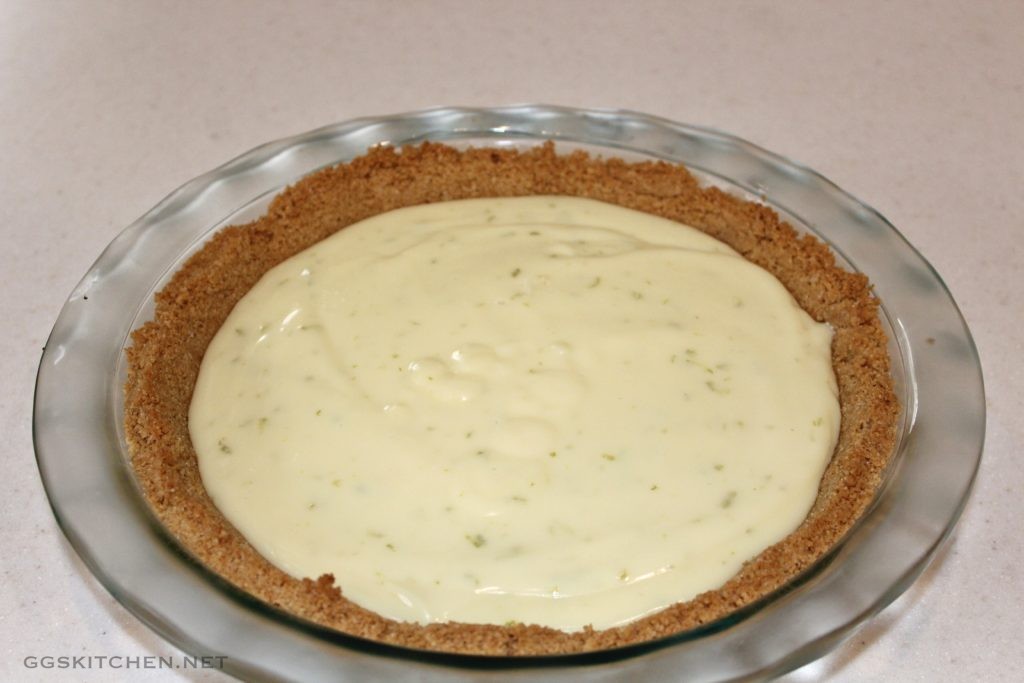
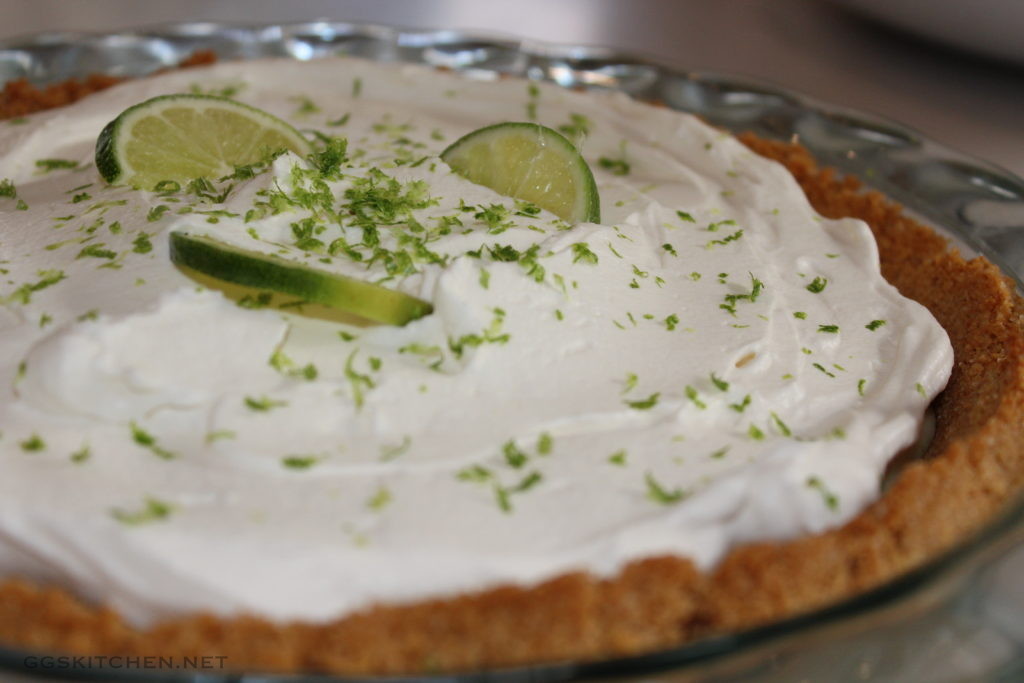
Meanwhile, in a medium bowl, whisk together the sweetened condensed milk, sour cream, lime zest and lime juice. Pour the mixture into the pie crust and bake for 10 minutes. Cool for a bit and then refrigerate for 2- 3 hours. When fully chilled, whip the heavy cream, sugar and vanilla together, until stiff peaks form. Finally, spread the whipped cream over the pie, garnish with lime zest and if you wish to get fancy, a couple of thin lime slices.

NOTES
I have tried this with both key limes and regular limes. I’m not going to lie, I could tell the difference. However, I would not hesitate to use the regular limes if that’s all that was available. Also, be forewarned when using key limes, it can be a bit tedious because they’re tiny, so you need a lot…I think I used 30, to get the 3/4 cup!
Additionally, make sure that you zest the limes before juicing them. It’s nearly impossible to zest it after you’ve extracted the juice.