Roasted Salted Pecans

This is as simple as it gets. A quick recipe that enhances and elevates the pecans to a yummy new level. Serve them as a wonderful stand-alone snack, at the bar with cocktails or my absolute favorite, with some coffee ice cream, a drizzle of salted caramel sauce, then topped with these tasty treats. Sounds like such a simple dessert and it really is. However, we all know that quite often, the simplest recipes are often the best ones. This is a classic example of how a few separate, high quality ingredients can elevate the simple to the sublime. Additionally, this makes a good amount of pecans and they store beautifully, so they’re a great go to snack or are there to create a last minute dessert. You will not be disappointed, give it a try.

INGREDIENTS
2 cups pecan halves
2 Tbs. butter, melted
1/2 tsp. kosher salt

DIRECTIONS
Preheat oven to 325°F.
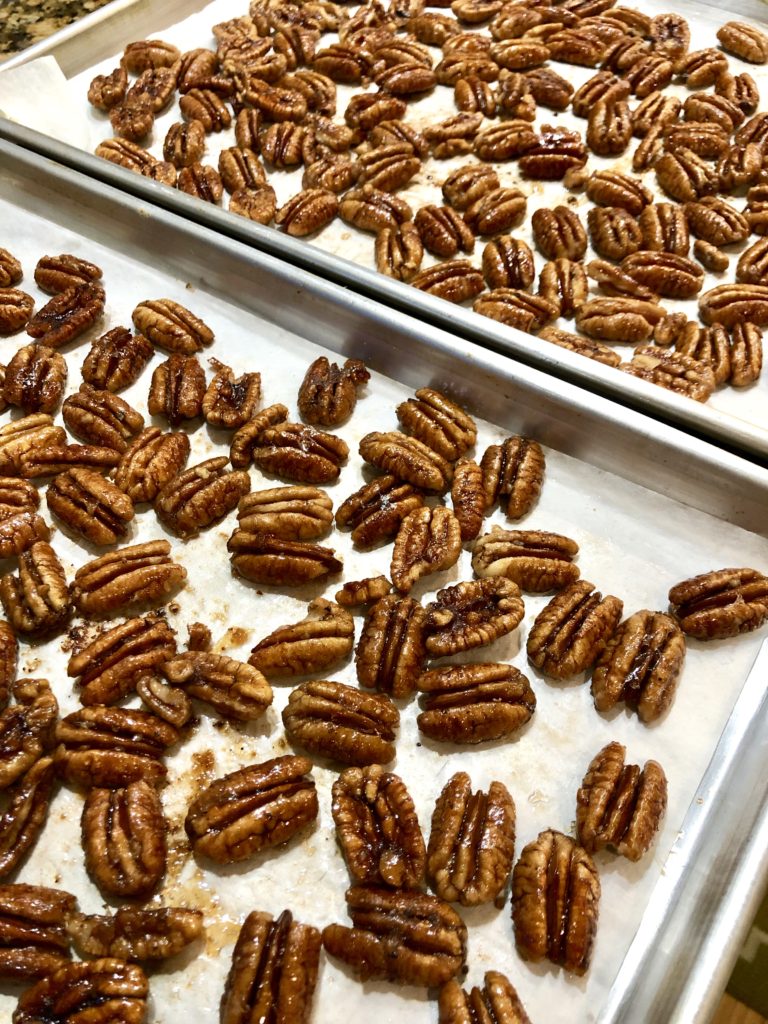
First, toss pecans and melted butter in medium bowl to coat. Add the salt and stir to combine. Then, spread pecans in single layer on rimmed baking sheet and bake until fragrant and slightly darkened in color, for 12-15 minutes. Stay close by because these can get overdone very quickly.
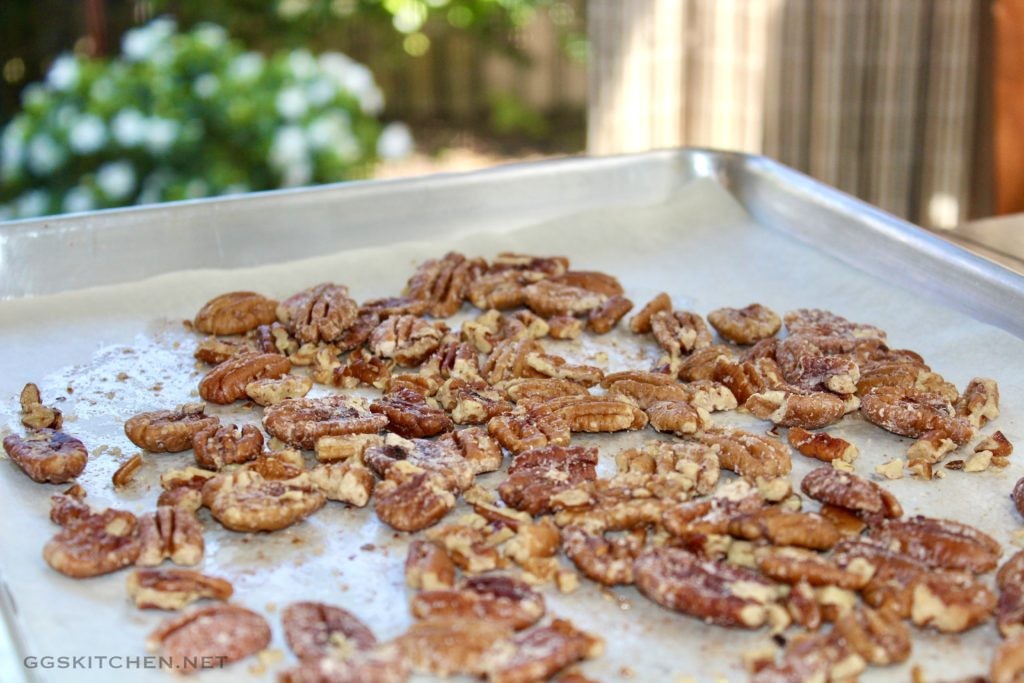
roasted salted pecans

Alternatively and an even quicker method, is to melt the butter in a skillet, add the pecans and, on low to medium heat, toast the pecans for a few minutes. Once the pecans are fragrant, remove from the skillet, add the salt and toss to combine.

Finally, after cooking, cool the pecans on the baking sheet or in the skillet, if using, and then store in an airtight container.

NOTES
Do try to buy whole pecans, rather than pieces, they make a much better presentation when serving, whether with cocktails or over ice cream. Also, I have played with the salt a bit, in both amount and kind. You can do the same, however I definitely would not use regular table salt. My preference is a good, coarse, kosher salt, Diamond and Morton both make a good one that is carried in most supermarkets. A tasty upgrade is Maldon Salt, it is definitely worth it.

Roasted Red Pepper Spread

You have just stumbled upon your next new favorite recipe and it couldn’t be easier. All you need is about 10-15 minutes and you’re ready to go with this one. Honestly, it is addictively tasty and is also pretty darn healthy. Although this is delicious with crackers, crostini or crudité, it also works as an incredibly flavorful condiment. I’ve used it in quesadillas, as a flavor booster in sandwiches and I’ve even been known to just swipe a spoonful, it’s that yummy. A definite bonus with this recipe is that all ingredients are pretty much pantry staples, making for a great last-minute appetizer.

INGREDIENTS
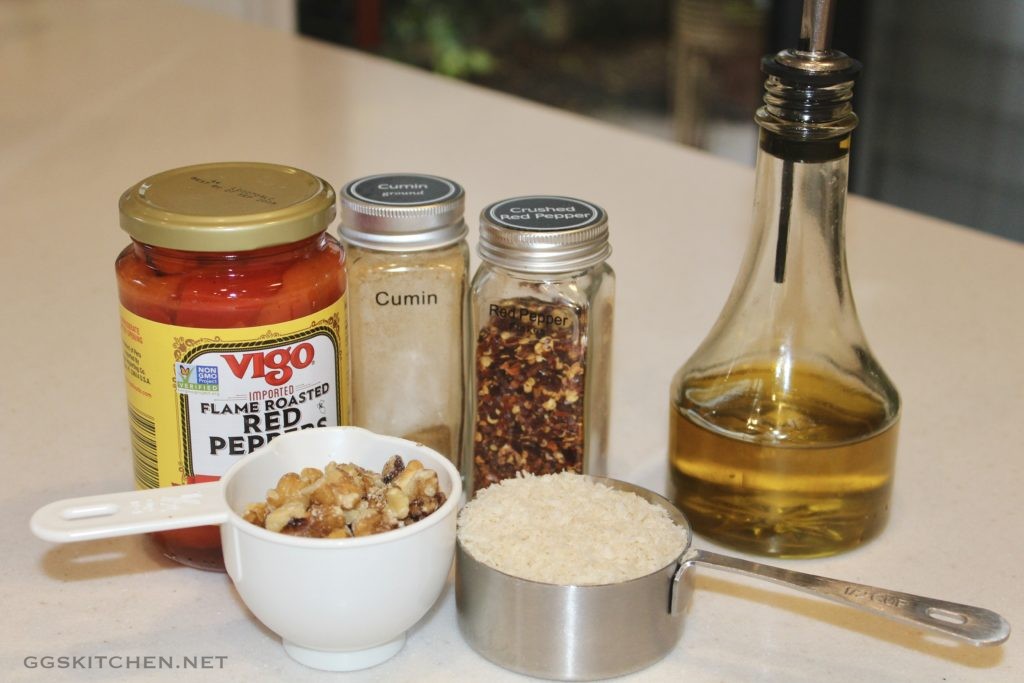
3 Tbs. olive oil
1/2 cup walnuts
1/2 panko bread crumbs
1 garlic clove, minced or grated
12 oz. jar roasted red peppers
1 Tbs. lemon juice
1/2 tsp. kosher salt
1/2 tsp. ground cumin
1/4 tsp. fresh ground black pepper
1/4 tsp. red pepper flakes

DIRECTIONS
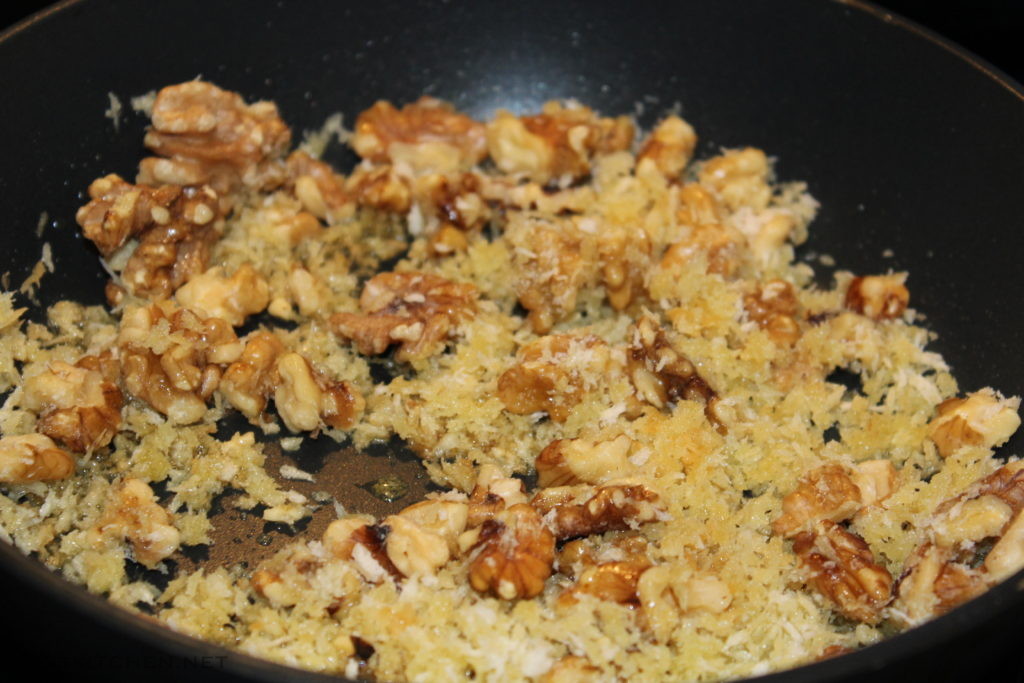
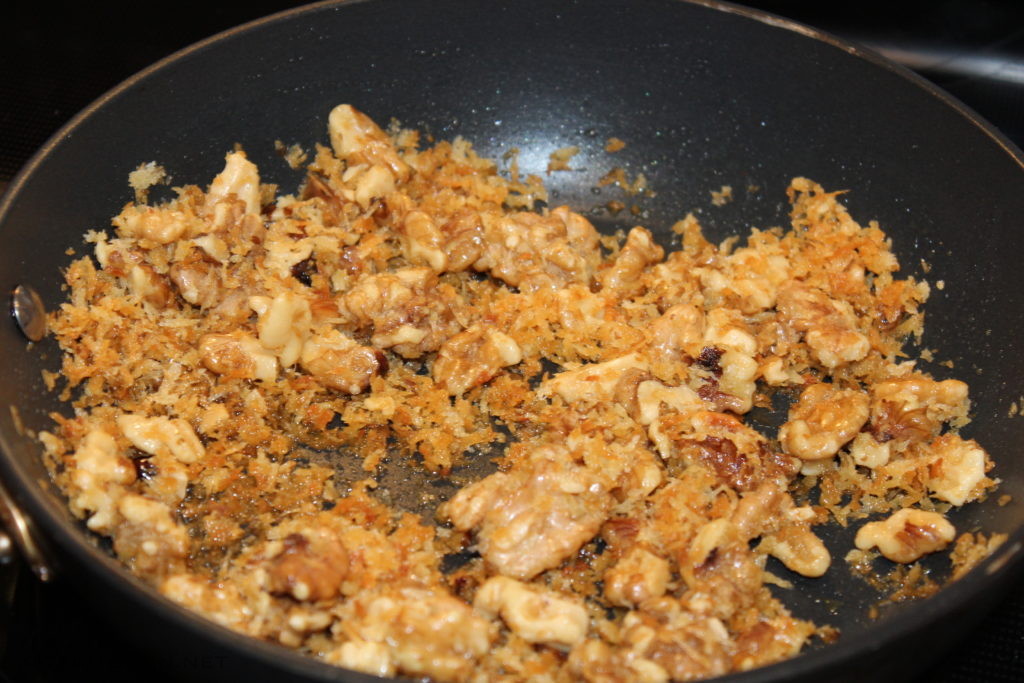
In a small skillet, over medium-low heat, add the first 3 ingredients and toast until the panko is a nice golden brown. Then, take off the heat and immediately add the garlic to the warm ingredients. Stir to combine and set aside to briefly cool.

Next, drain the peppers and add to a food processor. Add the remaining ingredients, including the cooled walnut panko mixture. Finally, pulse the mixture, to your liking. I prefer a little texture with mine, but you may like it super smooth. The decision is yours.


Roasted Pepper Quesadilla

In need of a quick lunch, snack, or an appetizer? You will love the simplicity of this and the options are endless. Pantry raiding recipes are some of my favorites and this one is as easy as it gets.

First, several of the ingredients are shelf-stable and once you’ve made this, make sure you keep these items (or other favorites) on hand. Most of us have some leftover cheese on hand, so feel free to swap out what you already have. An Italian cheese mixture is great, gruyere, fontina, most any combination works well. I do think using more than one type of cheese gives you more depth of flavor.

INGREDIENTS
1 Tbs. olive oil
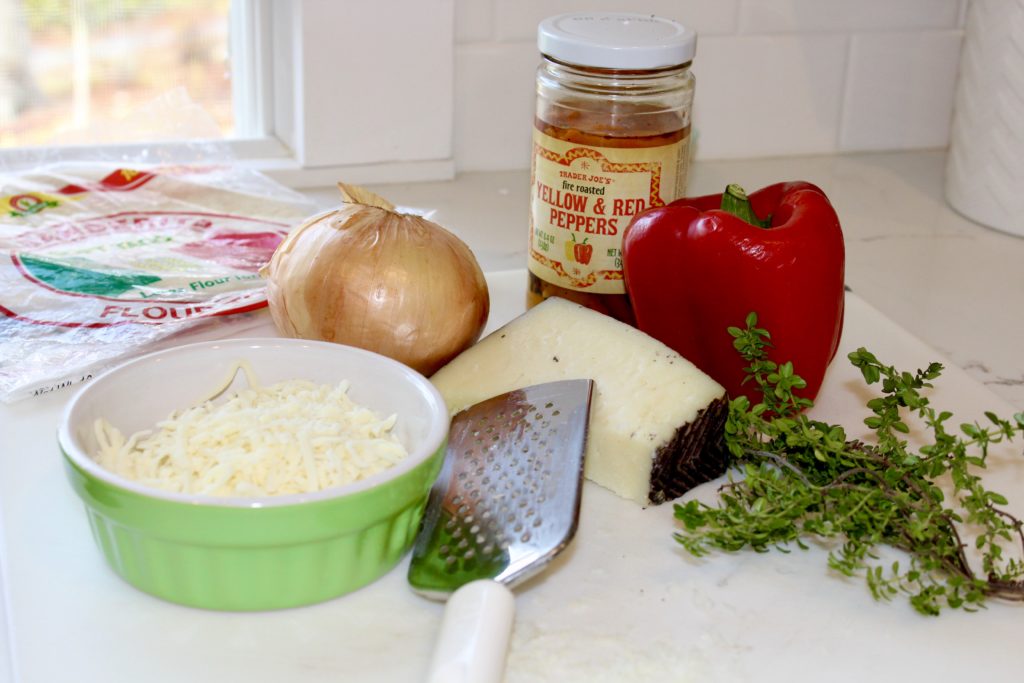
1 medium sweet onion, chopped
1 roasted bell pepper, red, yellow, or orange
5-6 kalamata olives, pitted, roughly chopped
1 Tbs. capers
3 sprigs fresh thyme, stripped
manchego cheese, grated
mozzarella, shredded
kosher salt, fresh ground pepper, to taste
6-8 flour tortillas

DIRECTIONS
First, preheat a 10″ or 12″ skillet over medium heat. Then, add the chopped onion and sauté until soft, but with a bit of browning. Meanwhile, slice the peppers into strips, add to the onions, and season to taste. Next, add the olives, capers, thyme, and briefly sauté long enough to warm through and to fully combine. Transfer the mixture to a small bowl and set aside.

Next, spray the same skillet with nonstick spray or use a teaspoon of butter. Don’t worry about any leftover bits, they will just add more flavor. Add one of the tortillas to the skillet and sprinkle a bit of the cheese over the whole tortilla. By lightly covering the whole tortilla, the cheese, once melted, acts like glue and helps keep all the contents from falling out.

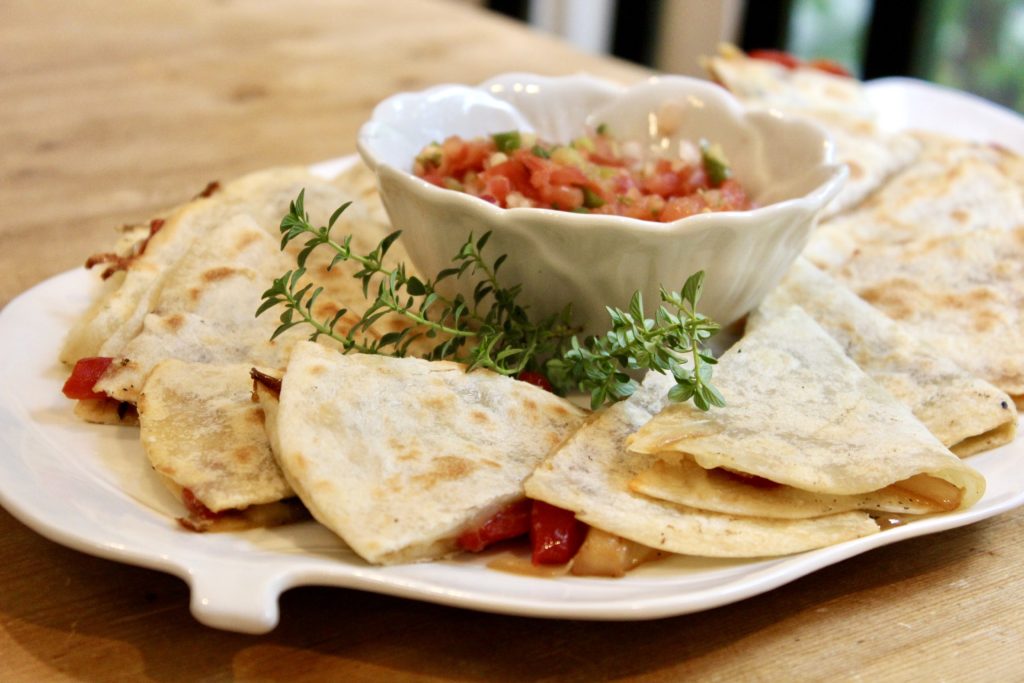
Then, take a small portion of the pepper, onion mixture, add to just one half of the tortilla, and then top that with your second cheese. Place a cover over the pan for a very short period of time, to help warm everything and ensure all the cheese melts. Finally, when fully melted, fold over the tortilla, press down to bind and transfer to a platter, and slice into wedges.

NOTES
The beauty here is that you don’t need a lot of any one ingredient to make this work. If you have some leftover steak, chicken, ribs, just shred it and add to the peppers and onions. Have a few mushrooms left over, add them too. You like a spicy kick, add some hot sauce, banana peppers, or pepperoncini.


Salted Caramel Nuts

This is another, straight up, yummy, Ina Garten recipe. These are great as a snack or as an appetizer with cocktails. Alternatively, you could serve them alongside, or crumbled over, ice cream, for an irresistible dessert, that never disappoints. Another option is neatly packaging them as a wonderful hostess gift. 

INGREDIENTS
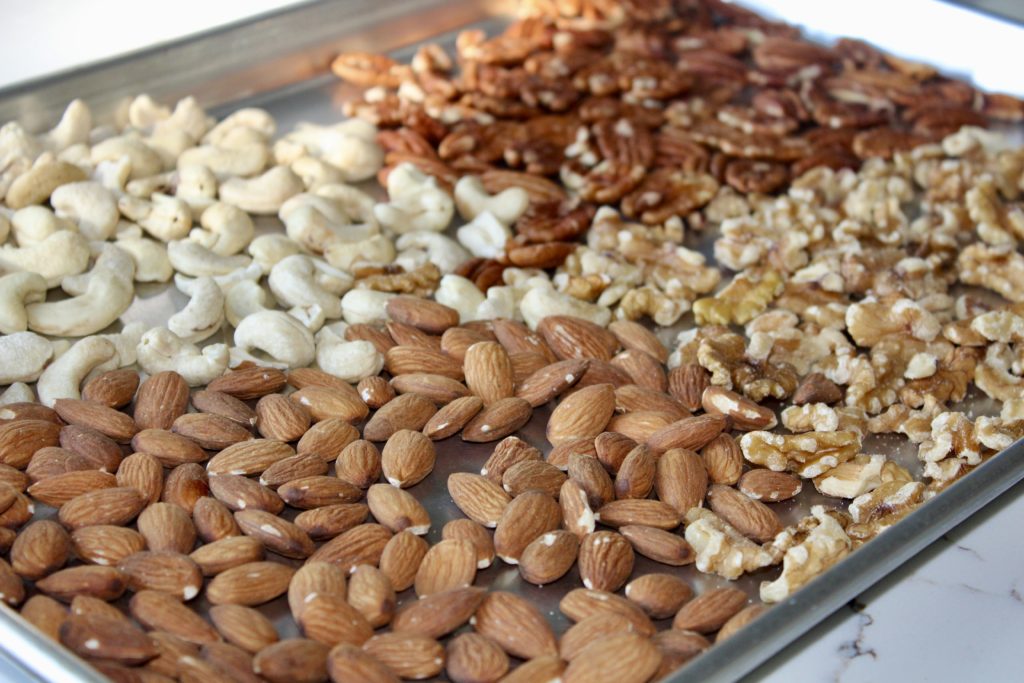
1 cup whole roasted cashews
1 cup whole large pecan halves
1 cup whole unsalted almonds
1 cup whole walnut halves
1½ cups sugar
1/4 cup water
2 tsp. pure vanilla extract
2 tsp. kosher salt
1 tsp. fleur de sel 

Preheat the oven to 350º degrees.

DIRECTIONS
First, combine the nuts on a sheet pan, spread them out, and roast them for about 7-9 minutes or until they become fragrant. Do keep a close eye on them, because all ovens vary a bit and you don’t want them to burn. Remove from the oven and set them aside, to cool.

When the nuts have cooled, place the sugar and the water in a medium sauté pan and mix with a fork until all of the sugar is moistened. Then, cook over medium-high heat, until the sugar melts. Once the sugar fully melts, don’t stir the caramel, just swirl the pan, to keep it moving. Don’t worry, the mixture may look as though it’s crystallizing, that’s normal.

Then, continue to cook for 5 to 10 minutes, until the mixture becomes a clear golden brown, swirling the pan, constantly at the end. Be very careful, the caramel is insanely hot! Take the mixture off the heat, then, working quickly, add the vanilla (it will bubble up!) and swirl the pan to combine. Working quickly, (the caramel will continue to cook in the pan) add the nuts and the kosher salt. Then, toss the nuts, until the nuts are completely coated.

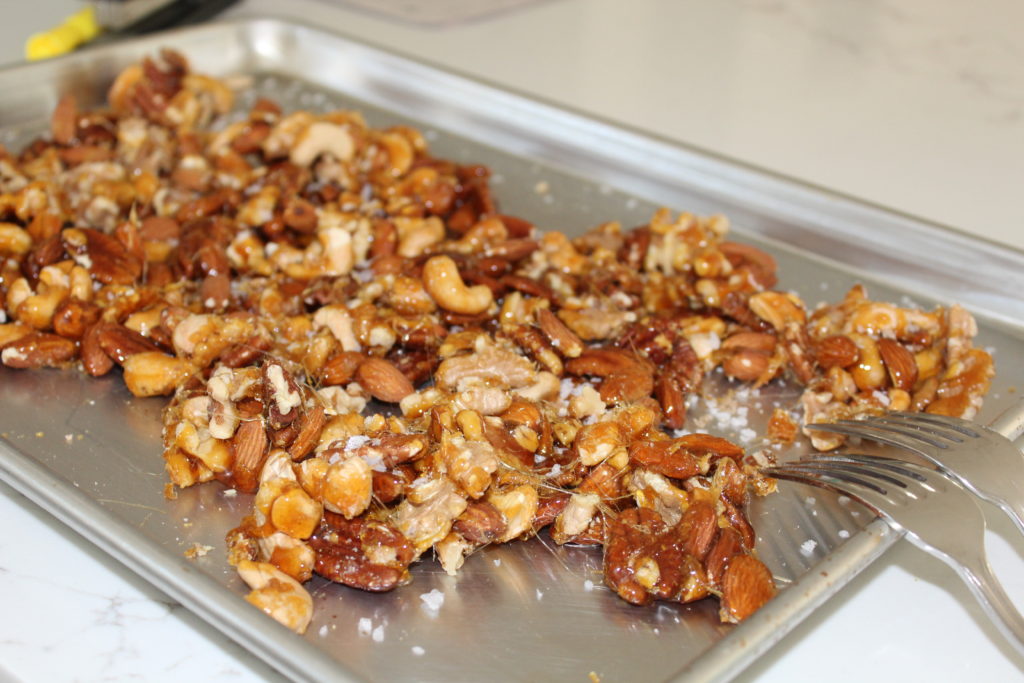
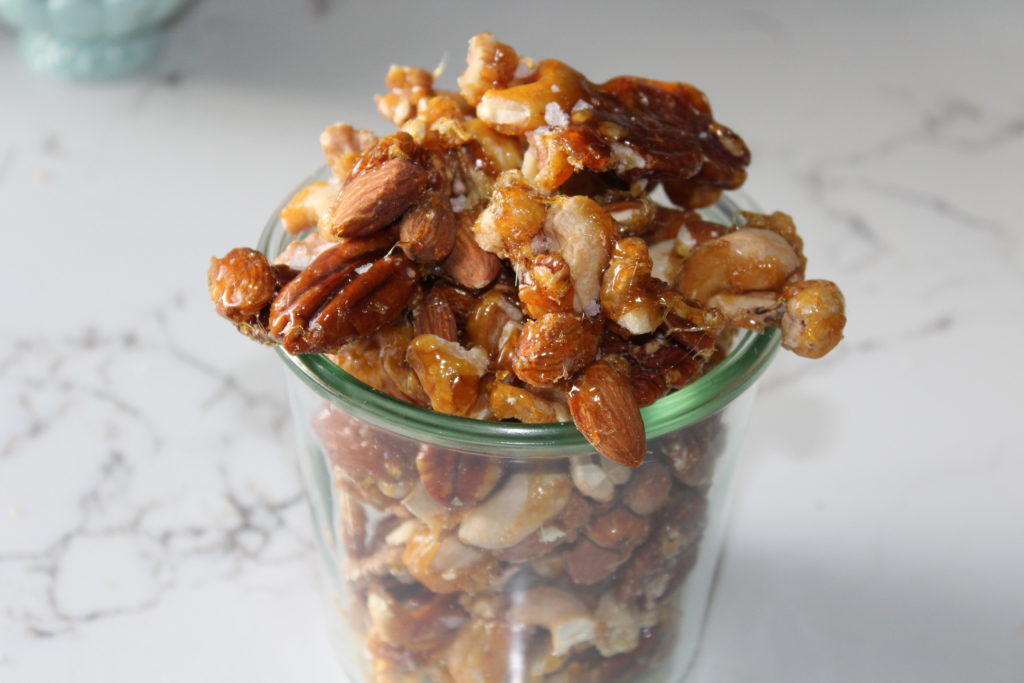
Finally, line a sheet pan with parchment paper and pour the the whole mixture onto the pan. Spread the nuts out in one layer, pulling them apart with two forks. Sprinkle with the fleur de sel and set aside to cool. When they’re completely cooled, carefully break the nuts into large clusters with your hands, trying not to break the nuts too much. Consider yourself warned, these are hard to resist!


Vegetable Cream Cheese

Looking for an easy, basic and tasty appetizer? Look no further! This recipe is a snap to put together and quite versatile as well. Use it as a spread for crackers, as a dip with crudité and if you have any leftover, try it on your bagels in the morning. The choice is yours, you can’t go wrong and it is delicious for all three.

INGREDIENTS
4-5 radishes, halved
4-6 scallions, reserve a few for garnish
1 stick celery
1/2 bell pepper, seeded (I prefer red, hence the pink tint)
1/4 hothouse cucumber, seeded
8 oz. cream cheese, room temperature, cubed
pinch kosher salt and fresh ground pepper, to taste
2 Tbs. sour cream or greek yogurt, if needed to thin mixture

DIRECTIONS
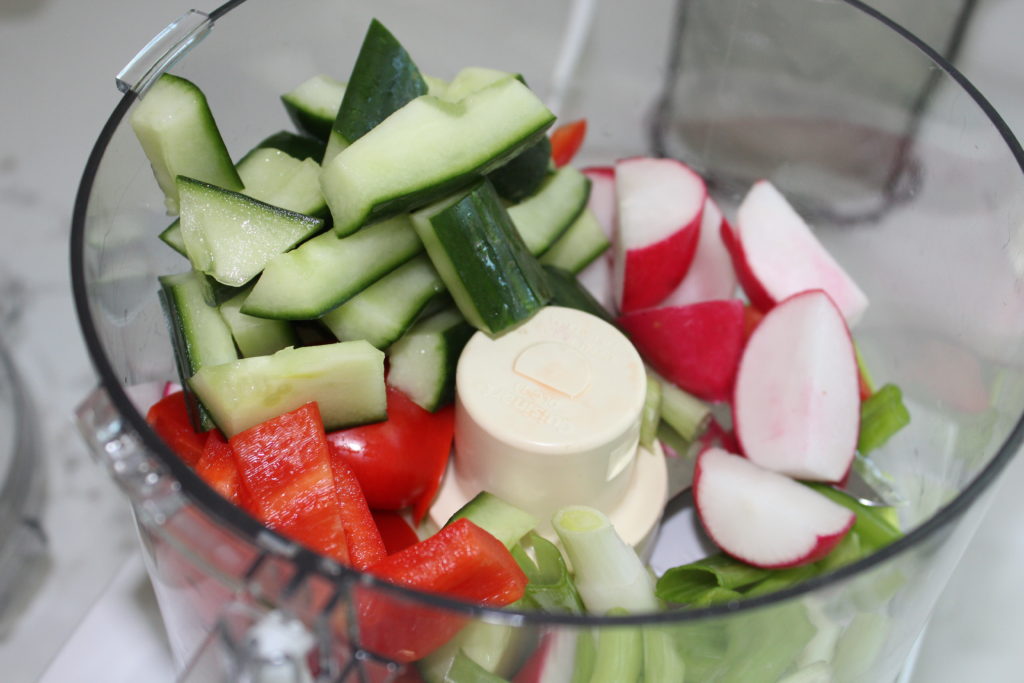
First, roughly chop each of the first five ingredients. This is merely to get them ready for the food processor, because it’s easier to pulse them when they are in smaller pieces.

With the metal blade in place, add all the vegetables to the bowl of a food processor. Pulse until roughly chopped. Don’t overdo the pulsing, unless of course you like a smoother texture. Personally, I prefer a bit more texture; you do what works for you.

ready to mix

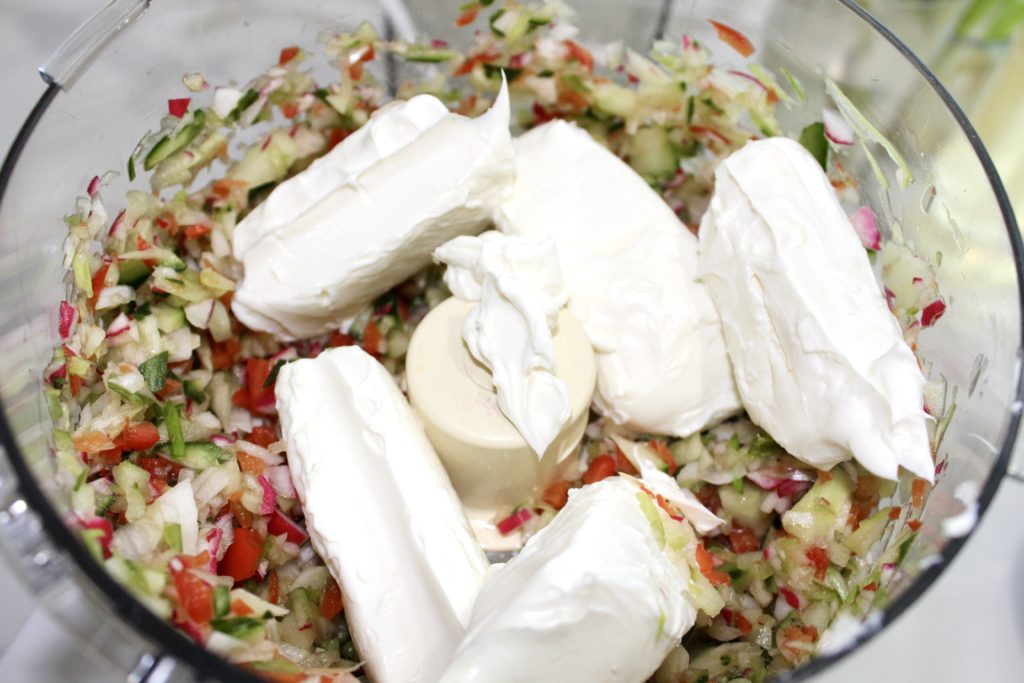
Next, add the cream cheese and pulse until combined, but not too smooth. Alternatively, you do the final mixing by hand, as long as the cream cheese is soft enough. That will maintain the thick texture a bit better. Do make sure that the cream cheese is room temperature, it makes the mixing so much easier. If it seems too thick for you, add the yogurt and/or sour cream.

Season with kosher salt and fresh ground pepper, to taste. Finally, just cover and refrigerate to allow the ingredients to meld. Serve with crudité, crackers, and/or some breadsticks.

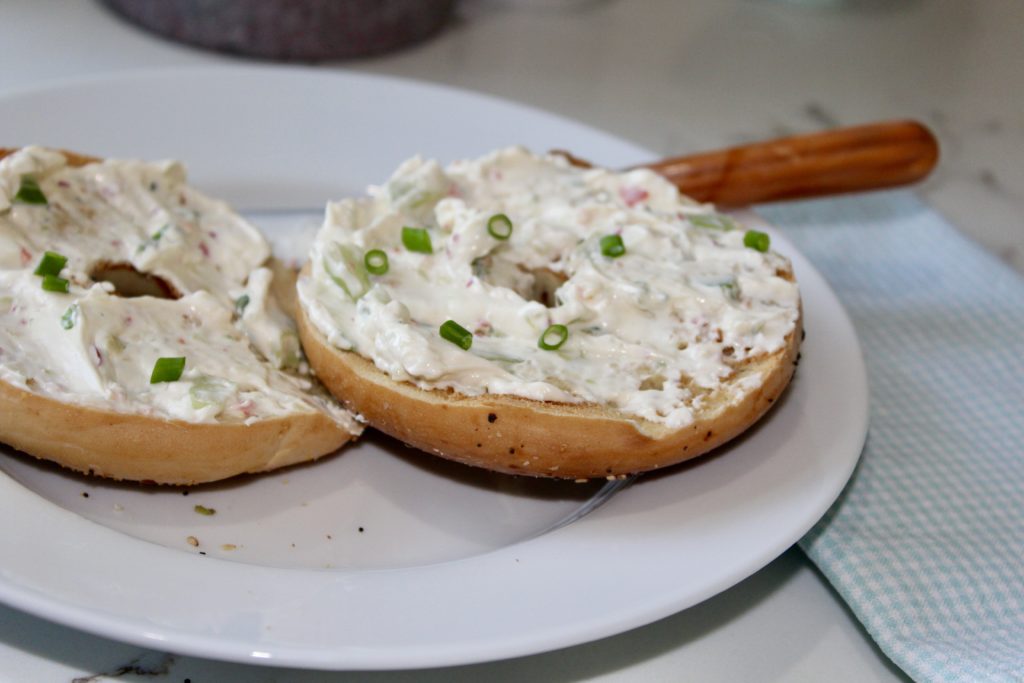
bagel veggie cream cheese

NOTES
This tends to be a bit thick, so if you prefer a thinner consistency to use as a crudité dip, then add the yogurt and/or sour cream. Alternatively, instead of adding yogurt, you could just add a little more cucumber, which is quite liquidy and would loosen it up, to dip consistency. Be creative, there is no wrong way and don’t be afraid to swap out a few things if you don’t have them or don’t like them. That being said, I have made this oodles of times, as written and it is a delicious winner.


Irresistible Roasted Nuts

So, what do you do when your ‘better’ half brings home raw, unsalted mixed nuts?! They don’t exactly have much flavor and not what I was expecting. Yes, a mistake, not the end of the world, but now what do I do with these blah, boring nuts? Well, I found an incredibly easy solution. Just add a drizzle of olive oil, some kosher salt, a few fresh herbs and toast them in a hot oven for a bit. A total game changer, they’re delicious, company worthy and great as a nibble with cocktails.

INGREDIENTS
1 lb. mixed nuts, raw & unsalted
extra virgin olive oil
kosher salt
fresh ground pepper
sprigs fresh rosemary
sprigs fresh thyme

DIRECTIONS
Preheat oven to 400º.
This could not be more simple and more satisfying. Spread the nuts on a sheet pan, sprinkle with a bit of good extra virgin olive oil, sprinkle generously with kosher salt, fresh ground pepper and toss in the fresh herbs. Pop in the oven and roast for about 10-12 minutes. Keep close and watch the nuts carefully, all ovens are different, so there is no definitive timing. Once you start to smell the wonderful aroma, they are pretty much done.

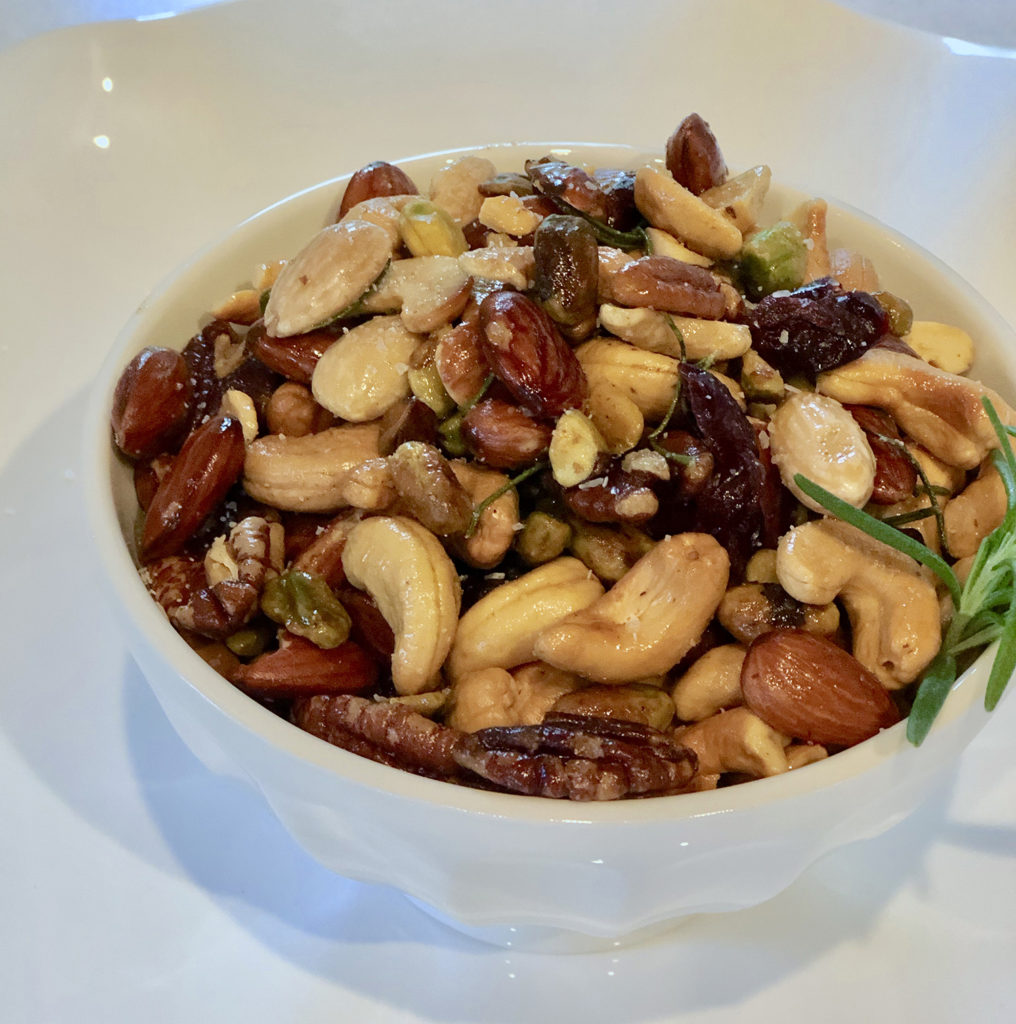
yummy nuts

Pull from the oven and immediately sprinkle with a good finishing salt. Maldon or a good fleur de sal is perfect here. Finally, place in a small serving bowl, add another sprig or two of the fresh herbs, as garnish, pour your favorite cocktail and enjoy.


Simple, Delicious Baked Brie

Hard to imagine that so little effort could elevate this cheese from delicious, to extraordinary, but it does. A simple round of brie or camembert, add some olive oil, herbs, heat from the oven and in no time, you have an absolute winner. It’s a bit embarrassing to even call it a recipe, but here it is.

INGREDIENTS
1 round of brie or camembert
drizzle of extra virgin olive oil
several sprigs fresh thyme and/or rosemary

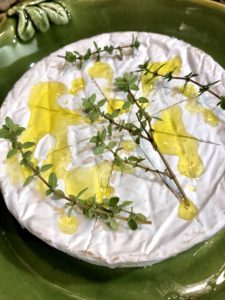
oven ready

DIRECTIONS
Preheat oven to 350º
Place the cheese in an oven proof dish that you will also serve it in. Make a few slits in the top of the cheese, drizzle with olive oil, add the thyme sprigs and place it in the oven for about ten minutes or until you can see it start to melt and ooze. Serve with some fresh crostini or your favorite crackers. That’s it, stand back and wait for the compliments!

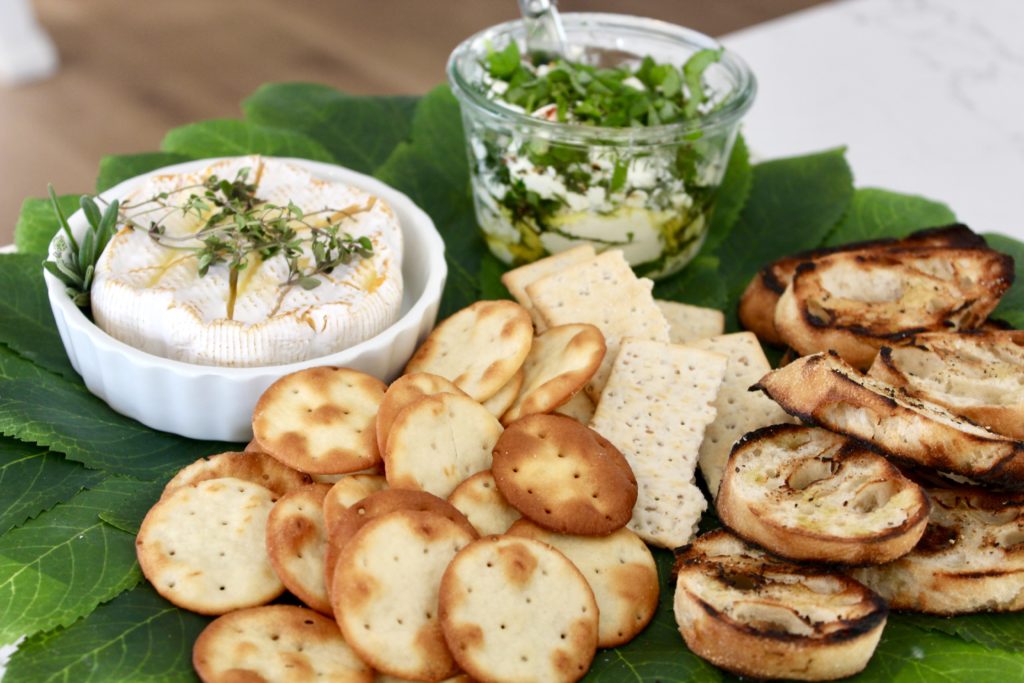
cheese platter

NOTES
Many wonderful options for this include adding a drizzle of honey. Also, adding not just one, but a combination of herbs, you could add some dried cranberries and toasted walnuts. A handful of toasted, slivered almonds would work deliciously as well.


Sweet & Salty Roasted Pecans

These nuts are a game changer, they are flat-out addictive and you will keep coming back for more. I have a number of recipes for roasted nuts, however this one tops them all. They are salty, sweet, crunchy and more importantly, they stay crunchy. They are equally amazing on their own, as a cocktail snack, in a salad or as a topping over some ice cream with salted caramel sauce.

So, consider yourself officially warned and please don’t blame me for not being able to stop eating them.

INGREDIENTS
1 teaspoon kosher salt
1/2 teaspoon freshly ground black pepper
1⁄2 teaspoon ground cinnamon
4-5 cups pecan halves
11⁄2 cups water
3 cups sugar
2 tablespoons mild vegetable oil
2 teaspoons vanilla extract
a pinch or two of flaky salt

DIRECTIONS
Preheat the oven to 325º and line 2 rimmed baking sheets with parchment paper. Next, in a saucepan over medium heat, combine the pecans, water, and sugar. Bring to a simmer and stirring often, cook the pecans for 5 minutes. Meanwhile, combine the salt, pepper and cinnamon in a small bowl and set aside. Then, with a slotted spoon, remove the nuts from the pan, spread them in a single layer on the baking sheets. Using two forks, separate them so they don’t touch each other and have room to bake individually. Then, bake for 20 minutes, or until they turn a deep and toasty brown.

Remove from the oven and cool for 5 minutes. Push the nuts into a mound in the center of each sheet. Then, drizzle each mound with half the oil and half the vanilla extract and toss to coat. Sprinkle each mound with half the cinnamon mixture and toss well to coat them evenly.

Again, spread the nuts on the baking sheets in one layer. Finally, return to the oven for about 10 minutes, or until browned and crisp. Remove from the oven, sprinkle with a flaky salt, such as Maldon and let cool completely before transferring to an airtight container. I bet you can’t eat just one!

pecans

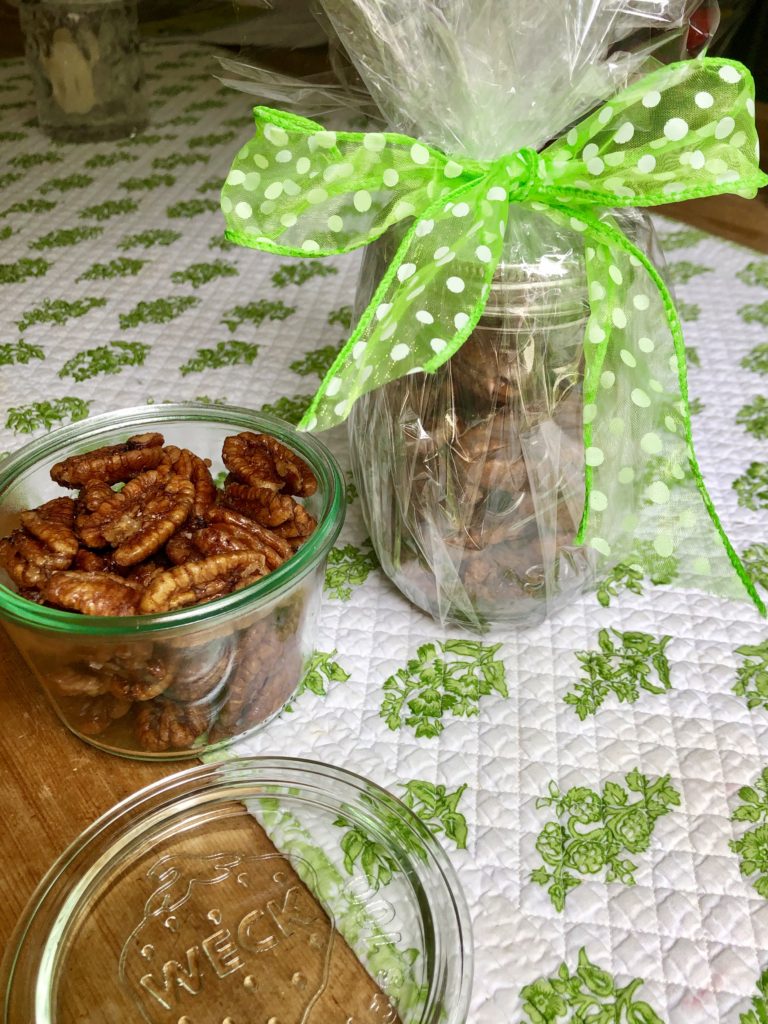
Additionally, they make a nice hostess gift. Simple to make, tasty, versatile, addictive…it doesn’t get any better.


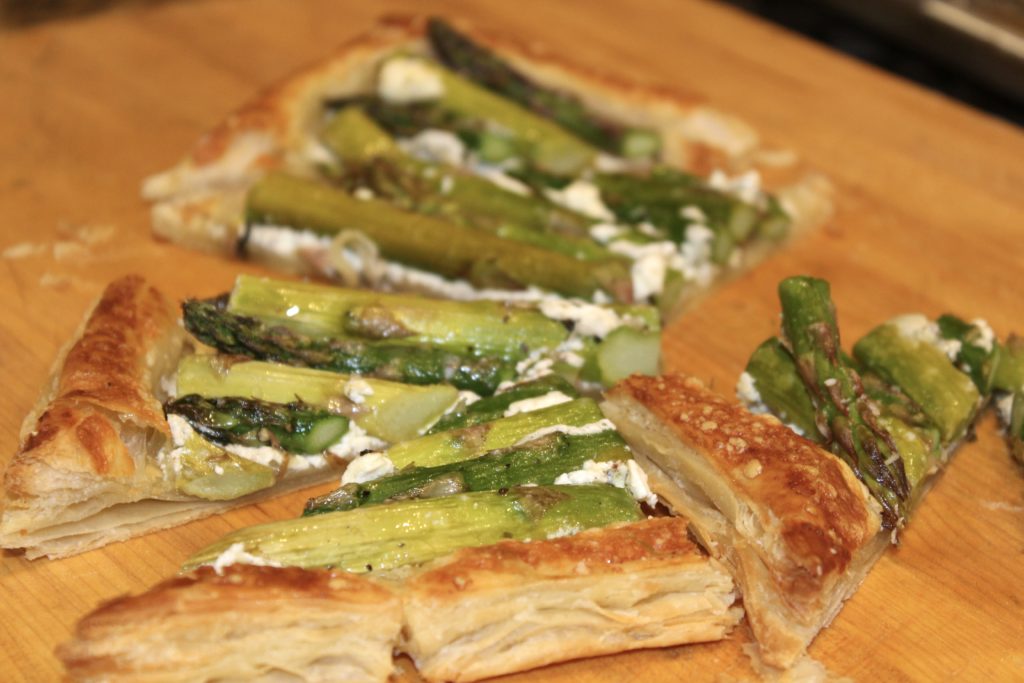
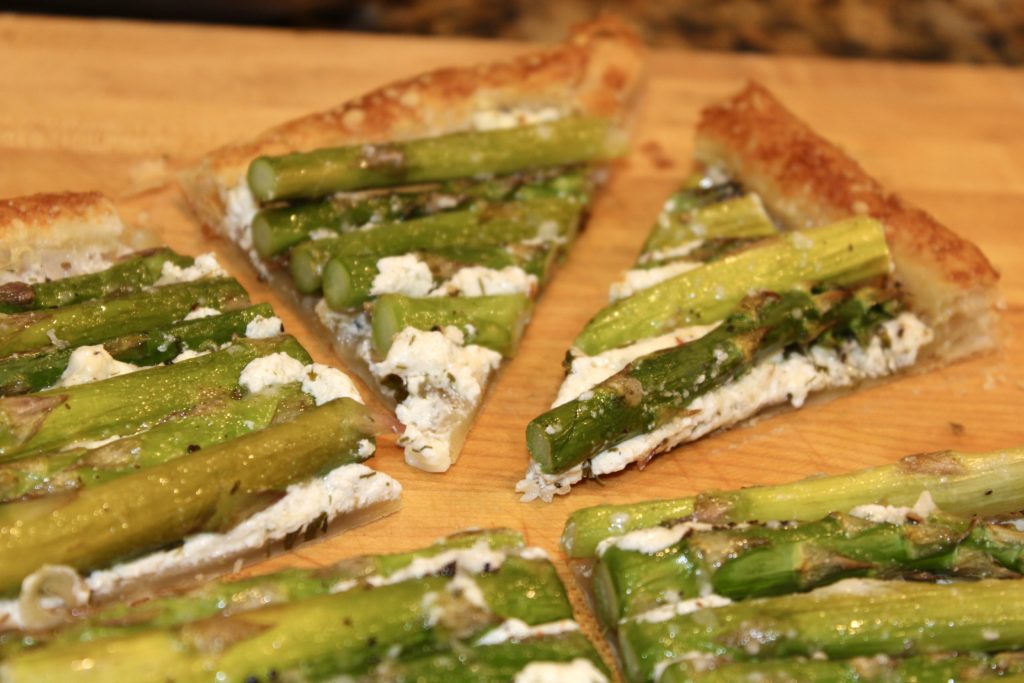
Asparagus Tart

Spring has arrived…supposedly. I sit here in New England, where currently, it is 42º outside and it’s mid-May! But given the calendar, the warmer weather has to be around the corner.

At the market, the asparagus were looking so good and they are one of my favorite spring vegetables so, I had to buy them. Then, I decided I wanted to prepare them a little differently and thought this would be a nice change and a nice spring-looking dish.

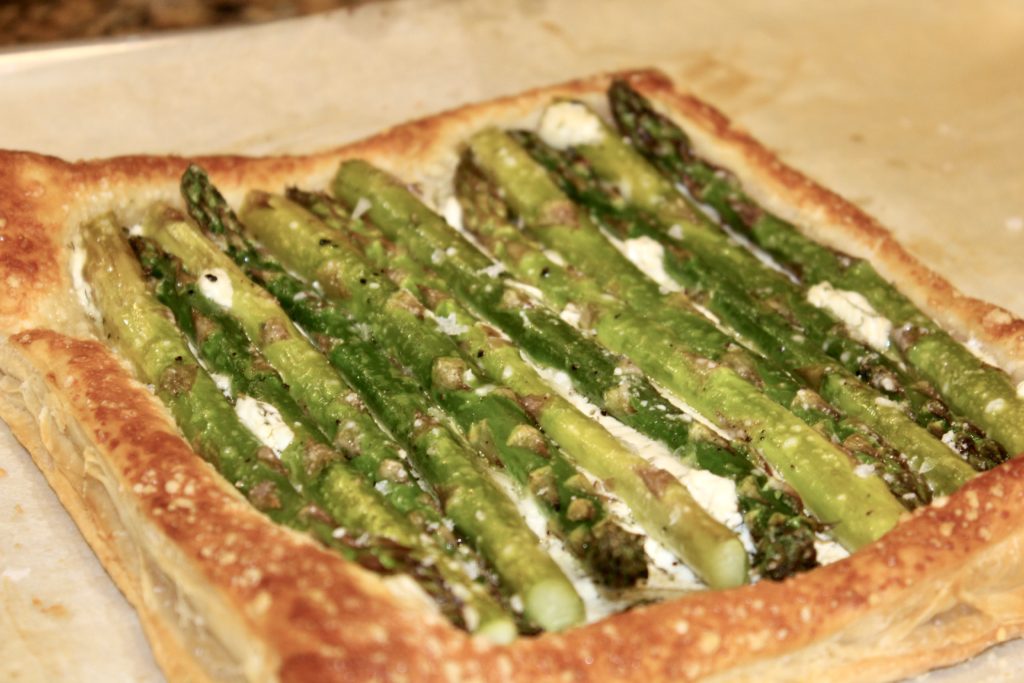
Honestly, you will be so impressed with yourself when you make this tart! It is just silly easy and it tastes even better than it looks. Now don’t be deterred by the length of these directions, I am going a bit overboard to explain each step, but believe me, this came together in no time.

INGREDIENTS
1 sheet puff pastry
goat cheese log, room temperature and preferably marinated goat cheese
1/2 cup freshly grated parmesan cheese
fresh asparagus
extra virgin olive oil
kosher salt and fresh ground pepper
1 egg, for egg wash
Maldon salt (or other flaky, finishing salt), optional

DIRECTIONS
First, thaw the puff pastry, using the package instructions; that’s usually overnight in the refrigerator. Then, when you’re ready to prepare the tart, preheat your oven to 400º.

Clean and trim your asparagus and place them on a sheet pan. Then, sprinkle them with a little olive oil, kosher salt and some fresh ground pepper. Roll them around to coat them evenly. Next, place them in the preheated oven and roast for about five minutes. You are not looking to fully cook them, just a short precook. After about five minutes, remove from the oven and let them cool.

Now, I must say, if you have very thin asparagus, you probably don’t need to do that step. However, mine were a bit chubby and I wanted to make sure they would be cooked through in the finished product. If you don’t precook them, you should still coat them with the olive oil, salt and pepper.

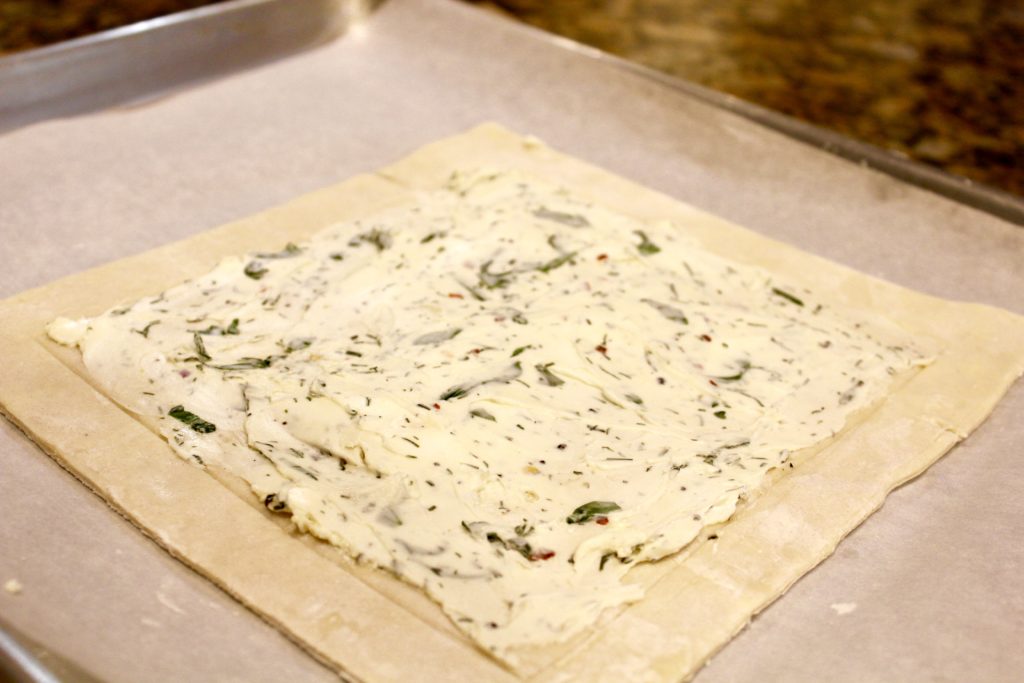
While the asparagus are roasting, on a lightly floured surface, roll out the sheet of pastry. You not really looking to enlarge the pastry sheet, you just want to smooth it out a bit. Then, take a sharp knife and score the pastry about 1″ to 1-1/2″ from the outer edge, all the way around. This will give you the nice puffy edge. Make sure you don’t cut all the way through.

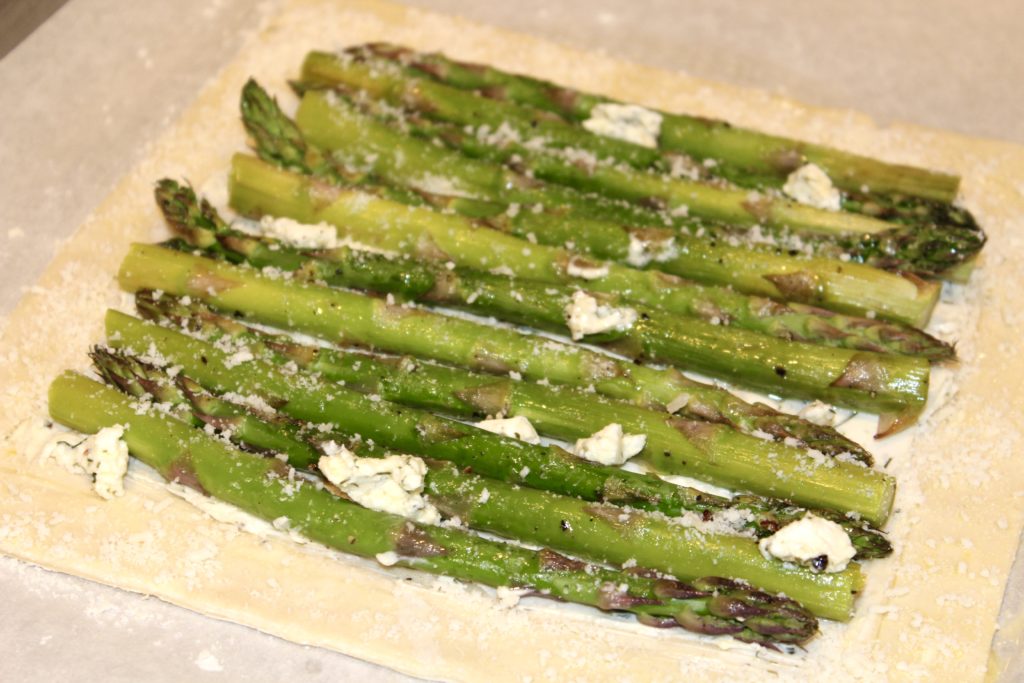
Next, spread the room temperature goat cheese on the pastry sheet, inside your scored edge. A thin layer is all that you need here and you probably won’t use all of the cheese that you have. Then, place the cooled asparagus on the cheese, in any pattern or order that you like. Add a few small dollops more of the goat cheese over the asparagus and a sprinkling of the parmesan.

Now, add a tablespoon of water to the egg and mix well. Brush the egg wash on the empty, scored border. Then, sprinkle some parmesan cheese over the egg washed border and place in the oven. Cook for about 15-20 minutes or until the pastry is browned and the asparagus are cooked tender (not mushy!). Remove from the oven, immediately sprinkle a small pinch of the flaky salt over the asparagus (if using) and let cool slightly. I prefer serving this barely warm or at room temperature, the choice is yours. Enjoy and let me know how you liked it.

NOTES
You can pretty much do any free-form shape in this recipe. However a large rectangular shape works easiest, for me. Alternatively, doing a few smaller squares works well too, especially if you are intending it as individual servings. Try cutting them in triangles to pass as an hors d’oeuvre.


Heirloom Tomato, Goat Cheese Tart

Love this tart and especially love the way it presents. It’s just so pretty, mouthwatering and the best news is how easy it comes together. You definitely get a big return on your efforts here. I use heirloom tomatoes, in a variety of colors because it has greater visual appeal. However, use whatever is available and you will not be disappointed. Additionally, if you’re feeling energetic, you could make your own marinated goat cheese and I do think that elevates things substantially.

I like to use a rectangular tart pan, however a round one works just as well and would obviously be a larger tart and serve more people. This is one recipe that I would not suggest doing ahead, because the pastry gets soggy if it sits too long. Pulling it out of the oven shortly before serving it would be best.

INGREDIENTS
1 package puff pastry sheets
several heirloom tomatoes, depending on the size of your tart pan
1 log herbed goat cheese or marinated goat cheese, room temperature
fresh basil, julienned for garnish
kosher salt and fresh ground pepper
1 egg

DIRECTIONS
Preheat oven to 400º
Defrost the puff pastry, per package directions. Gently roll out the dough to fit your tart pan. See notes below. Next, spread a thin layer of the goat cheese on the pastry. Then place 1/4″ slices of your tomatoes in a slightly overlapping layer. If you have a bit more of the cheese, put a few dollops on top of the tomatoes. Add a tablespoon of water to the egg and whisk well. Brush the egg wash over the pastry edge, which gives the crust a nice color. Finally, sprinkle the tomatoes with kosher salt, freshly ground pepper and a drizzle of good olive oil.

Bake for 15-20 minutes. If the crust is browning too quickly, turn the oven down to 375º. When crust is golden brown and the tomatoes are slightly bubbly, remove from the oven. Let the tart sit for about five minutes, sprinkle with the basil, then cut and serve.

NOTES
You will most likely have to cut and paste a piece or two of the pastry to fit your pan. For my rectangular pan, I used only one sheet and needed to cut and paste a small section. Don’t try to roll too thinly to fit, just cut what you need to fill the spot and lightly press to seal together.