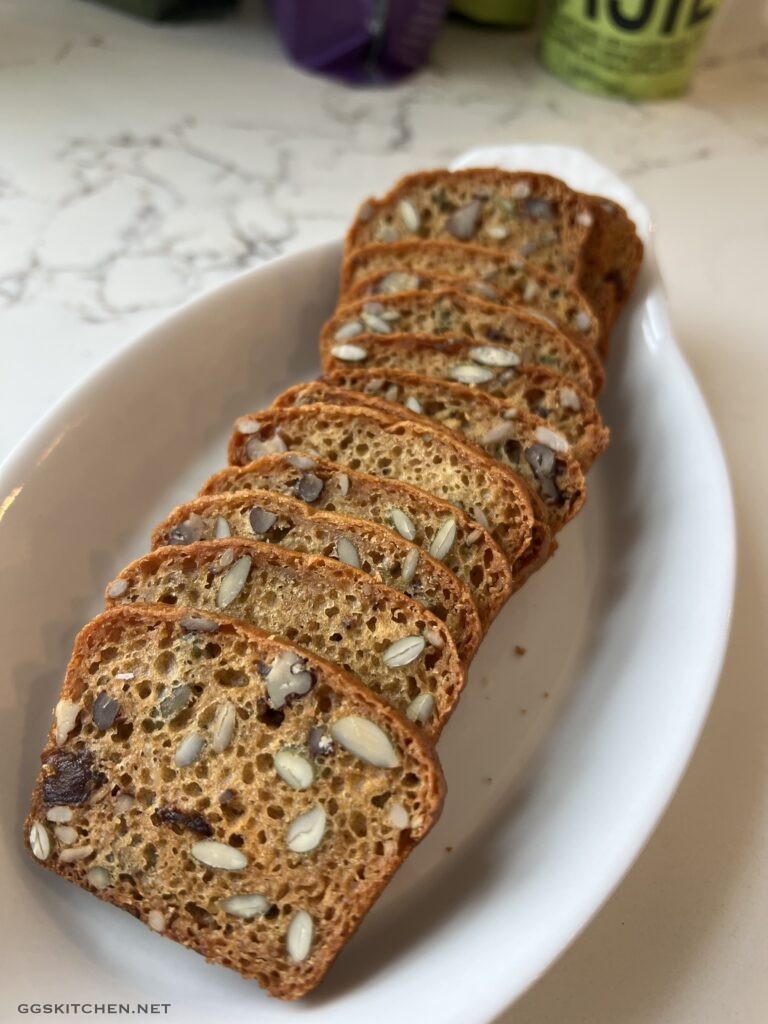
Fruit & Nut Crackers
Now don’t think I’m crazy for making my own crackers, although I have to admit that you might have a point. I certainly never aspired to make my own crackers, but this recipe caught my eye because I have always loved Trader Joe’s version. It didn’t seem too complicated and I just had to try it. In the end, it really was quite simple and I was immediately hooked.
I also love that you can bake them off whenever you need/want them. No more opening a box where too many of them are broken and unusable. Additionally, they are a whole lot tastier, healthier and stay fresher longer than store-bought options. I hope you give them a try and you too might be hooked. Also, the variations of add-ins is pretty extensive, be creative and try different combinations. I have added two additional options in the notes section at the end of this post, however these are only guidelines, mix and match as you like.
INGREDIENTS
2 cups all purpose flour
2 tsp baking soda
1/4 cup raw cane sugar
1/2 tsp kosher salt
2 cups buttermilk, see notes below
1/4 cup honey
ADD-INS
1/2 cup dates, chopped
1/2 cup roasted pumpkin seeds
1/2 cup pecans, roughly chopped
1/2 cup sunflower seeds
1/4 cup ground flax seed
DIRECTIONS
Preheat oven to 300º.
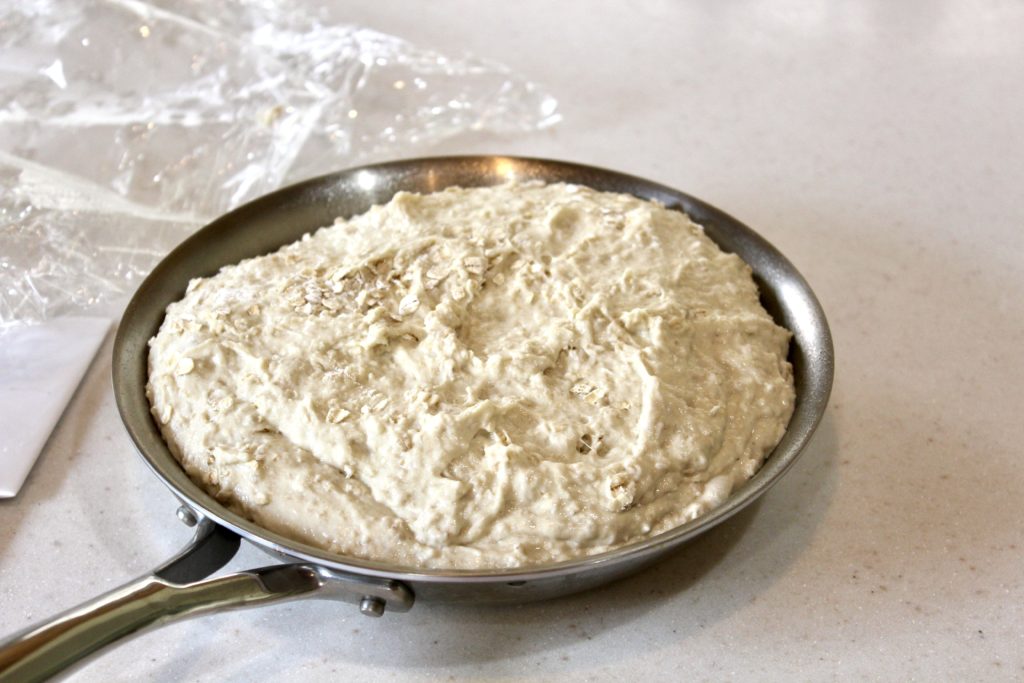
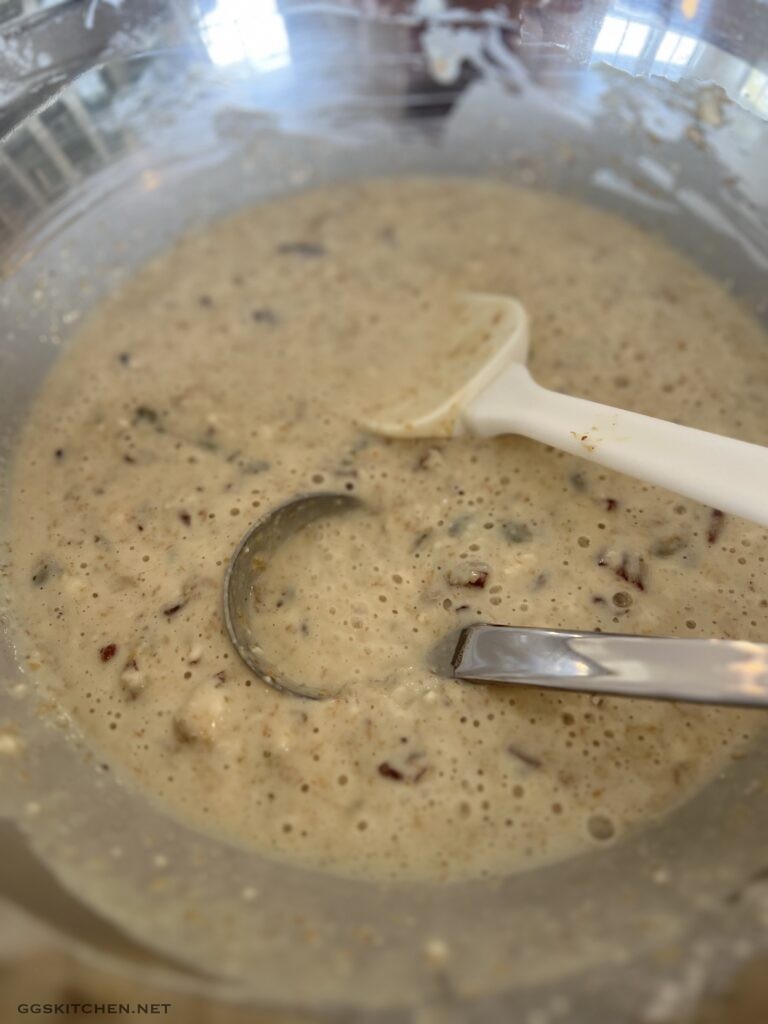
In a large bowl, stir together the flour, baking soda, cane sugar and salt. Next, I add the dates into the dry ingredients. This coats the dates in the flour mixture and prevents them from clumping too much. Then add the buttermilk and honey, stir to combine. Next, add the pumpkin and sunflower seeds, again, stir well to combine. Be aware, as seen below, this is a very wet batter, more liquid than solid. Do not worry, that is as it should be and it will come out beautifully.
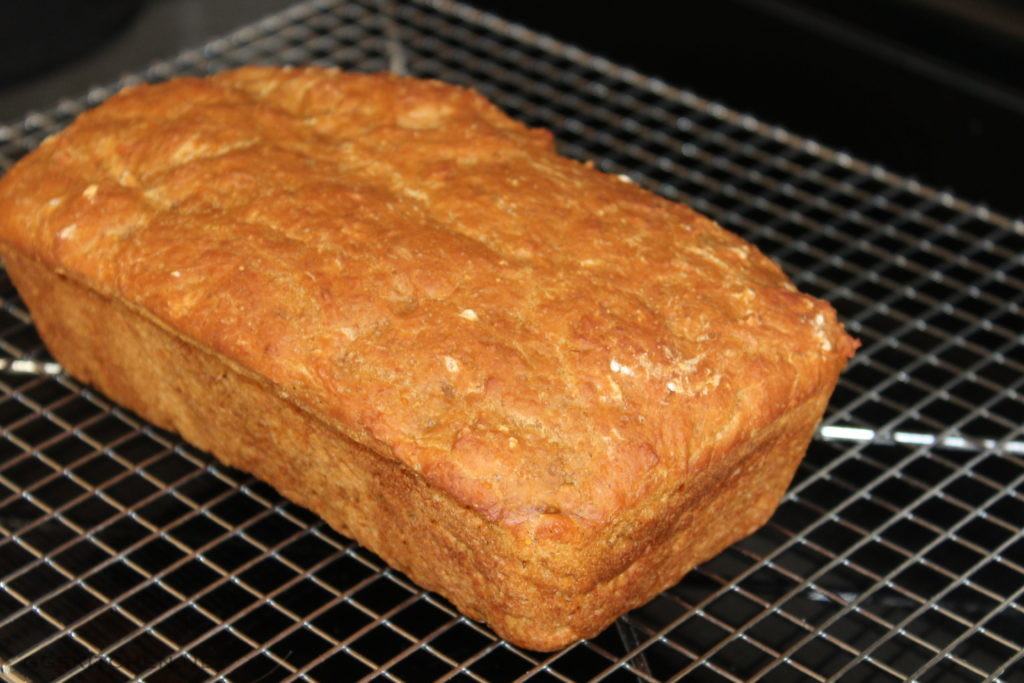
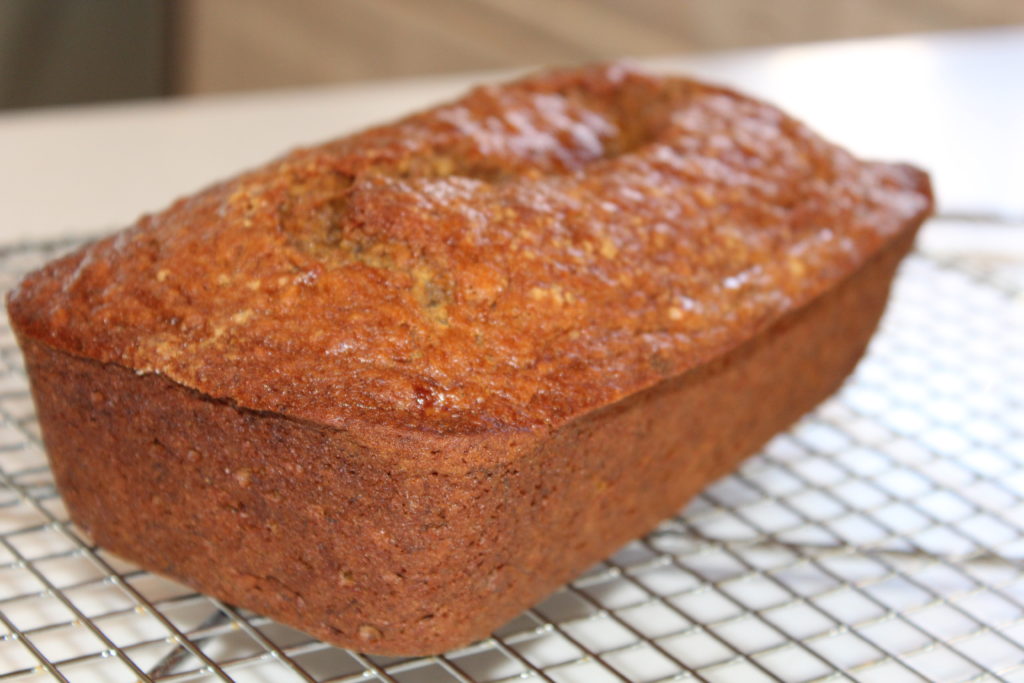
Pour the batter into five mini-loaf pans (mine are approximately 3-1/4″ x 6″) that you have sprayed with nonstick spray. Bake for about 22 minutes or until golden on top and slightly springy to the touch. When done baking, remove from the loaf pans and cool completely on a wire rack.


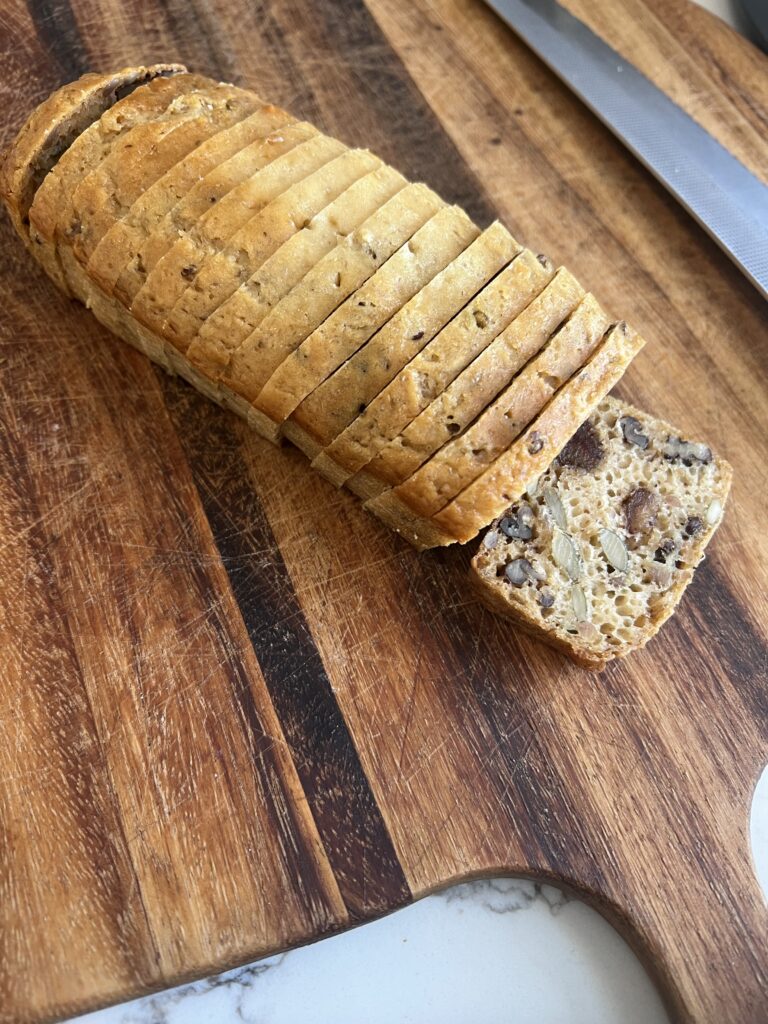
Then, wrap and freeze them slightly before slicing. When slightly frozen, it will be much easier to cut into very thin slices. I also recommend using a good serrated bread knife to do the slicing, it will cut through the nuts and dried fruit better. I usually get about 18-20 slices out of each loaf.
SECOND BAKE
Place the slices on a sheet pan and bake in 300º preheated oven for 15 minutes, then flip them over and bake for another 10 minutes or until crisp and a deep golden brown. Over time, you will get a feel for how brown/crisp you like yours done. Leave them in longer for darker, crisper crackers or pull them out sooner when not too brown, if you prefer. If next day they need crisping, just put them on a sheet pan for a few minutes at 300º and they will be fresh and crisp.
Alternatively, you can freeze the loaves for up to two months, just make sure you wrap them tightly. When ready to use, thaw slightly, slice and bake for some yummy fresh crackers.
NOTES
The mini loaf pans are very easy to find. If you live near a Home Goods store, they usually have them for about $10 for a set of 4 or 5. If you don’t have access to that, there is always Amazon, they, as always, have many options to choose from. I do have some silicone loaf pans (red in the photos above) and just a heads up, they do take a little longer to cook than the metal pans. Not a problem, just something to be aware of. Truth be told, I’m not a big fan of them, they tend to expand on the sides a bit and don’t hold there shape as well as the metal pans.
Also, a note on the buttermilk. I actually made my own because I didn’t want to go to the market. Making your own couldn’t be simpler, take 2 cup of milk (I used 2% because that’s what I had on hand) and add 2 Tbs of distilled white vinegar OR 1 Tbs of lemon juice. Mix the two together and let sit for about 10-15 minutes and you’re done! It should look mildly curdled.
Some other flavor variations to try:
1/2 cup dried apricots, chopped
1/2 cup (70g) dried figs, chopped
1/2 cup hazelnuts, chopped
1 Tbs chopped fresh rosemary
and another:
1/2 cup dried cranberries or dried cherries
1/2 cup figs
1/2 cup pecans, roughly chopped
zest of an orange