Persian Cucumber Avocado Salad
I discovered this amazingly refreshing salad on one of my new favorite Instagram accounts, Shred Happens. The story behind this is an incredible one. The gentleman has lost 140 lbs. by changing the way he eats, not depriving himself, but finding ways to make some of his favorite foods much healthier. Honestly, the flavor in all of his recipes is totally over the top delicious and most are pretty darn quick to pull together. You really should check it out.
Here is one of his very satisfying, crunchy salads that will not disappoint. It takes minutes to pull together and is refreshing, clean and absolutely delicious. I have made minor adjustments to his original recipe.
You can serve this as a stand alone salad for lunch, along side a steak, or any other protein, as a wonderful accompaniment.
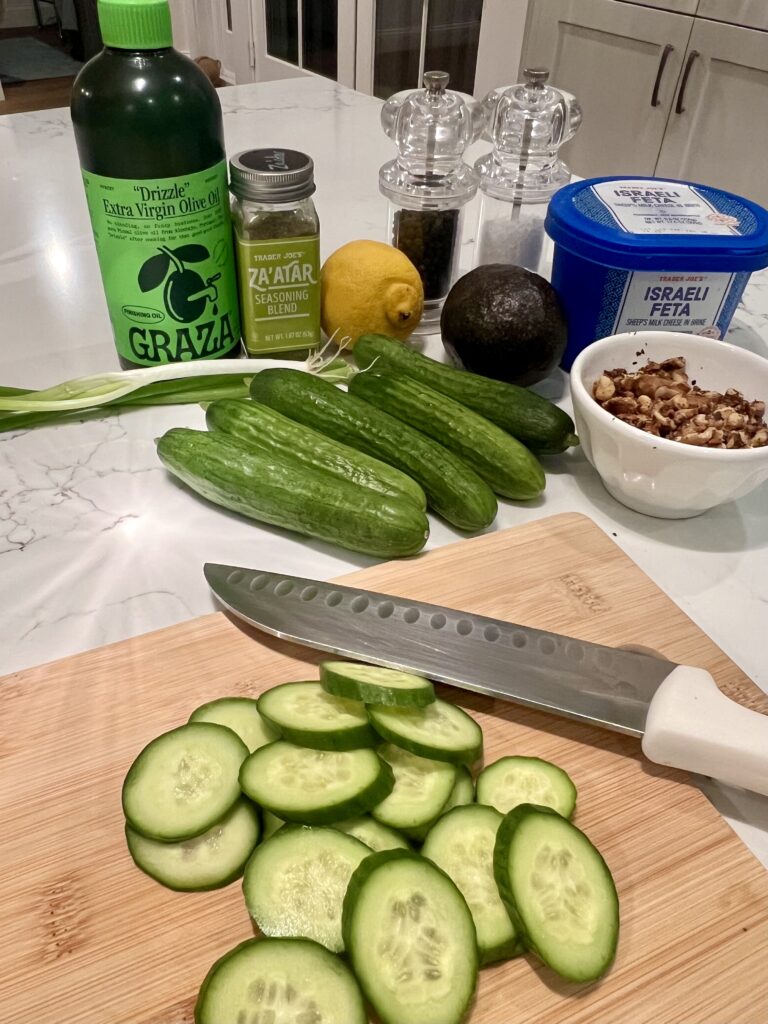
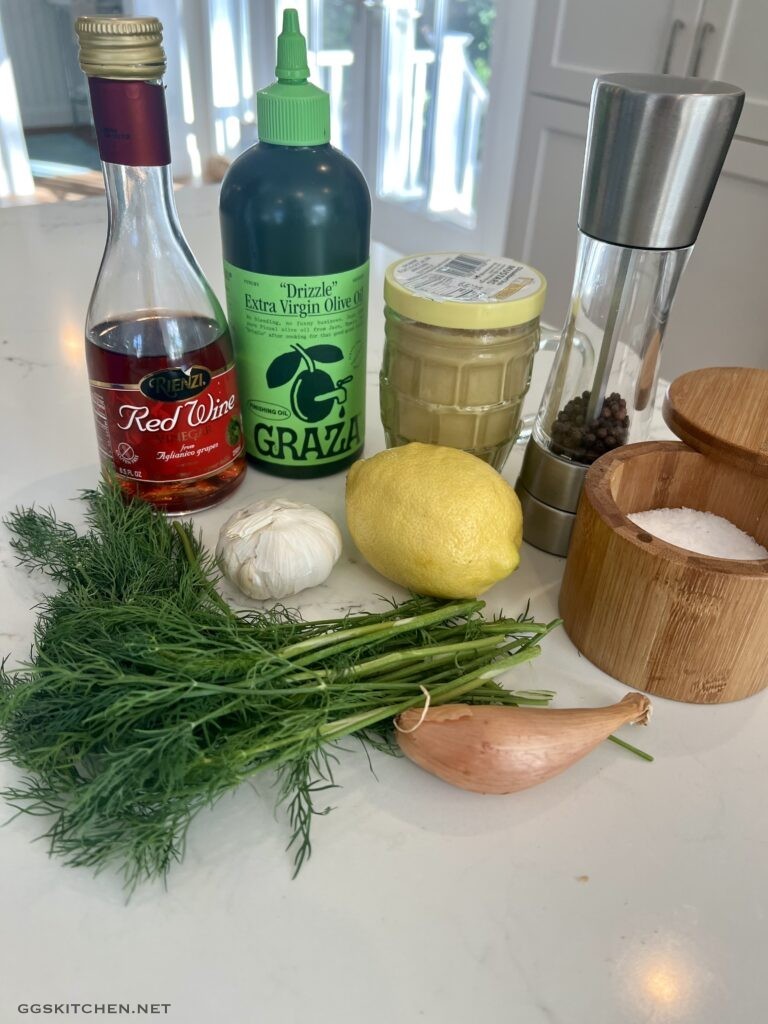
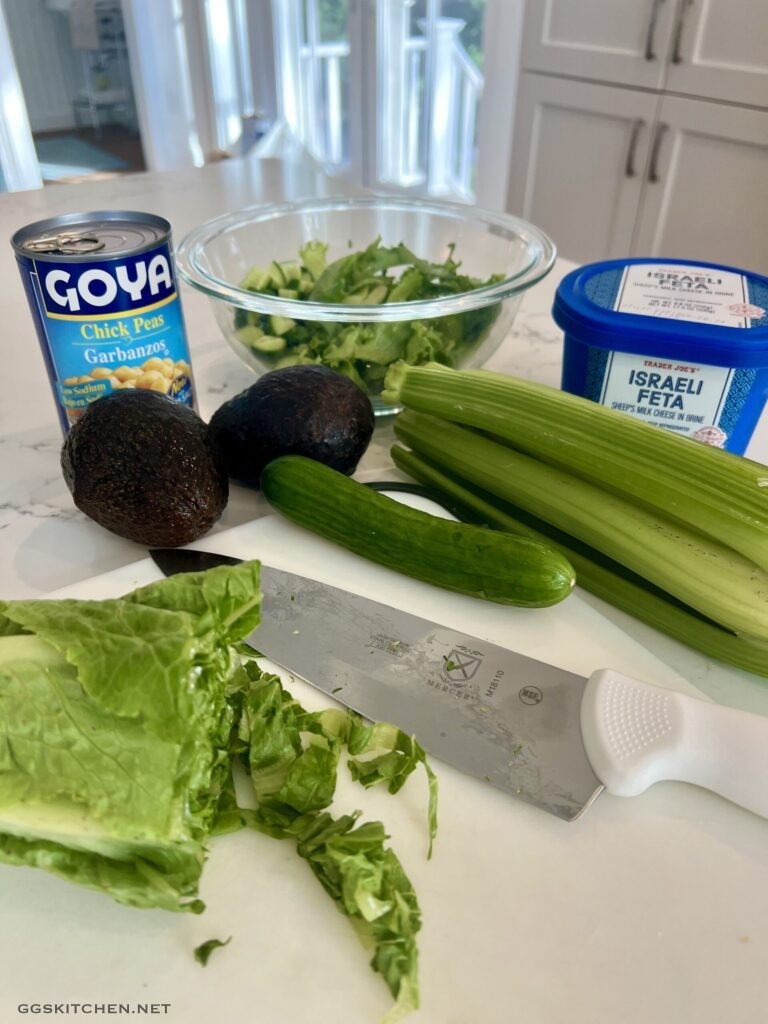
INGREDIENTS
5-6 persian cucumbers, or 1 English cucumber
1 avocado, cubed
1-2 scallions, thinly sliced
1/3 cup fresh dill, finely chopped
1/3 cup fresh mint, roughly chopped
2 oz. walnuts, toasted and cooled
1 1/2 oz. feta, crumbled
1 Tbs. za’atar, see notes below
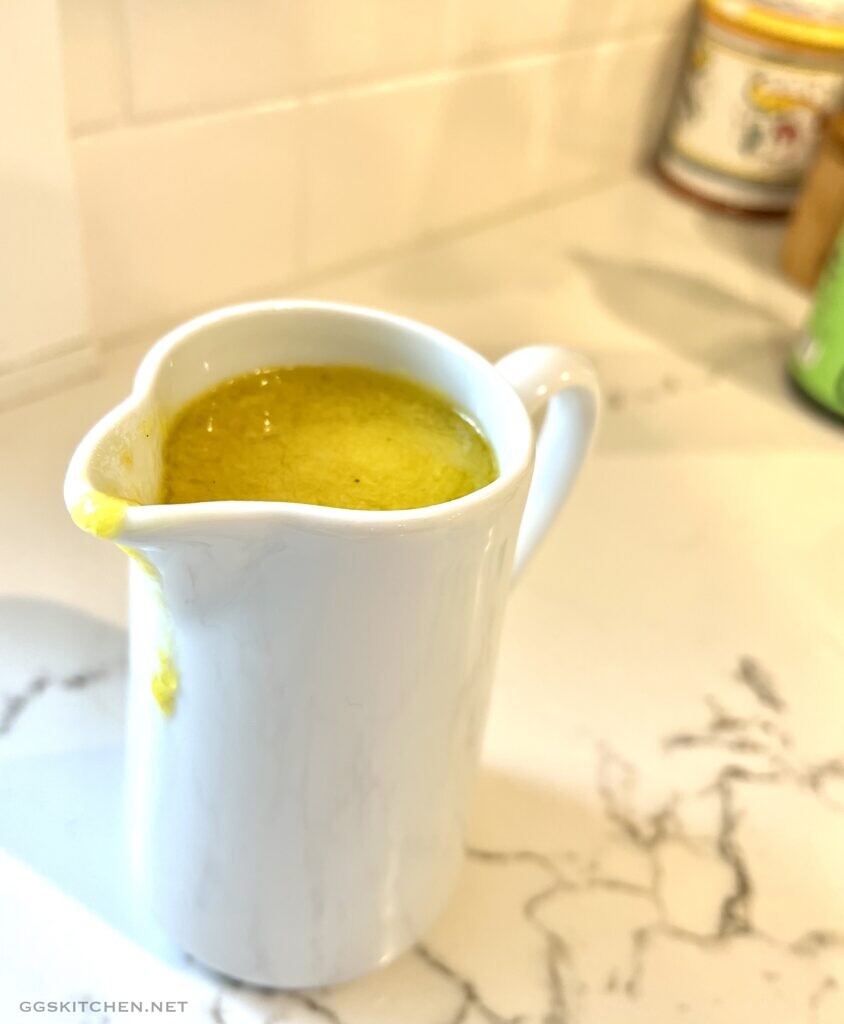
zest of 1 lemon
1/2 lemon, juiced
3-4 Tbs. good olive oil
kosher salt, to taste
fresh ground pepper, to taste
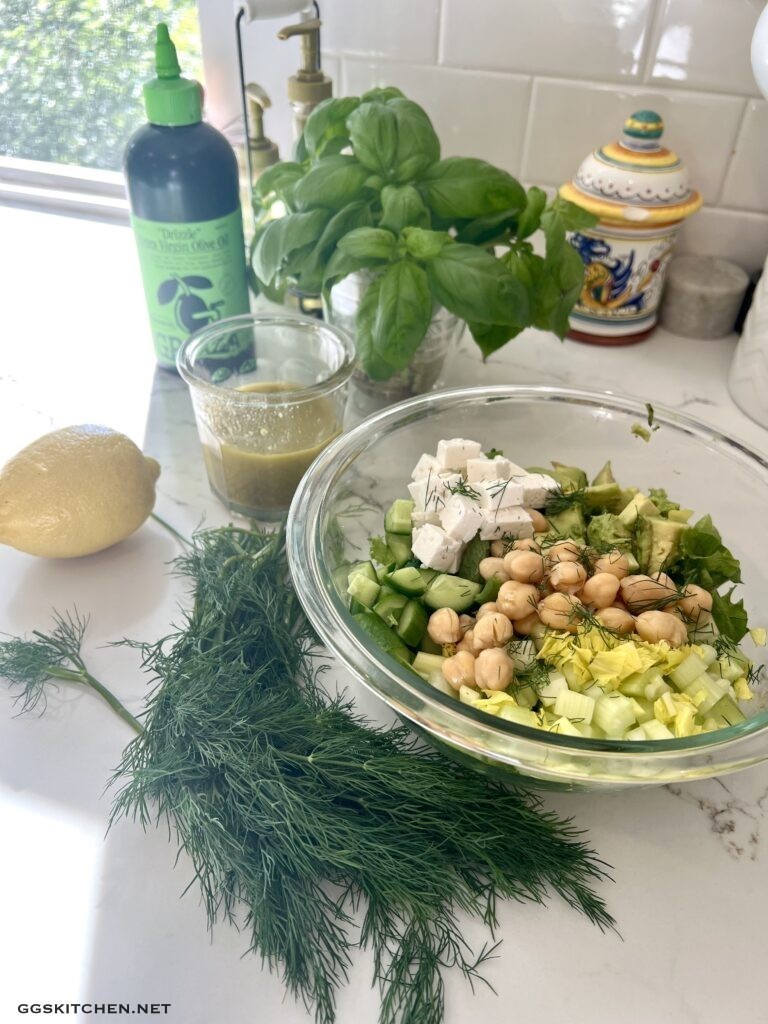
DIRECTIONS
First, thinly slice the cucumbers and add them to a bowl. Then, add the next seven ingredients (up to the za’atar) and toss well to combine. Finally, add the za’atar, lemon zest, lemon juice, olive oil, salt and pepper and again, toss well to combine and serve. That’s it, your done! This will easily keep for a day or two in the fridge, but I think it just may not last that long.
NOTES
As always, you can definitely play with the amounts in this recipe to your preferred taste. Try swapping out the feta for say crumbled goat cheese or a crumbled blue. Also, pecans would be tasty in place of the walnuts. The one thing I would not change is the herbs and the amount of them, the fresh herbs really take this salad to the next level and cutting back on them would be a mistake.
Za’atar is a very popular Middle Eastern spice blend. It is typically made from a combination of dried thyme, oregano, marjoram, toasted sesame seeds and sumac. It has a wonderful earthy, tangy, and nutty flavor. These days, you can usually find it in most larger supermarkets and Trader Joe’s also carries it. If you somehow can’t find it, there are a multitude of recipes online that you could tap.