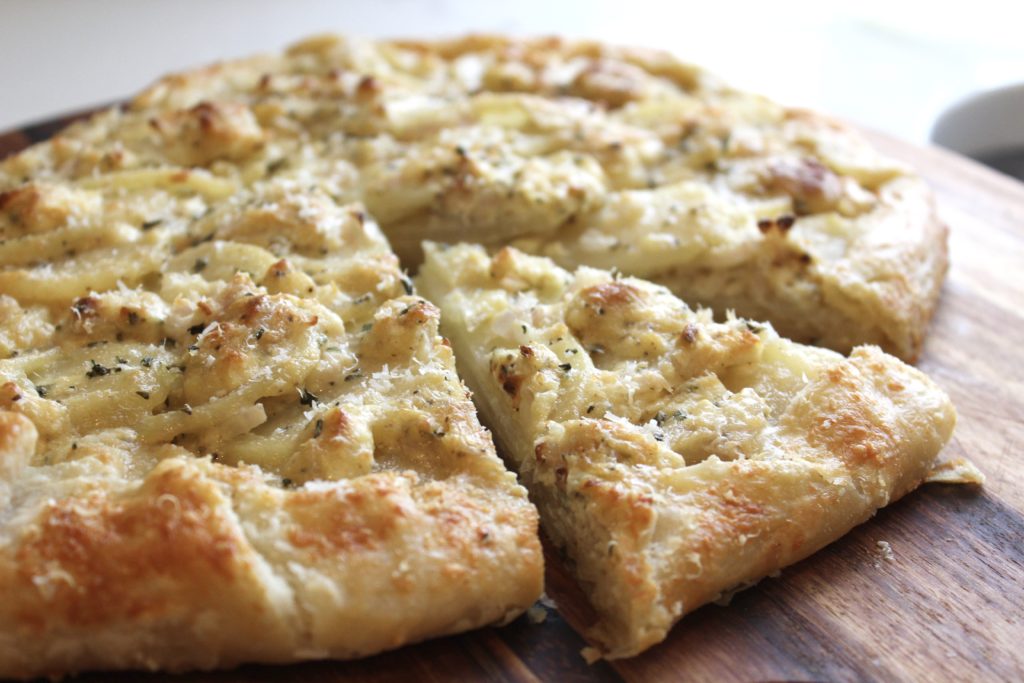
Summer Squash Gratin with Salsa Verde
Although everyone seems to have an abundance of summer and zucchini squash recipes, I think this one takes things to another level. I found it on smitten kitchen and have made very few modifications. If you are not familiar with that website, you need to check it out. Not only are the recipes terrific and easy to follow, but it is also quite entertaining; I love her subtle and dry sense of humor. Additionally, she has wonderful pictures of most steps taken when preparing her dishes.
INGREDIENTS:
Gratin
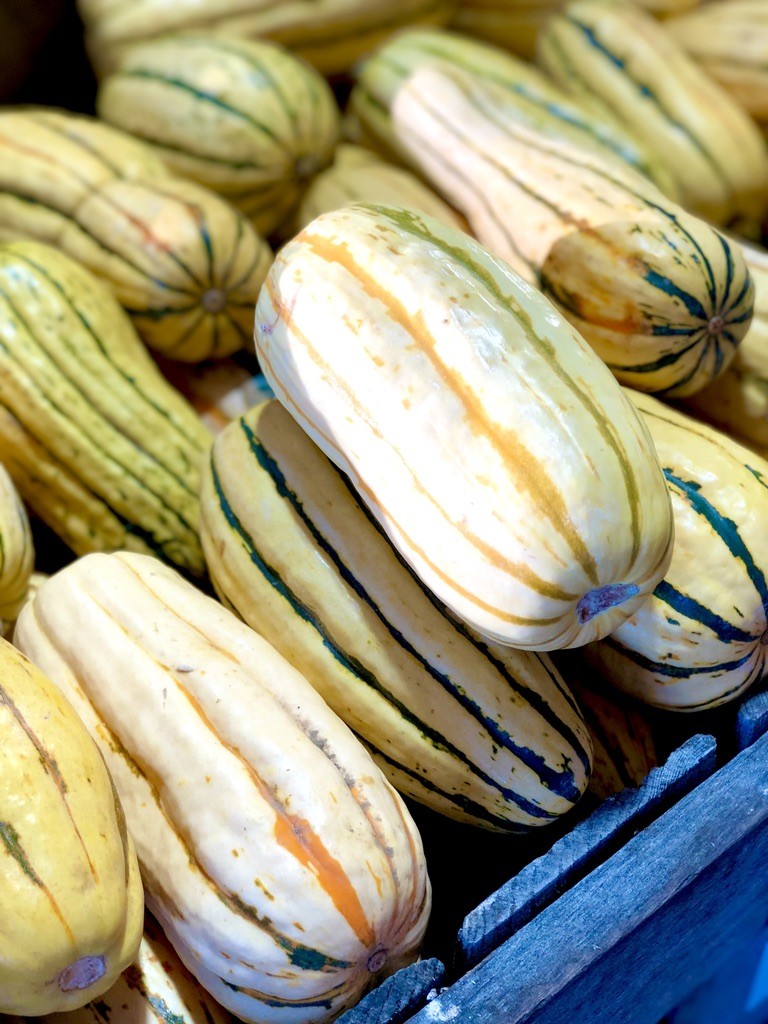
2 lbs. summer squash, any mixture is fine, smaller ones are better
1 tsp. kosher salt
1 1/4 c. panko
3 Tbs. butter
3/4 c. thinly sliced shallots, about 4 to 5
1 c. grated gruyere cheese
1/4 c. salsa verde (below)
Freshly ground black pepper
INGREDIENTS:
Salsa Verde
1 Tbs. thyme leaves
1/4 c. mint leaves, coarsely chopped
1 c. flat-leaf parsley, coarsely chopped
2 small cloves garlic
1 anchovy filet
1 Tbs. capers, drained
1/2 cup olive oil
1/2 lemon, juiced, or more to taste
DIRECTIONS
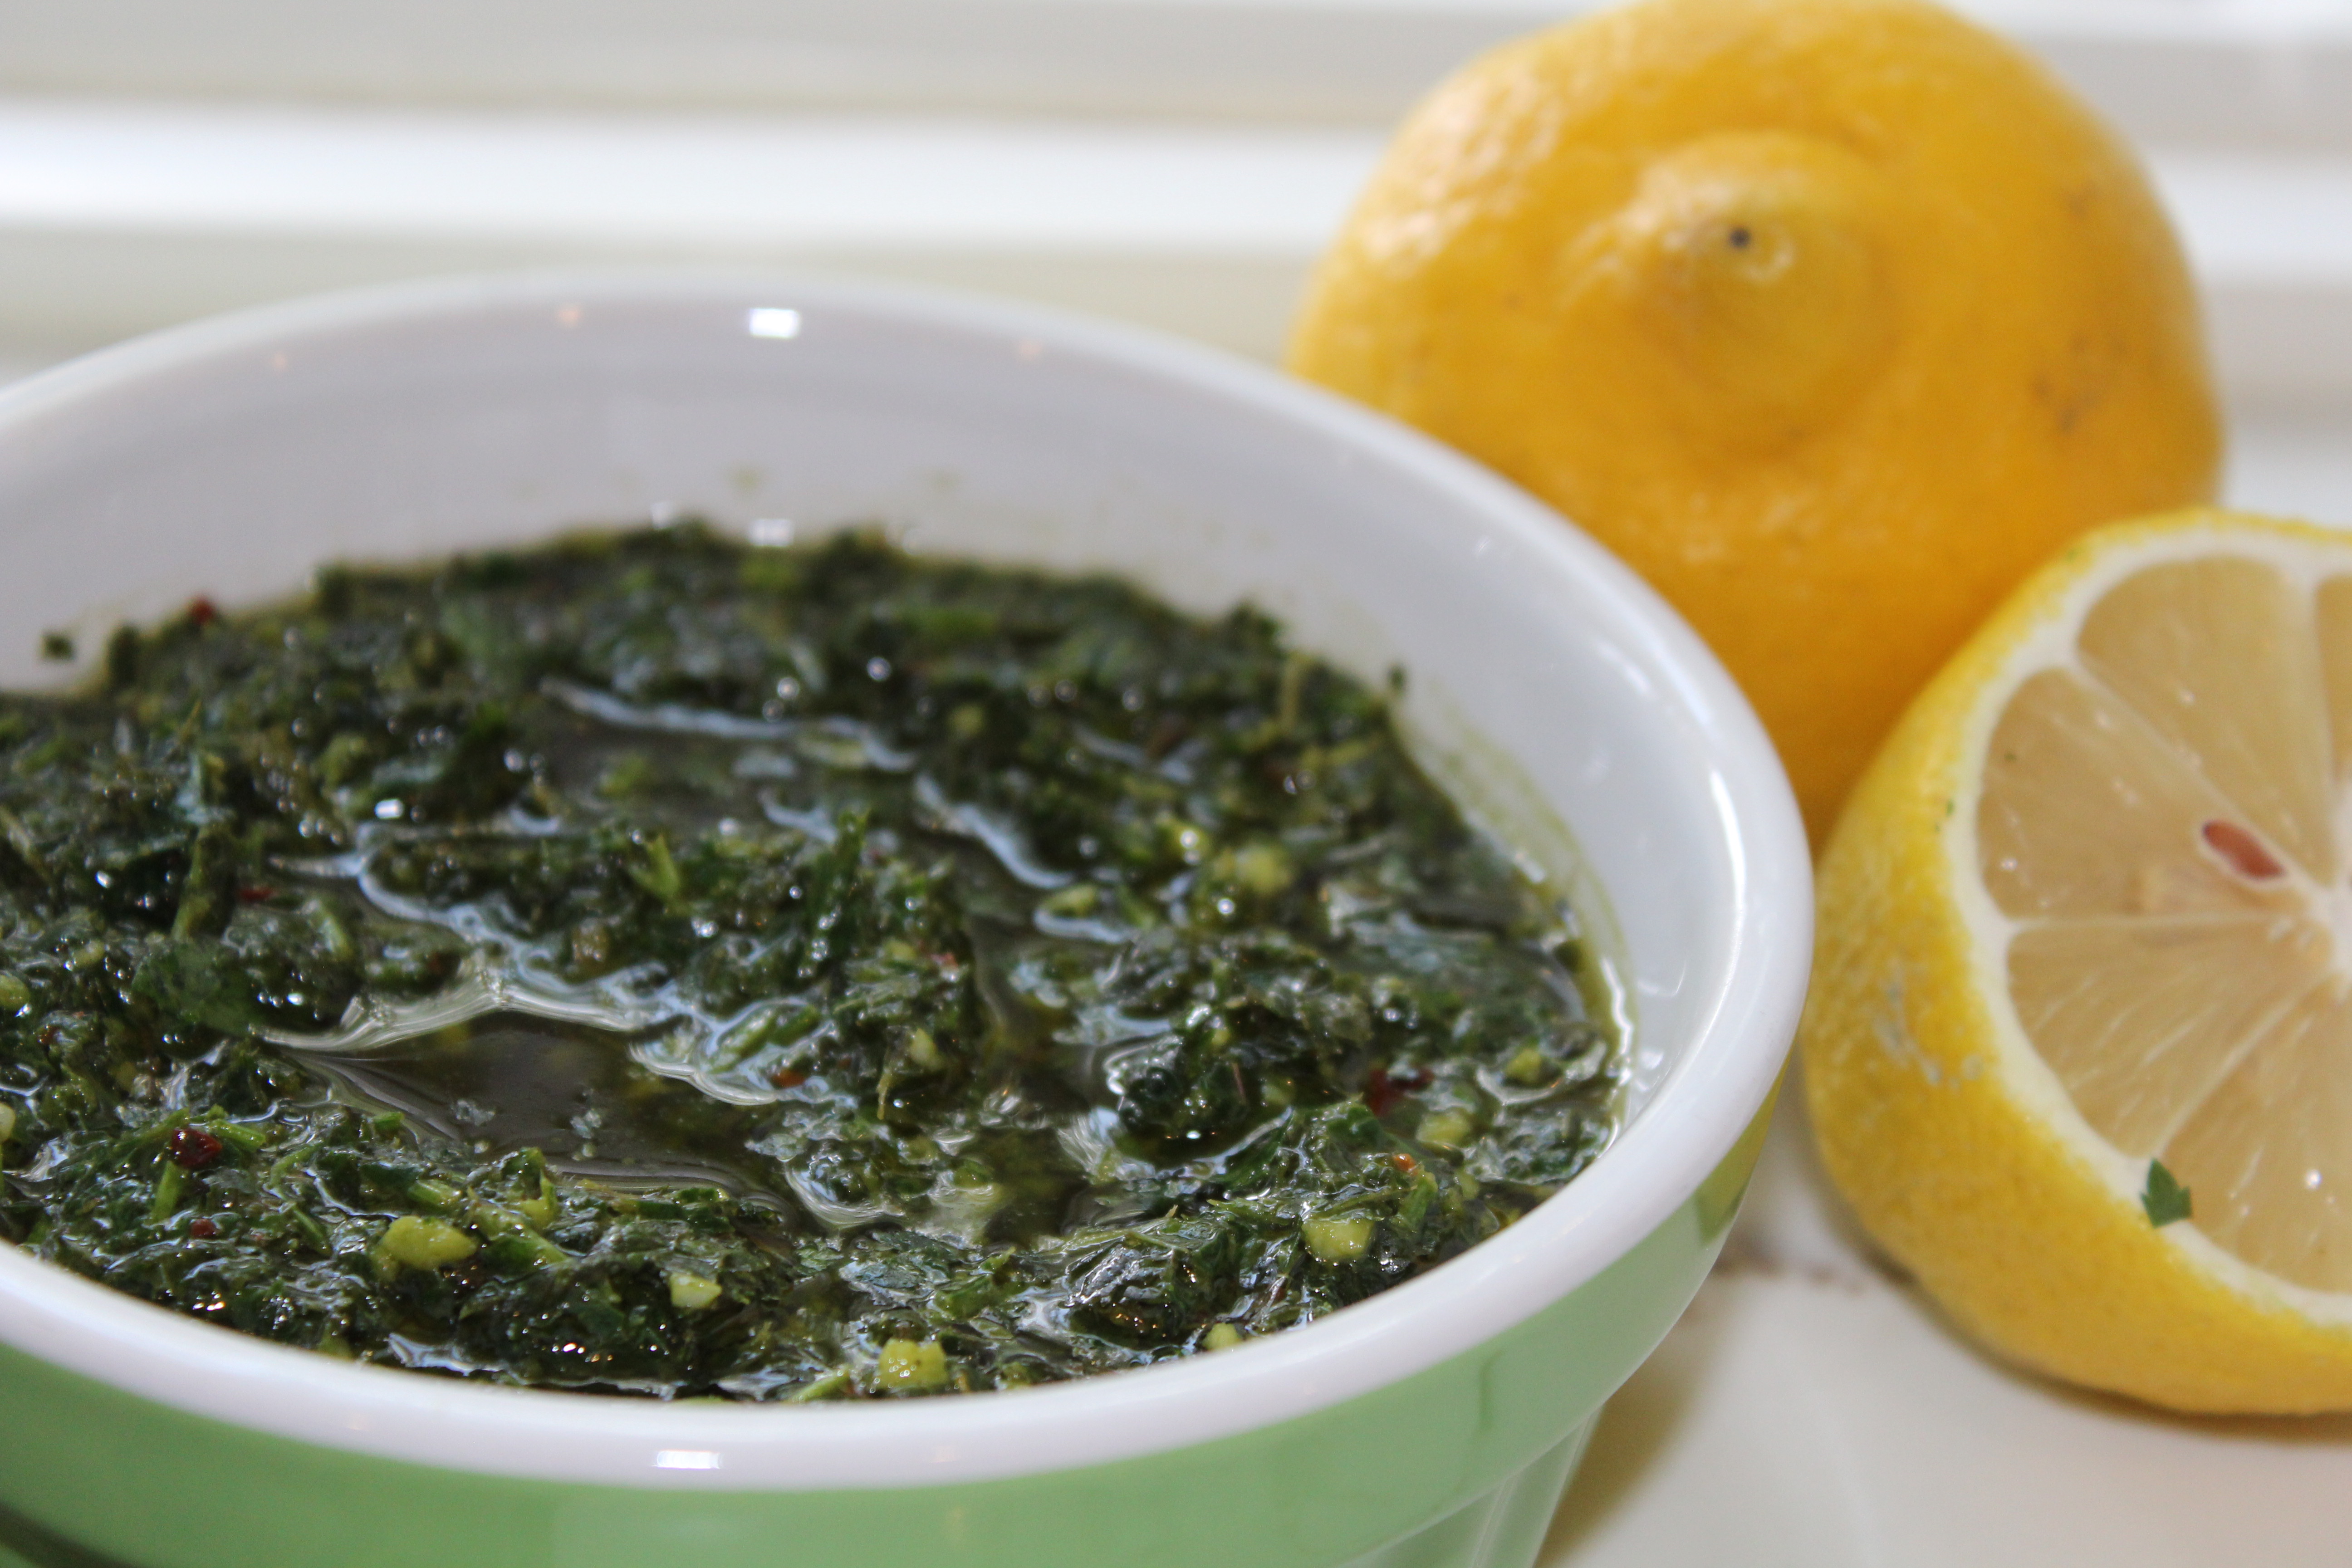
Salsa Verde
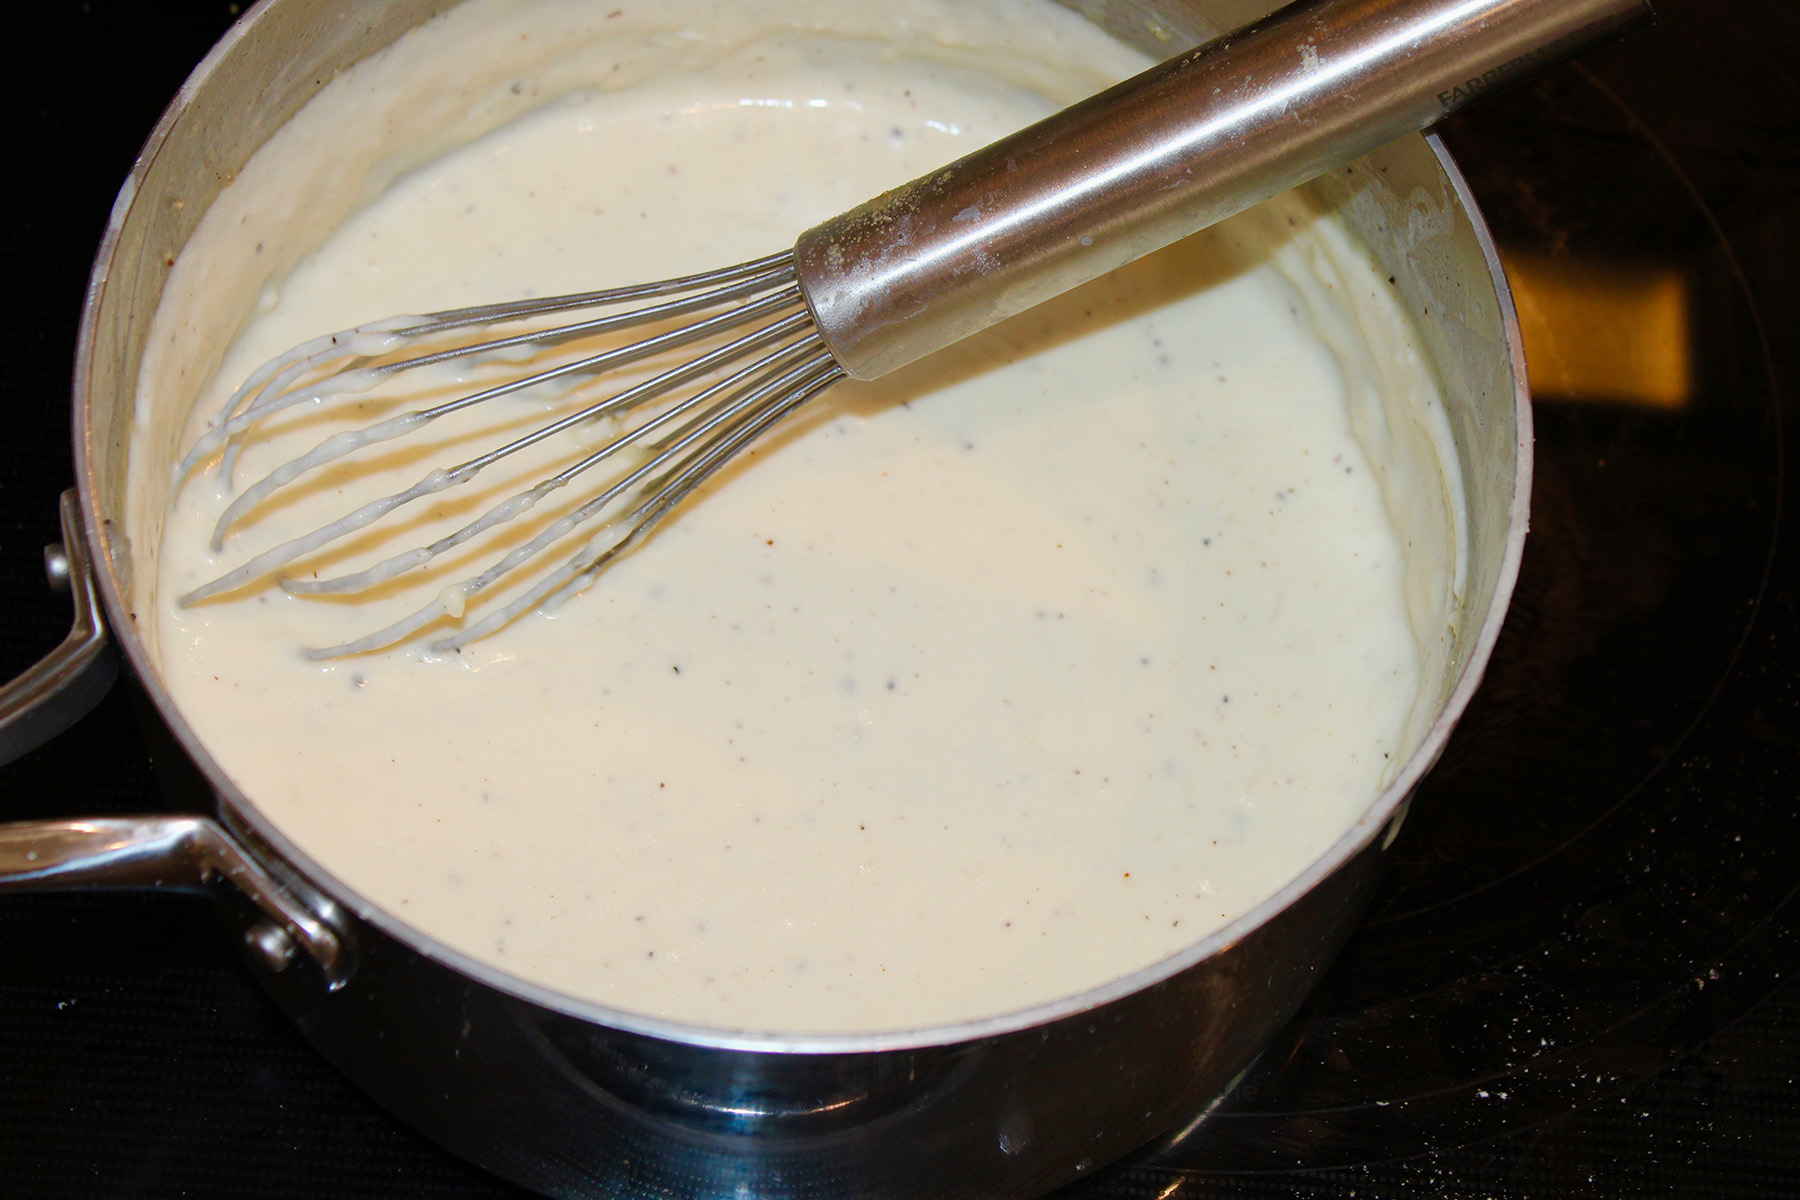
First, combine the herbs, garlic, anchovy and capers in a food processor until it is the consistency of a paste. Make sure to scrape the bowl when needed. Next, with the machine running, slowly drizzle in the olive oil. Then, when fully emulsified, season with kosher salt, fresh ground pepper and lemon juice and set aside. You can actually do this a day or two ahead of time, if you wish.
DIRECTIONS
Gratin
Preheat oven to 400°F.
First, cut the squash into very thin coins, toss them with one teaspoon of kosher salt and place them in a colander to drain for about 10-15 minutes. You can then dry them briefly, on paper towels, before placing them into a large mixing bowl.
Meanwhile, place the breadcrumbs in a small bowl. Then, melt the 3 tablespoons of butter in a small pan and cook until it browns a bit and has a nutty aroma. Next, pour the melted butter (make sure to scrape out all of the little brown bits) over the breadcrumbs and toss to fully coat them.

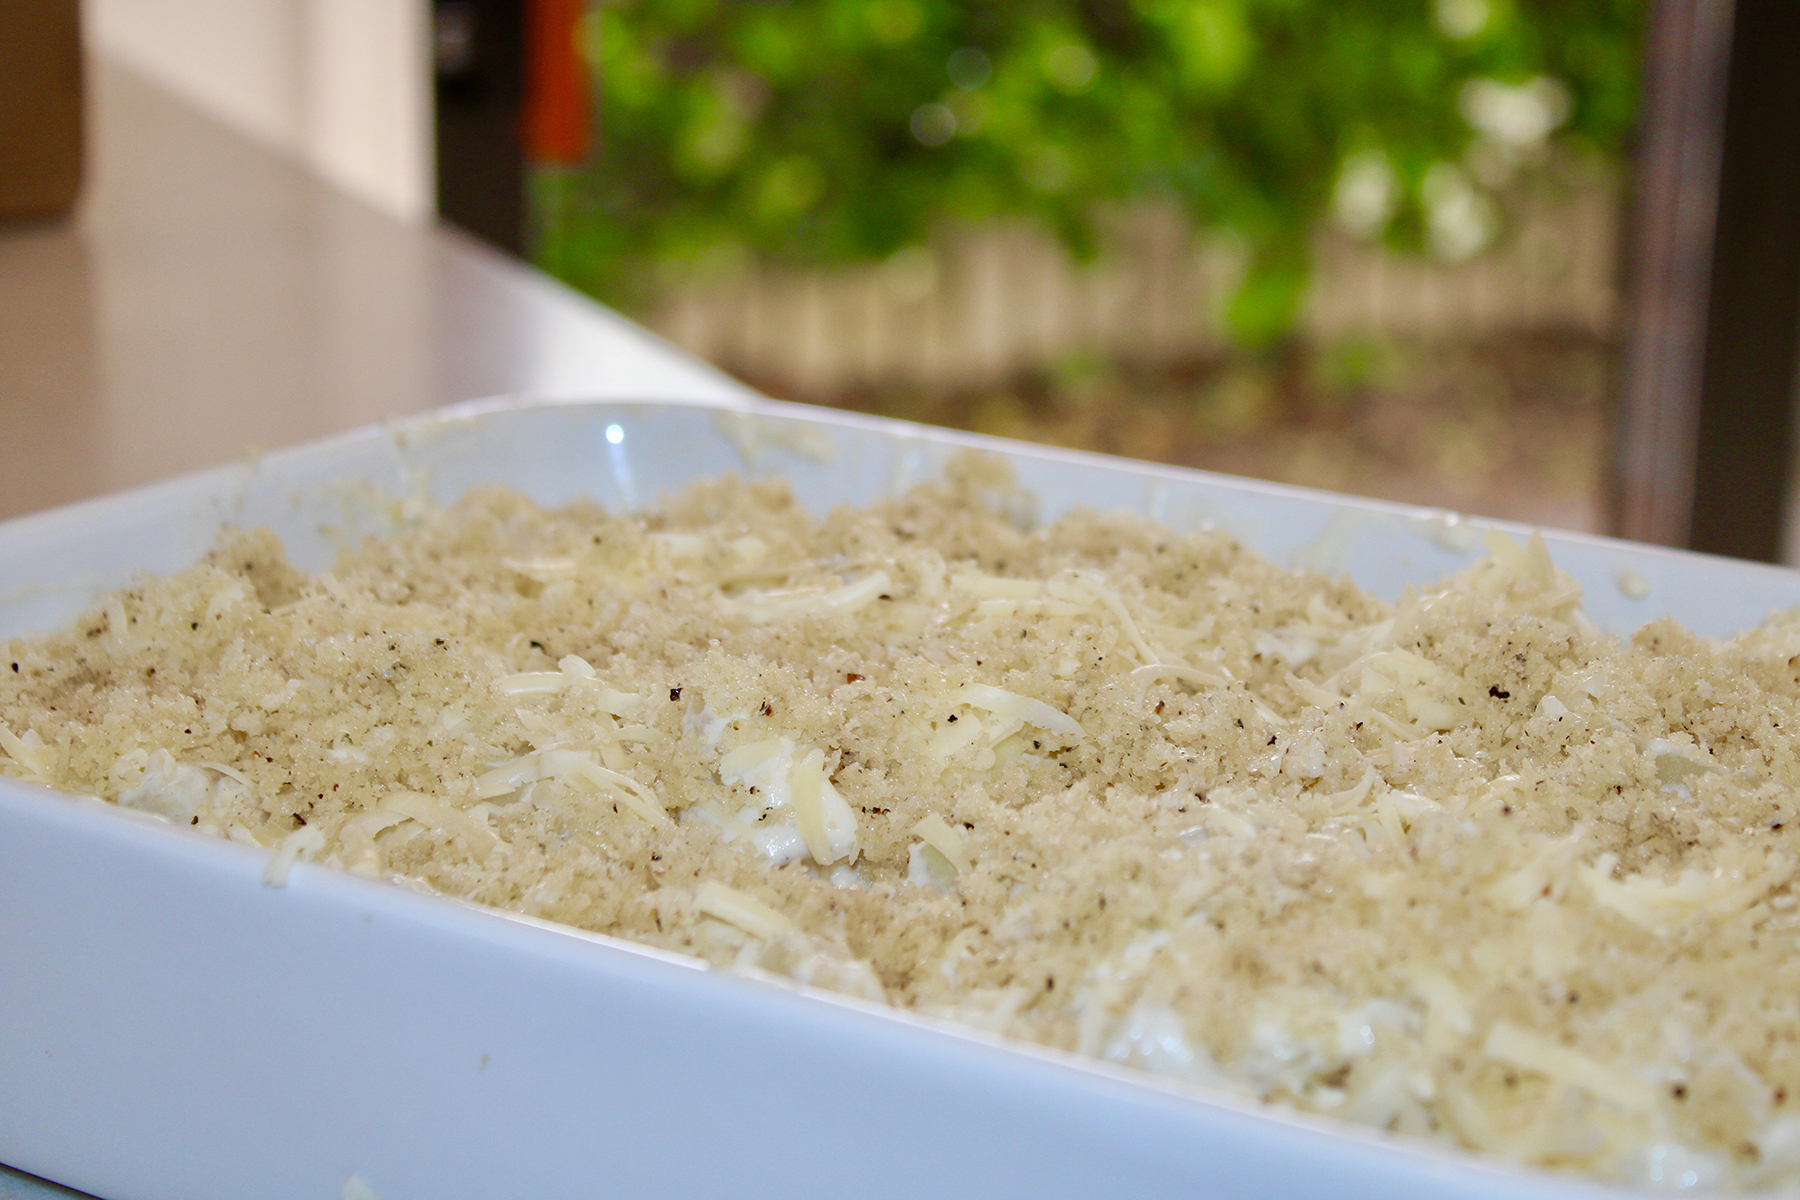
Next, add half the breadcrumbs, shallots, gruyere, 1/4 cup salsa verde (about half) and some freshly ground black pepper to the bowl with the summer squash and toss well to combine. Then transfer the mixture to a 9-inch cast-iron skillet, or a 9″x9″ baking dish. Finally, scatter remaining breadcrumbs over the top and bake for 35 to 40 minutes or until the squash is tender and the crumbs are crisp.

NOTES
Just an FYI, I tried this without salting and draining the squash (because I forgot!) and it turned out just fine. So, if you can’t be bothered with that step, leave it out. Also, don’t really worry about the slice thickness too much, it works quite well even if they are not super thin. The 400º temperature for 35-40 minutes is definitely enough to cook the squash through.