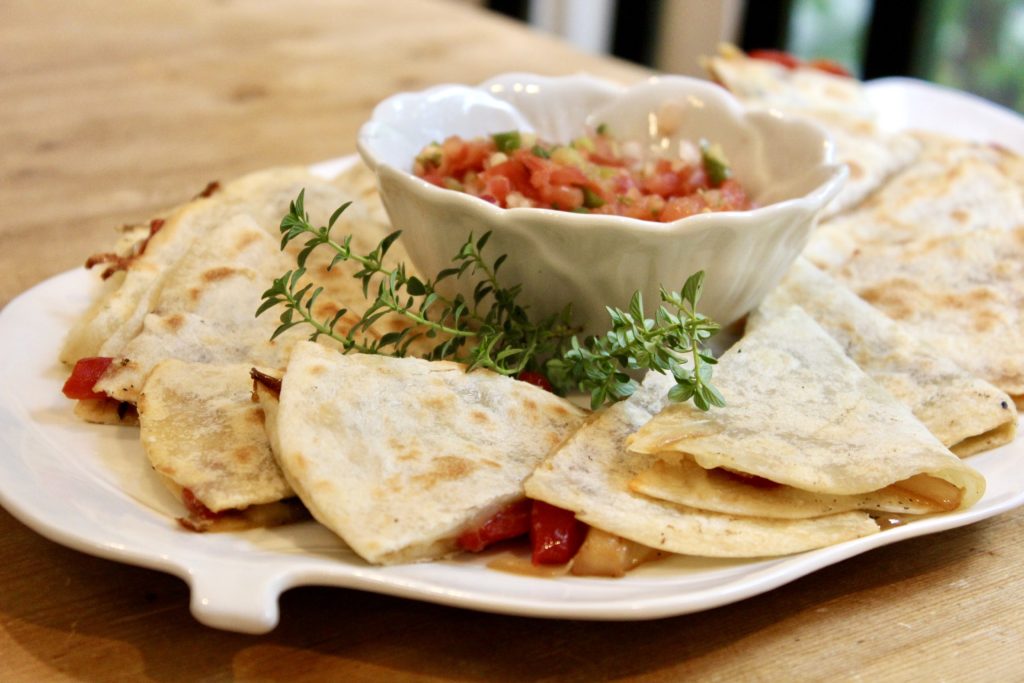
Roasted Pepper Quesadilla
In need of a quick lunch, snack, or an appetizer? You will love the simplicity of this and the options are endless. Pantry raiding recipes are some of my favorites and this one is as easy as it gets.
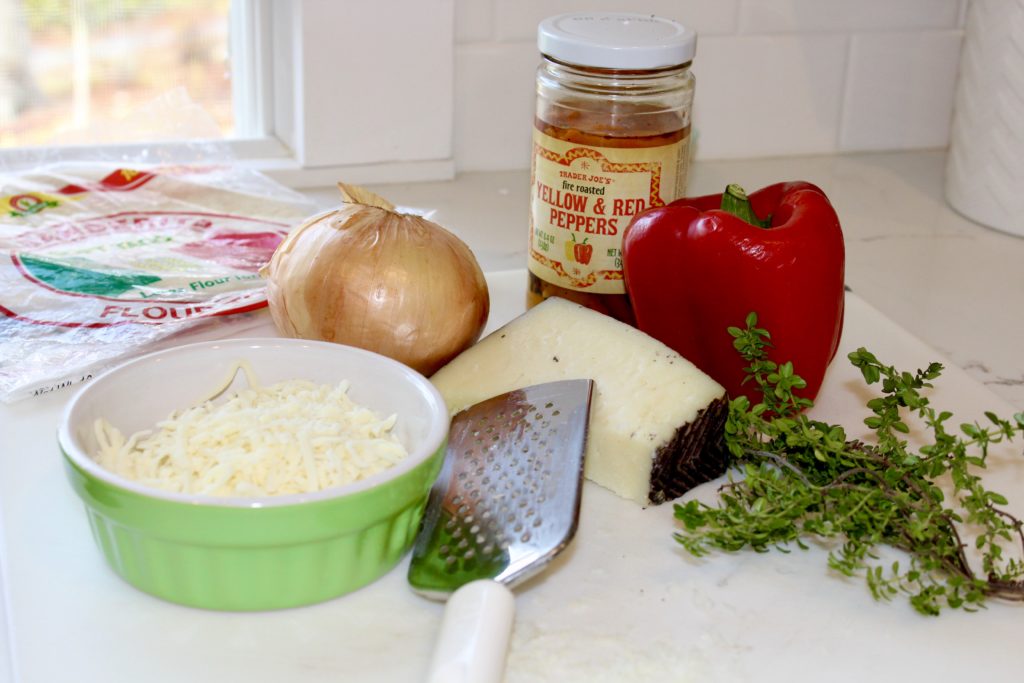
First, several of the ingredients are shelf-stable and once you’ve made this, make sure you keep these items (or other favorites) on hand. Most of us have some leftover cheese on hand, so feel free to swap out what you already have. An Italian cheese mixture is great, gruyere, fontina, most any combination works well. I do think using more than one type of cheese gives you more depth of flavor.
INGREDIENTS
1 Tbs. olive oil
1 medium sweet onion, chopped
1 roasted bell pepper, red, yellow, or orange
5-6 kalamata olives, pitted, roughly chopped
1 Tbs. capers
3 sprigs fresh thyme, stripped
manchego cheese, grated
mozzarella, shredded
kosher salt, fresh ground pepper, to taste
6-8 flour tortillas
DIRECTIONS
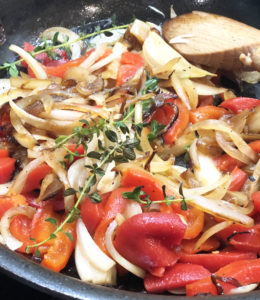
First, preheat a 10″ or 12″ skillet over medium heat. Then, add the chopped onion and sauté until soft, but with a bit of browning. Meanwhile, slice the peppers into strips, add to the onions, and season to taste. Next, add the olives, capers, thyme, and briefly sauté long enough to warm through and to fully combine. Transfer the mixture to a small bowl and set aside.
Next, spray the same skillet with nonstick spray or use a teaspoon of butter. Don’t worry about any leftover bits, they will just add more flavor. Add one of the tortillas to the skillet and sprinkle a bit of the cheese over the whole tortilla. By lightly covering the whole tortilla, the cheese, once melted, acts like glue and helps keep all the contents from falling out.
Then, take a small portion of the pepper, onion mixture, add to just one half of the tortilla, and then top that with your second cheese. Place a cover over the pan for a very short period of time, to help warm everything and ensure all the cheese melts. Finally, when fully melted, fold over the tortilla, press down to bind and transfer to a platter, and slice into wedges.
NOTES
The beauty here is that you don’t need a lot of any one ingredient to make this work. If you have some leftover steak, chicken, ribs, just shred it and add to the peppers and onions. Have a few mushrooms left over, add them too. You like a spicy kick, add some hot sauce, banana peppers, or pepperoncini.