Roasted Butternut Squash and Kale Salad

Don’t say it, I understand, you don’t really like kale. Honestly, I get that. I was not a big fan either, I was just trying to be a bit more healthy and give it a fair shake. Additionally, my husband, definitely was not a kale fan. When he recently said “I really liked that kale thing, you should make it again”, I was shocked.

So, this is for all of you that want to click away and say “no thanks”. Please, just give it a try, you too might be surprised. It’s healthy, it’s hearty, it’s delicious and pretty darned easy to pull together. Another big plus, this stands up well for a couple of days and actually tastes better as it “ages” and the flavors have a chance to meld.

INGREDIENTS
1 small butternut squash, peeled, seeded, and diced into 1/2-inch cubes
2 Tbs. olive oil
kosher salt and fresh ground pepper
1 cup dry Israeli (pearl) couscous, cooked
2 cups, thinly sliced kale leaves
1/3 cup dried cranberries
1/3 cup chopped walnuts, lightly toasted
2 oz. goat cheese, crumbled

VINAIGRETTE
3 Tbs. cider vinegar
3 Tbs. extra virgin olive oil
1 small clove garlic, grated
1 Tbs. maple syrup
2 scant tsp. dijon mustard
salt & pepper to taste

DIRECTIONS
Preheat oven to 425°F
First, place the cubed butternut squash on a rimmed baking sheet, sprinkle with the olive oil, kosher salt, fresh ground pepper and toss to combine. Then, bake for 25-35 minutes, tossing occasionally, until tender and slightly browned. Next, remove the squash from the oven and set aside to cool for a bit.

Meanwhile, combine the vinaigrette ingredients and either whisk to combine in a small bowl or use a covered glass jar and shake to combine well. Preferably, make this a little bit ahead to let the flavors mingle.

Next, place the sliced kale into a bowl, drizzle with a little olive oil (maybe a teaspoon) and a half teaspoon of salt. Then, dig in (with clean hands of course!) and massage the kale for a few minutes. I know this sounds strange, but it actually softens the kale a bit, which gives it a better texture and it does make a big difference.

Now add the, couscous, cranberries, and walnuts to the kale and toss well to combine. Then, when the squash has cooled a bit, add that to the bowl and add most of the vinaigrette (because I prefer a dryer salad, I always hold some out to add later, if needed), toss well to coat the kale. Next, add the crumbled goat cheese and toss lightly to combine, trying not to break up the goat cheese. Finally, don’t forget to give it a taste, check the flavors and add more salt, pepper or dressing as needed.

NOTES
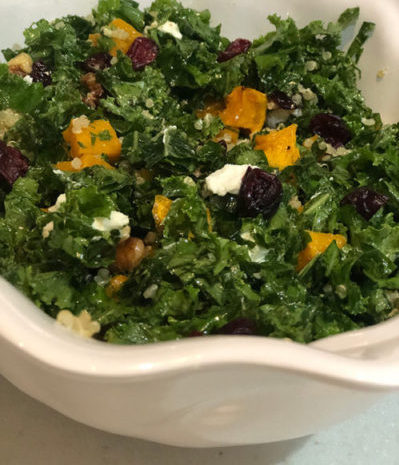
Additionally, you can switch up the grains, as you wish, depending on what you have on hand. I have tried this with quinoa (see below) and with barley, instead of the couscous and honestly, all three are delicious. Since the quinoa has a good amount of protein, it makes a nice vegetarian choice.

One other note, some people actually put the kale in a food processor and pulse it to break down the leaves into smaller pieces. This has a similar result to the massaging and either technique is fine. However, if you do choose the food processor option, be very careful, you can quickly go from small pieces, to mush if you process it too much.

Lastly, a great swap-out to the dried cranberries is dried cherries. This is a delicious alternative, Trader Joe’s has them and they are right next to the cranberries. They do tend to be larger than the cranberries, so I would chop them a little before using. I first tried them when they were out of the cranberries and I was quite surprised how tasty they were.

kale salad with quinoa


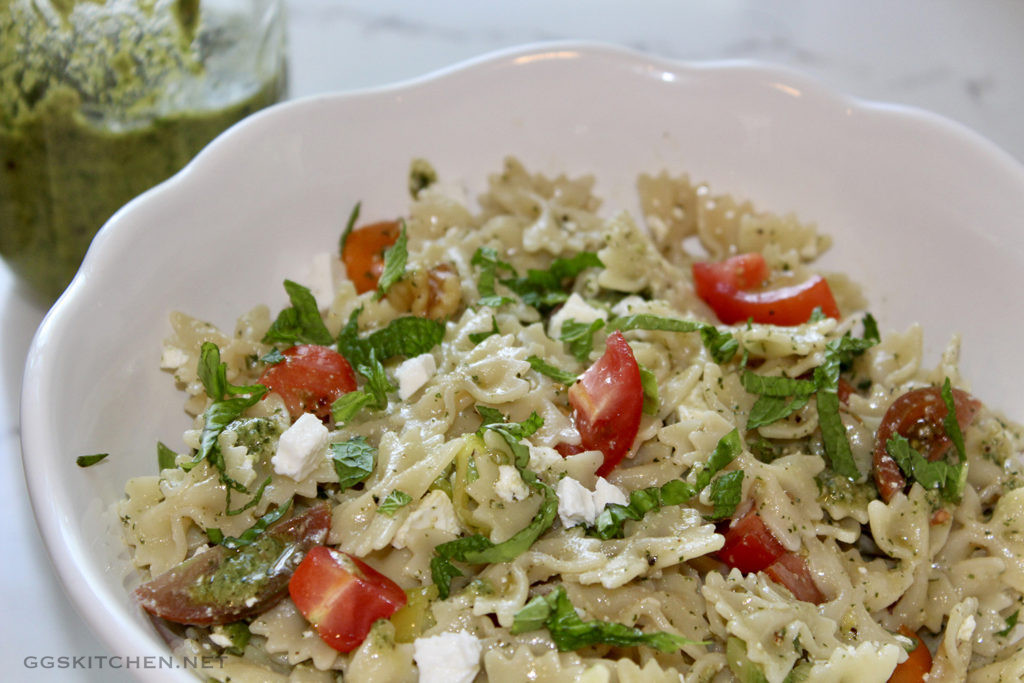
Basil Mint Pasta Salad

Yes, yes, I know pasta salad has been done a million times, however this is a different take on the boring, generic pasta salad that we’ve come to loathe. I use a basil, mint pesto as the base for this dish and once you have some on hand (and I definitely recommend that you do, especially in the summer), you can pull this together in no time. There is wonderful flavor and texture in every bite and it’s even better the next day.

Feel free to vary the ingredients to your liking and use what you have on hand. Given that it has mint, tomatoes, kalamata olive, pine nuts and feta, I would say that it’s a loose adaption of a greek pasta salad. I have not given specific amounts here, because you can be very flexible with this. Personal preference and availability of ingredients definitely play a big part in pulling this together. Don’t be afraid to add more of those things you love or have an abundance of. Alternatively, if you don’t like a certain ingredient, then just leave that out.

INGREDIENTS
basil mint pesto
extra virgin olive oil
1 lb. mini farfalle pasta or other small pasta, see note below
cherry tomatoes, halved
kalamata olives, pitted, sliced in half
toasted pine nuts
kosher salt & fresh ground pepper
feta cheese, crumbled or cubed
fresh basil & mint, julienned

DIRECTIONS
First, cook the pasta, according to the package directions and be careful not to overcook it. No one likes a mushy pasta. Meanwhile, if you don’t already have some on hand, make the basil mint pesto, which should only take about 8-10 minutes.

Next, drain the pasta and while still warm, add some of the pesto and stir to combine. Again, no specific amount; if you like a stronger flavor, add more, but taste as you go. I often add a drizzle of olive oil and a bit of the olive brine for additional flavor. Then, add the tomatoes, olives, pine nuts, stir to combine and season with salt and pepper. Remember, the feta is a bit salty, so be careful with your salt.

Finally, add the feta cheese, the julienned basil and the mint. If too dry, add another drizzle of the olive oil and/or another drizzle of the olive brine.

NOTES
I add the feta cheese at the very end, because I don’t want it to break down and get mushy. I also reserve some of the fresh herbs for sprinkling on top, just before serving. It’s not essential, but just makes for a prettier presentation.

A few great additions to this are, julienned red bell peppers, sliced scallions or sliced shallots. Another tasty option is a few sliced pepperoncini, and definitely feel free to add some of the brine from these as well, it all just adds up to more flavor.

Also, you can certainly vary the pasta shape to your liking or what you have on hand. Orecchiette is a definite favorite of mine because it has little pockets and they grab some of the ingredients, making for an even tastier bite. Another point, although I don’t give specific amounts here (other than the pasta), you do not need to buy multiples or large amounts of any one ingredient.


Basil Mint Pesto

Just in time for your next barbecue. Although this is not a traditional pesto, it is simple, delicious, and versatile. That’s a great combination, it’s a snap to make and a great reason to always have it on hand. Given it’s versatility, it can help you put a meal together in no time. Think grilled cheese, think pizza, think flavor booster for a good soup or a wonderful pasta salad (shown below). You can definitely freeze this, but I dare say that you won’t need to.

INGREDIENTS
1/2 cup walnuts
1/2 cup fresh basil, 
1/2 cup fresh mint 
1/2 cup freshly grated Parmesan, plus more for garnish 
1 tablespoon red wine vinegar
small garlic clove, grated 
Pinch of crushed red pepper
1/2 cup extra virgin olive oil
kosher salt and fresh ground pepper  

DIRECTIONS
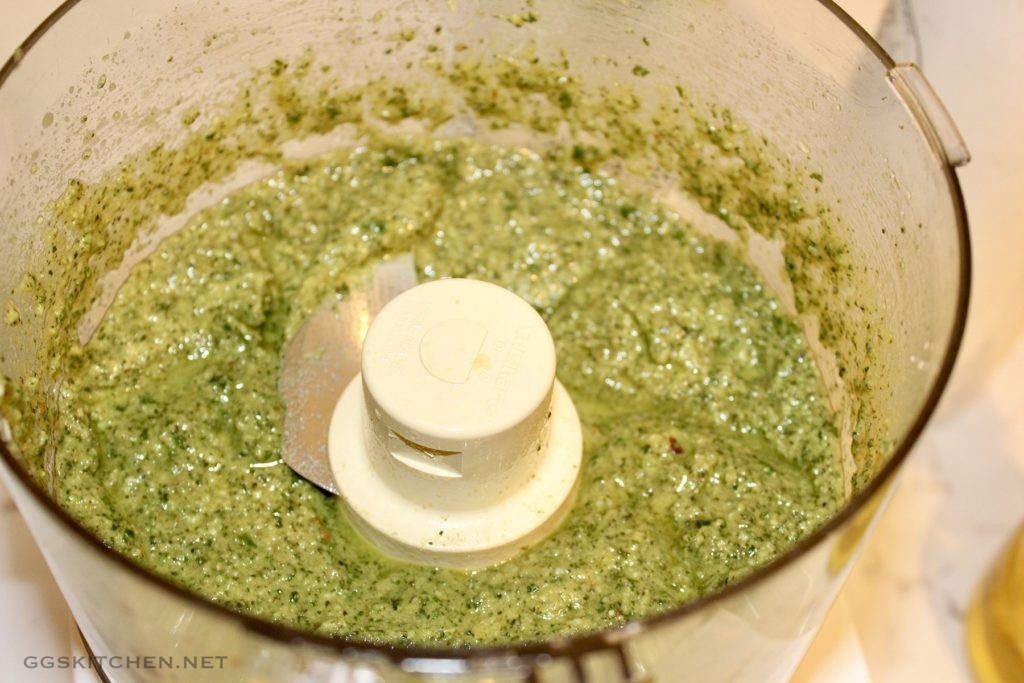
First, lightly toast the walnuts in a dry skillet for a few minutes, until fragrant and let cool slightly. Next, put the walnuts, basil, mint, parmesan, vinegar and crushed red pepper into your food processor. Pulse until the ingredients are combined but still chunky. Then add in the olive oil and pulse briefly to combine. Finally, taste and season as needed, with kosher salt and fresh ground pepper. The parmesan is a bit salty on its own, so be careful with how much salt you add. That’s it, your done!

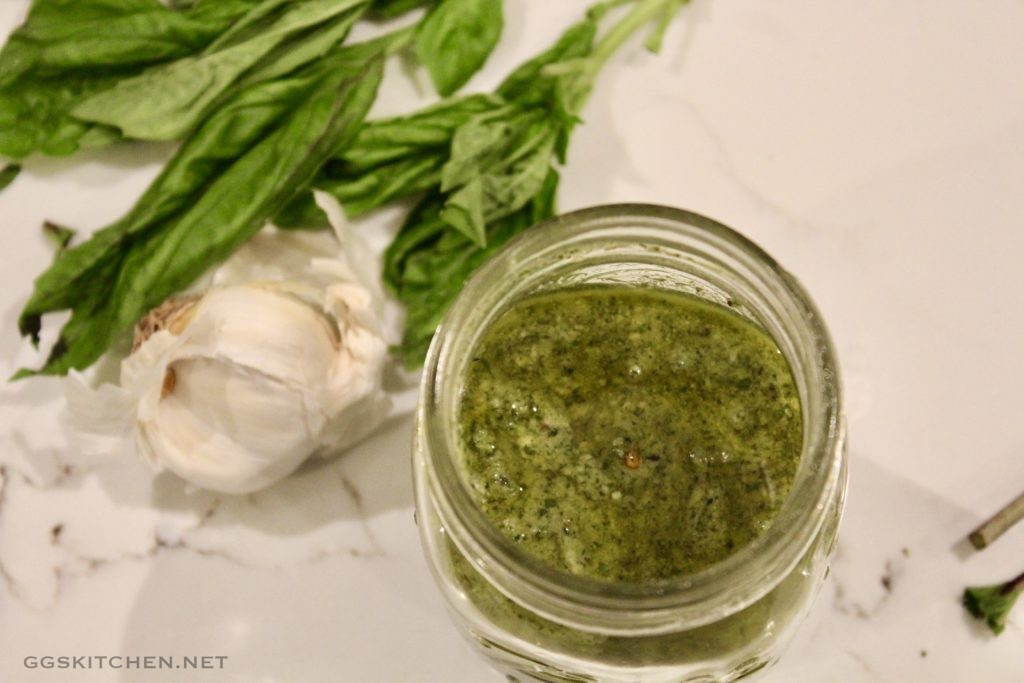
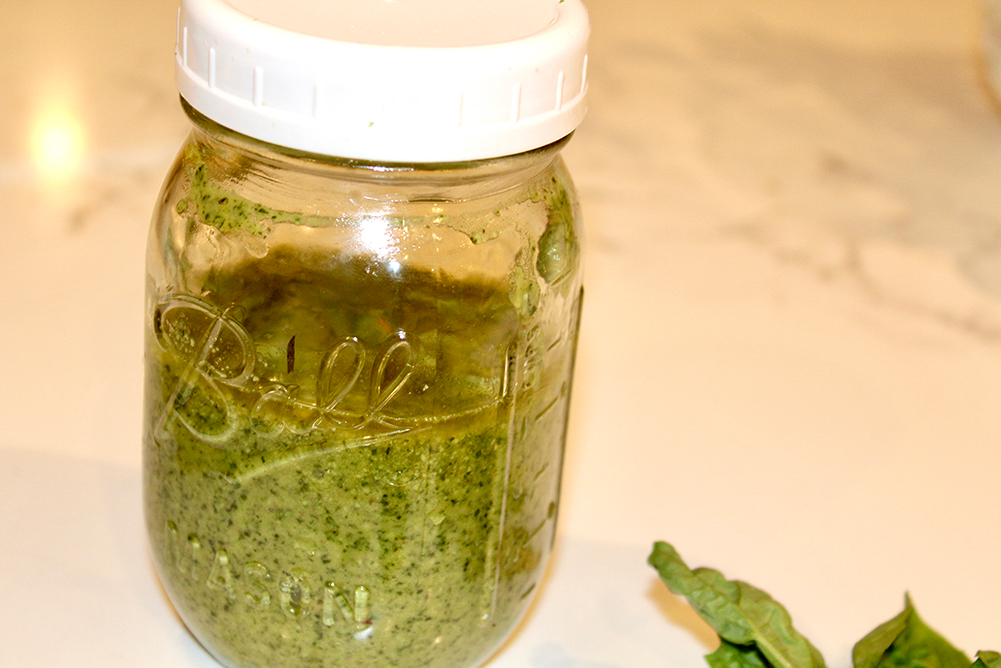
basil mint pesto

NOTES
The options for using this are too numerous to list. Although the most obvious one is as a sauce over pasta, don’t stop there. Try it over grilled fish, drizzled over a tomato salad or as a spread on a sandwich or grilled cheese. Store in an airtight container. Also, take note, that this doesn’t make a huge quantity, so double it if you wish. Personally, `I find this a more manageable quantity.


Pulled Pork Perfection

This is a dangerous dish to have around. Between the intoxicating aroma filling the house and the mouthwatering flavor, this is a tough one to stop eating. Yes, I think I may have a problem, but this is so delicious! Although this takes about 4-5 hours (depending on the size and your oven) and may seem overwhelming, it is actually quite simple. So few ingredients, very little tending or fussing and the oven does all the work.

INGREDIENTS
3-5 lb. boneless pork shoulder (sometimes called Boston Butt)
1-2 large sweet onions, thickly sliced
1/2 cup spice rub, I use Bad Byron’s Butt Rub or my homemade rub
2/3 cup apple cider vinegar

DIRECTIONS
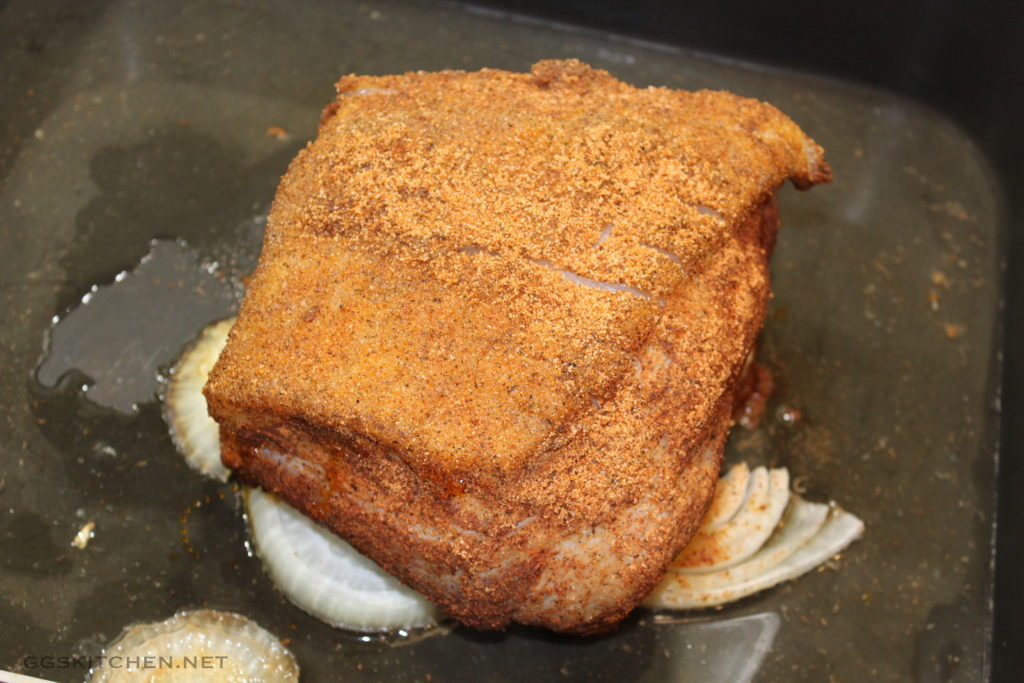
The night before or early on the day of cooking, prepare the roast. First, if your pork shoulder has one side with a heavy layer of fat, you want to score that before cooking. Just make shallow cuts, first in one direction and then again in the opposite direction, forming a diamond pattern. No need to be fuzzy here, you are just allowing the fat to render out, without curling the meat. Next, sprinkle the spice rub on all sides of the pork, using your hands to rub it in and coat it completely with the rub. It will seem like a lot, but that’s okay, it should be, it needs to be quite heavily coated. Place the roast on a large plate and cover it with plastic wrap and refrigerate, hopefully for a solid 3-4 hours, preferably overnight.

Preheat the oven to 300º
Remove the roast from the refrigerator about 30 minutes before cooking. Put the onions in your roasting pan, in one close layer. This will be the “bed” that the roast sits on and it adds great flavor to the pan juices. Place the roast on top of the onions and pour the cider vinegar into the pan around the onions. Cook the pork for 4 – 5 hours or until it shreds easily with a fork. After the first hour, baste the roast with the pan juices. If the pan juices dry up, add a small amount of water, to ensure the onions don’t burn. Continue to baste, about once an hour.

When the meat is cooked, use two forks, pulling apart the meat and shredding it into bite-sized pieces, discard any large pieces of fat and add some of the pan juices, to keep it moist until serving.

NOTES
Serve the pulled pork with buns of your choice, a drizzle of pan juices, and some Lime Cilantro Slaw. If you’re feeling energetic, you could try these, no-fail, delicious buns from King Arthur’s website. You won’t be disappointed! Alternatively, I have added potatoes, carrots and parsnips to the pan and served it more as a roast. That is a great cold weather, comfort food meal, that also never disappoints.


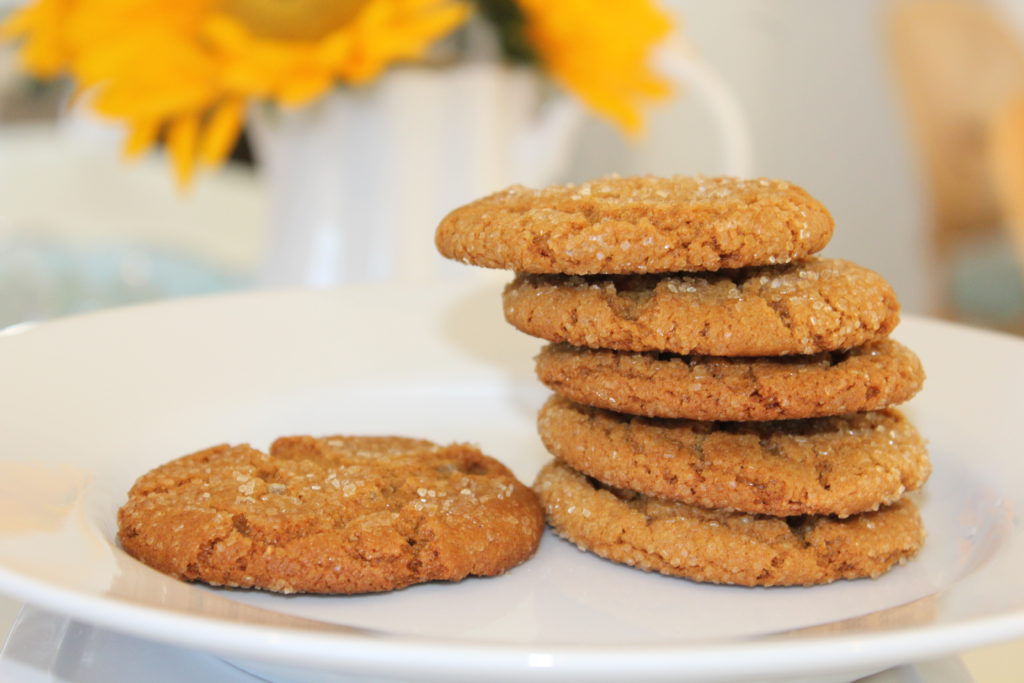
Ginger Molasses Cookies

This is the quintessential cookie that signifies fall is in full swing and the holidays are soon to follow. One of my all-time favorites, tough to stop at one and it just makes a cup of coffee taste that much better. Easy, reliable, and oh so satisfying.

INGREDIENTS
3/4 cup shortening, I use Crisco
1 cup sugar
1 egg
1/4 cup molasses
2 cups flour
1 tsp. each cinnamon, ginger, ground cloves
2 tsp. baking soda
turbinado raw cane sugar, for rolling

DIRECTIONS
Preheat oven 375º
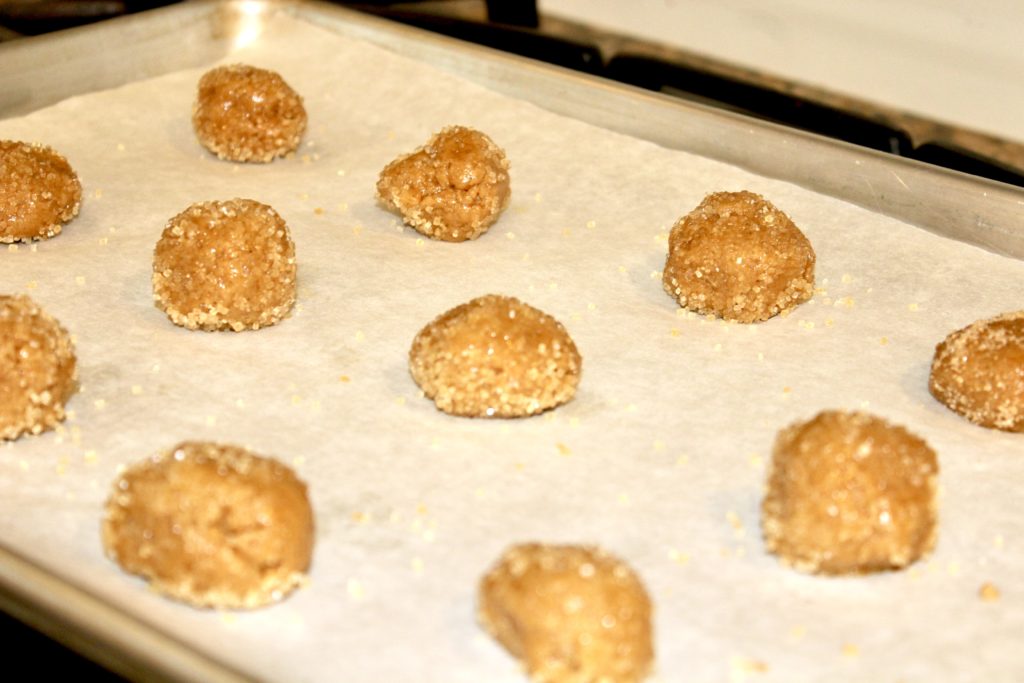
First, cream the shortening, sugar, egg, and molasses, until well combined and fluffy. Meanwhile, combine the dry ingredients and whisk them together. Next, add the dry ingredients to the sugar mixture and fully incorporate. Finally, take a small scoop of dough and roll into a ball, then dip and roll in the turbinado sugar to fully coat. Bake on an ungreased cookie sheet for about 10 minutes. Do keep a close eye on them, all ovens are different and that could affect the timing on these.

oven-ready

NOTES
If you don’t have turbinado sugar, not to worry, you could use regular sugar with similar results. The turbinado sugar just adds a little extra crunch that is a nice addition. Also, to add a bit more zip in the cookies, I often chop a bit of crystallized ginger and add it to the batter. Undoubtedly, whenever I do, I get rave reviews.

TIPS
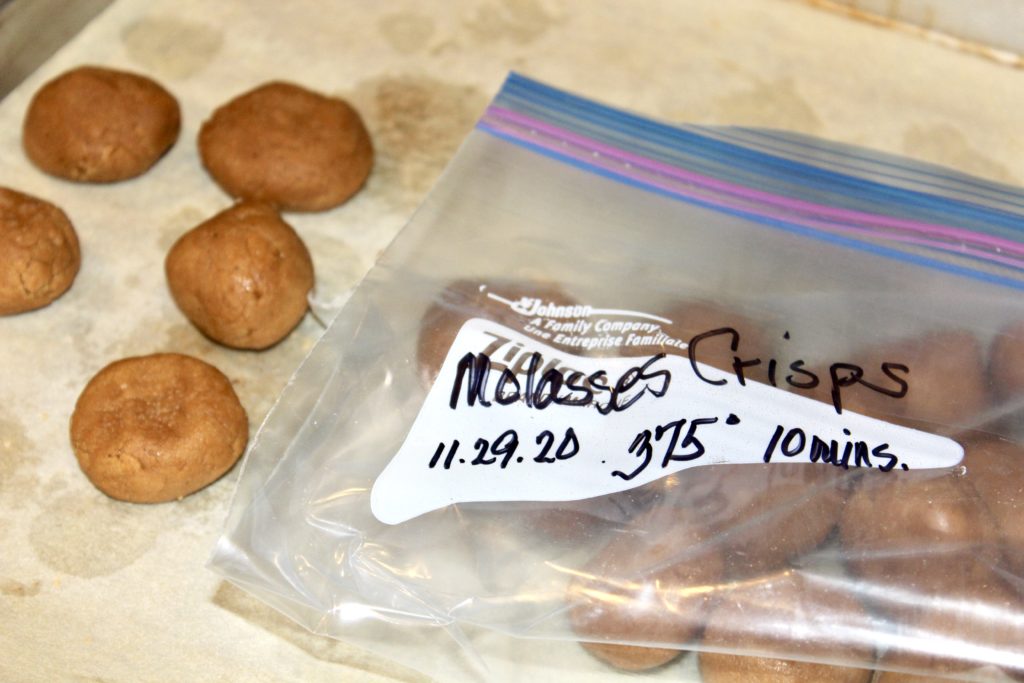
Although many of you may already do this, I want to share this secret anyway. For all of you that have not tried this, I think it is a definite game-changer. This little trick comes in very handy when I’m baking with the little ones and I don’t want three dozen cookies in the house because, truth be told, I can’t stop eating them!

So, here it is. I make the cookie batter, cook what I want…maybe just one sheet pan full, for a small get together or just enough for me and my helpers. Then, I scoop the remainder of the dough, make dough balls and place them onto a sheet pan. Put as many on the pan as you can fit, then pop them into the freezer.

Then, after about 30 minutes in the freezer, pull them out, remove from the sheet pan and place them in a reclosable plastic bag. Make sure to mark the cookie name, cooking instructions, and the date. That way, you can pull them out, at a moment’s notice, you don’t even need to thaw them first and bake however many you want. I do this with all of my cookie batters, it’s a great way to keep us from eating two dozen in short order! Additionally, it is nice to have a selection of two or three to pick from at any given time.


Macaroni and Cheese

Well, the temperature is dropping, the world is imploding and I don’t know about you, but I want some mac and cheese. Make that bacon mac and cheese! This is serious comfort food and I promise, it won’t disappoint. Now, it definitely won’t fix this crazy world, but it will make you feel just a little bit better.

INGREDIENTS
2 oz. smoked bacon
8 Tbs. butter, separated
6 Tbs. flour
2 tsp. kosher salt
1 tsp. fresh ground pepper
1 tsp. dry mustard
1/2 tsp. nutmeg
4 cups milk, warmed
7 oz. gruyere cheese, shredded
7 oz. sharp cheddar cheese, shredded
4 oz. fontina cheese, shredded
1 lb. macaroni of choice (I prefer cavatappi)
2-3 small tomatoes, sliced
1 cup panko crumbs
small handful of fresh parsley, finely chopped

DIRECTIONS
First, let me say that the cheese amounts and kinds of cheese are definitely flexible. Use what you have on hand. If you have more of one cheese than another, use it and don’t fuss over it. Everything will be fine and more importantly, it will be delicious. Additionally, the bacon is optional, however, if you do use it, I highly recommend a thick-cut. If using the thick-cut, you would use 2 slices.

Now, time to make the white sauce. Start by cooking the bacon, until crisp, then remove to a plate with paper towels, to drain. Set the bacon aside and once cooled, chop or crumble. If there is an abundance of bacon fat, do pour that off, you only need a small coating left in the pan. Then, using that same pan, over medium heat, melt 6 tablespoons of the butter and add the flour. Continuously stir for two to three minutes or until the flour turns a light golden brown. Then, add the salt, pepper, mustard, and nutmeg, continue stirring and cook for another minute.

Next, slowly add the warmed milk, while constantly whisking to prevent lumps from forming. Slow and steady is the way to go with this sauce. It doesn’t take long, but it does need attention, constant stirring for a few minutes to let the milk be incorporated and warm the mixture enough to start thickening. Then, add the cheese and do the same for a few minutes to allow the cheese to melt. It doesn’t need to fully melt, it will finish in the oven. Meanwhile, cook the pasta according to the directions, however just slightly undercook it. Have no fear, it will finish cooking in the oven.

Drain the pasta, add it to the sauce and add the bacon as well. Stir to combine well and then pour into a large, ovenproof casserole dish. Now, melt the last two tablespoons of butter, add to the panko crumbs, along with the parsley, a hefty pinch kosher salt, some fresh ground pepper and stir to fully combine. Then, slice the tomatoes and place them in an overlapping row down the middle of the casserole. Finally, sprinkle the crumb mixture over the tomatoes and macaroni. Bake in the oven for about 35-40 minutes or until bubbly and the crumbs are golden brown.

NOTES
Alternatively, you could use individual gratin dishes instead of a large casserole, as in my picture above. This is a nice presentation, especially if you’re making it for company. Although the tomatoes are a yummy touch, omit them if you wish. Also, feel free to omit the bacon if it feels too rich. However, I do think you should try it with the bacon and the tomatoes at least once!


Foolproof Apple Tarts

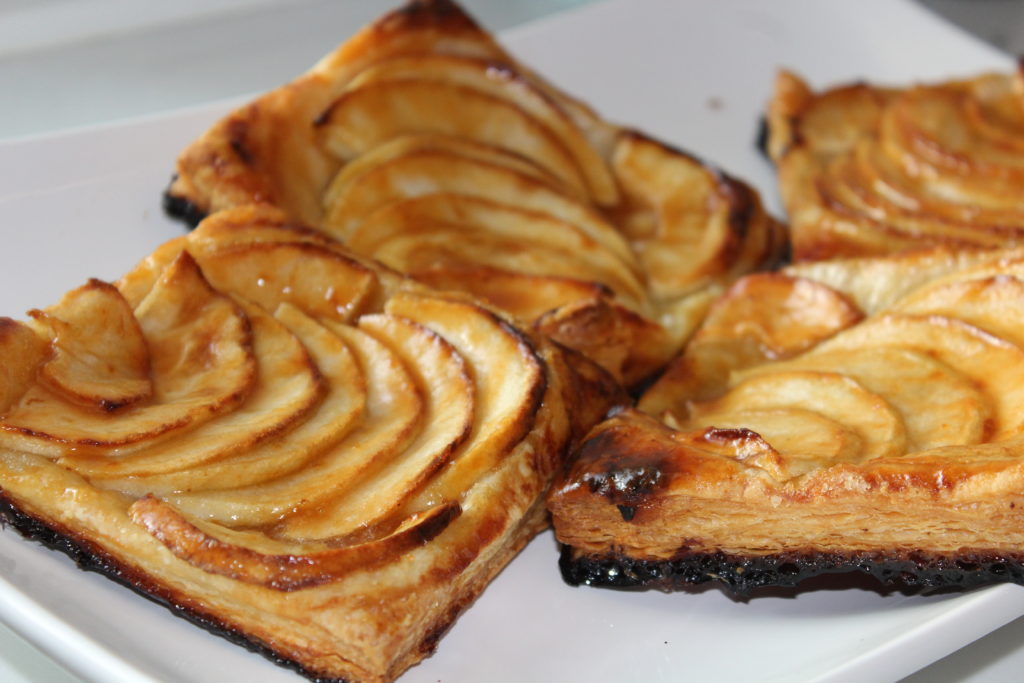
Fall is my favorite season, here in New England, and beautiful days, cooler nights are a sure sign that fall has arrived. This is about the time I shift to more cozy, heartwarming comfort foods. And, it wouldn’t be fall without apples on the menu. Although I have a soft spot for apple pie and who doesn’t? I love the simplicity and no-fail aspect of these tarts. They are a wonderfully satisfying dessert that requires very little time and effort. That’s a definite win, win for me.

INGREDIENTS
1 package frozen puff pastry (I use Pepperidge Farm)
4 Granny Smith apples
1/4 to 1/3 cup sugar
4 tablespoons (1/2 stick) cold unsalted butter, diced
1/4 cup apricot jelly or jam
1 Tbs. water or Calvados, if you have it

DIRECTIONS
Preheat oven to 400º.
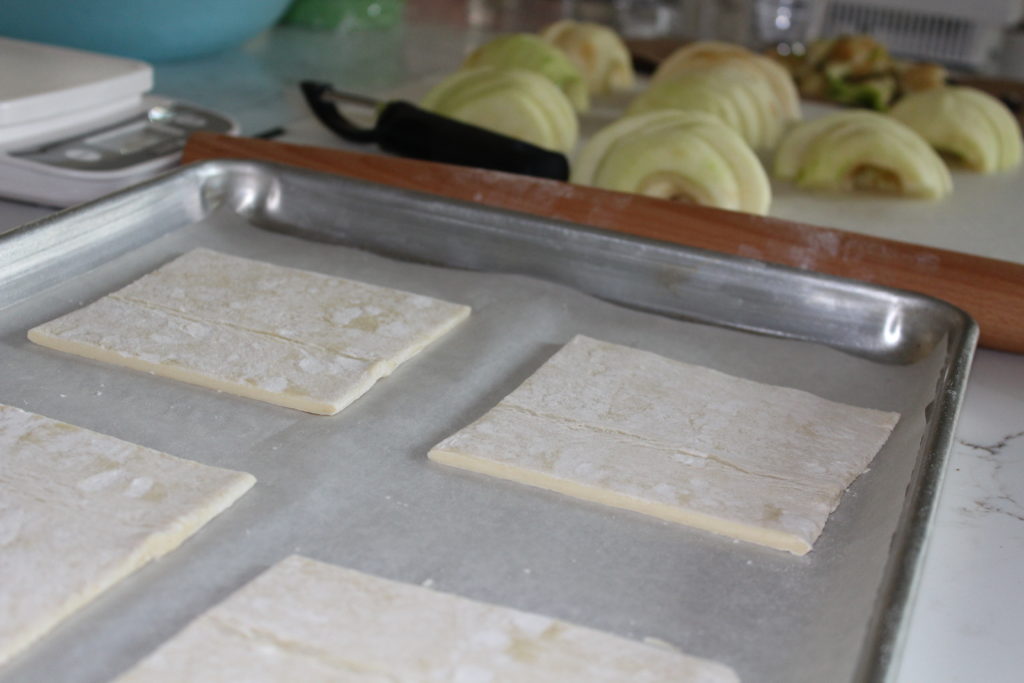
First, thaw the puff pastry, unfold and then place each sheet on a parchment-lined sheet pan. Then, cut each of the two sheets, into four squares.

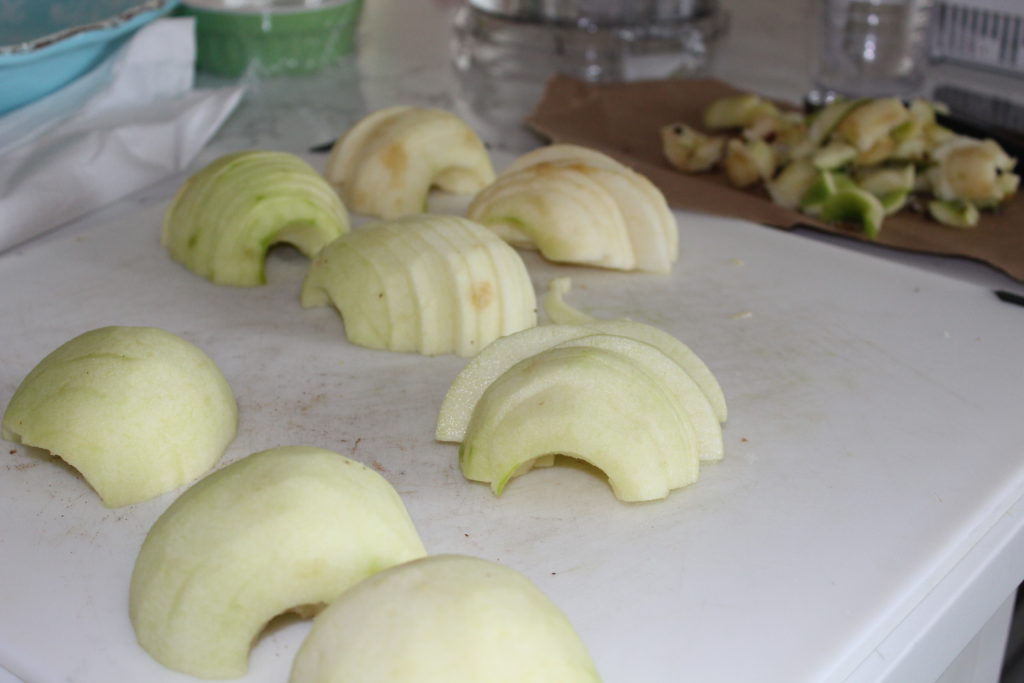
Next, peel and core the apples, cut them in half through the cut-away, core area, and slice them crosswise into ¼-inch slices. Then, place overlapping slices of apples diagonally down the middle of the tart and fill in with smaller pieces on the sides, until the pastry is covered. Finally, sprinkle with the sugar and dot with the butter.

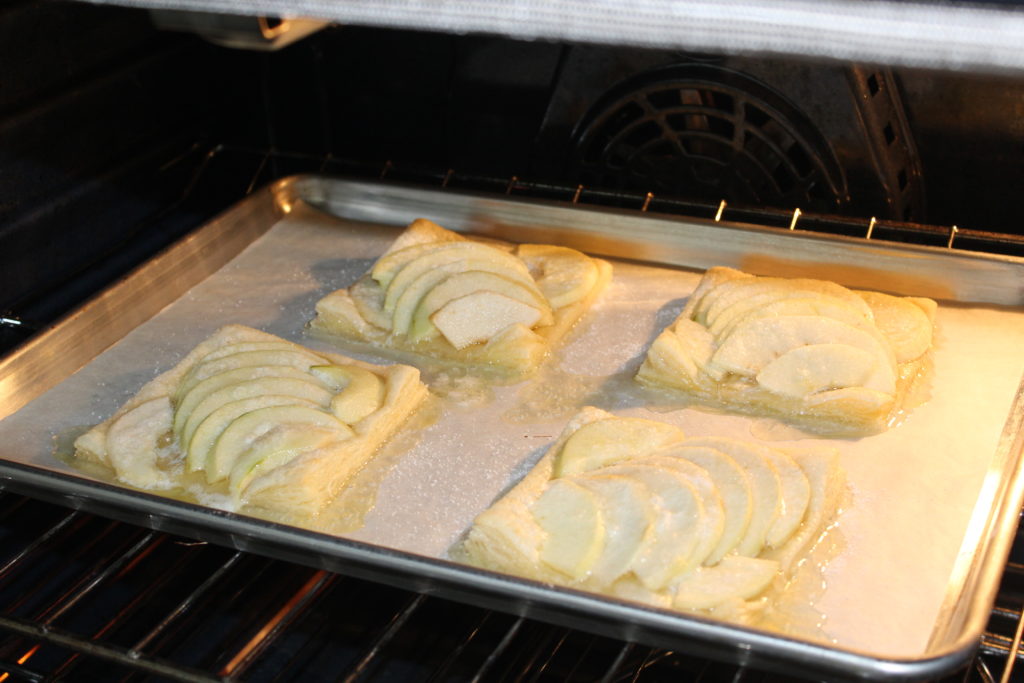
Bake for 40 to 45 minutes. You will know they’re done when the pastry is browned and the apple edges are lightly browned. Rotate the pan once during cooking. Don’t panic when the apple juices burn in the pan (they always do), the tart will be fine!

Meanwhile, combine the apricot jelly and water in a small microwaveable bowl and heat until bubbly. Then, brush the apples and the pastry completely with the jelly mixture. Loosen the tarts with a metal spatula so they don’t stick to the parchment and allow to cool. Serve warm or at room temperature.

NOTES
A nice addition to these would be toasted, slivered almonds sprinkled on top. Another would be adding a pinch of cinnamon to the sugar, before sprinkling on top. Additionally, you might want a scoop of vanilla ice cream when serving them hot from the oven!


Vegetable Cream Cheese

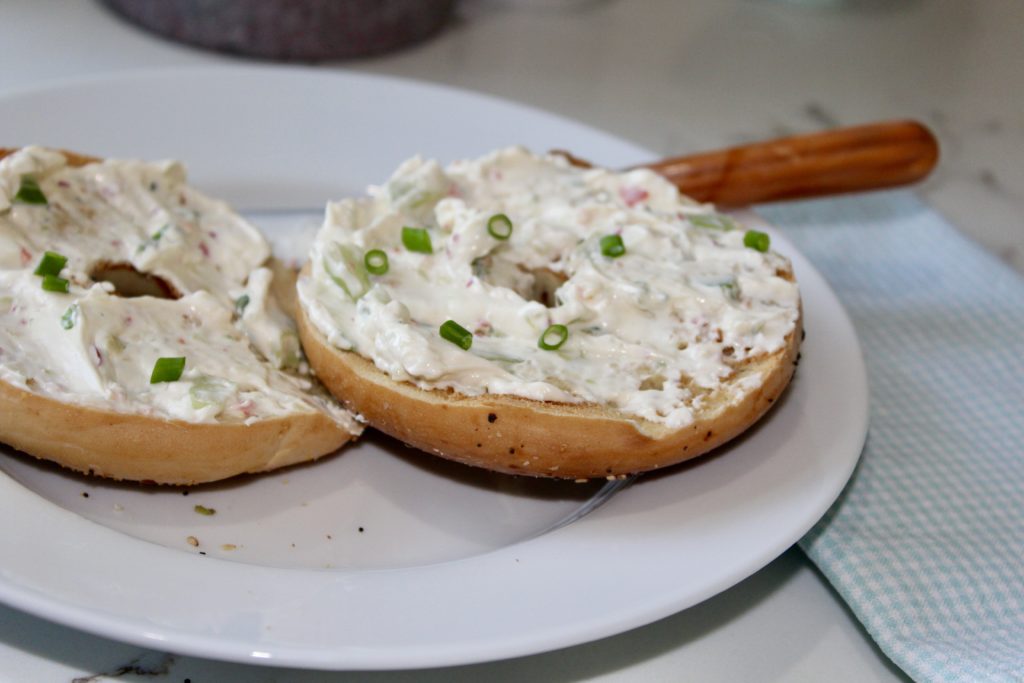
Looking for an easy, basic and tasty appetizer? Look no further! This recipe is a snap to put together and quite versatile as well. Use it as a spread for crackers, as a dip with crudité and if you have any leftover, try it on your bagels in the morning. The choice is yours, you can’t go wrong and it is delicious for all three.

INGREDIENTS
4-5 radishes, halved
4-6 scallions, reserve a few for garnish
1 stick celery
1/2 bell pepper, seeded (I prefer red, hence the pink tint)
1/4 hothouse cucumber, seeded
8 oz. cream cheese, room temperature, cubed
pinch kosher salt and fresh ground pepper, to taste
2 Tbs. sour cream or greek yogurt, if needed to thin mixture

DIRECTIONS
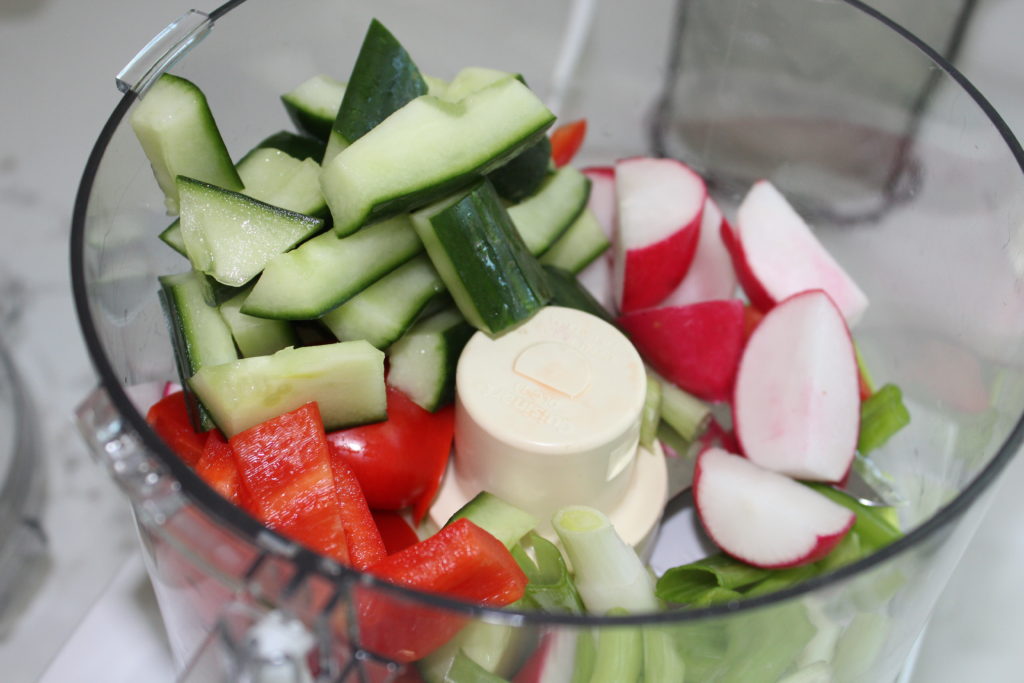
First, roughly chop each of the first five ingredients. This is merely to get them ready for the food processor, because it’s easier to pulse them when they are in smaller pieces.

With the metal blade in place, add all the vegetables to the bowl of a food processor. Pulse until roughly chopped. Don’t overdo the pulsing, unless of course you like a smoother texture. Personally, I prefer a bit more texture; you do what works for you.

ready to mix

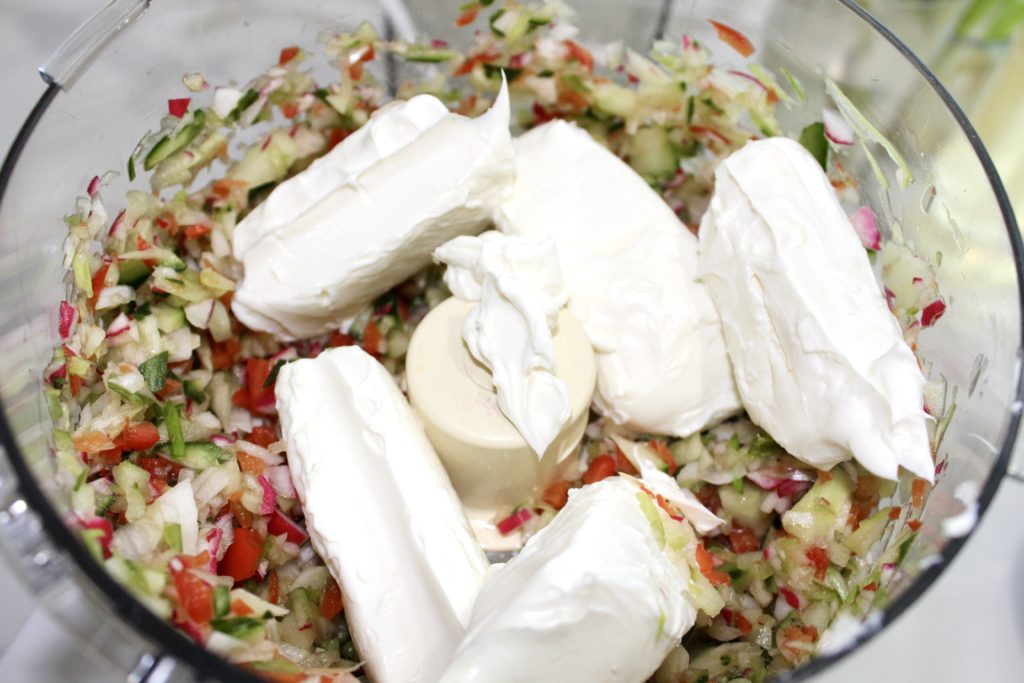
Next, add the cream cheese and pulse until combined, but not too smooth. Alternatively, you do the final mixing by hand, as long as the cream cheese is soft enough. That will maintain the thick texture a bit better. Do make sure that the cream cheese is room temperature, it makes the mixing so much easier. If it seems too thick for you, add the yogurt and/or sour cream.

Season with kosher salt and fresh ground pepper, to taste. Finally, just cover and refrigerate to allow the ingredients to meld. Serve with crudité, crackers, and/or some breadsticks.

bagel veggie cream cheese

NOTES
This tends to be a bit thick, so if you prefer a thinner consistency to use as a crudité dip, then add the yogurt and/or sour cream. Alternatively, instead of adding yogurt, you could just add a little more cucumber, which is quite liquidy and would loosen it up, to dip consistency. Be creative, there is no wrong way and don’t be afraid to swap out a few things if you don’t have them or don’t like them. That being said, I have made this oodles of times, as written and it is a delicious winner.


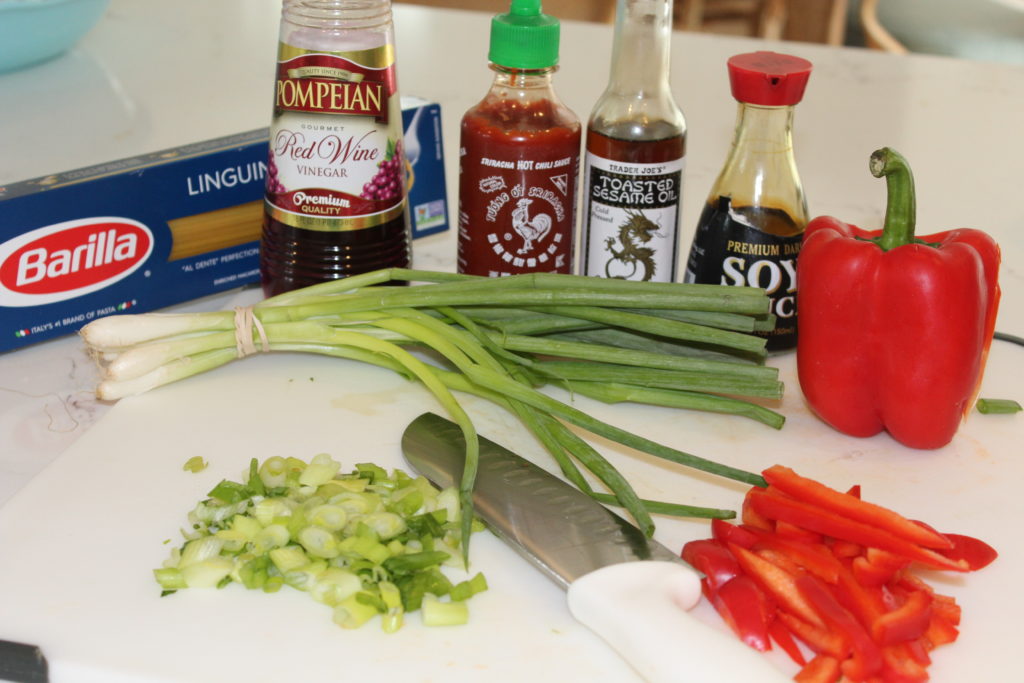
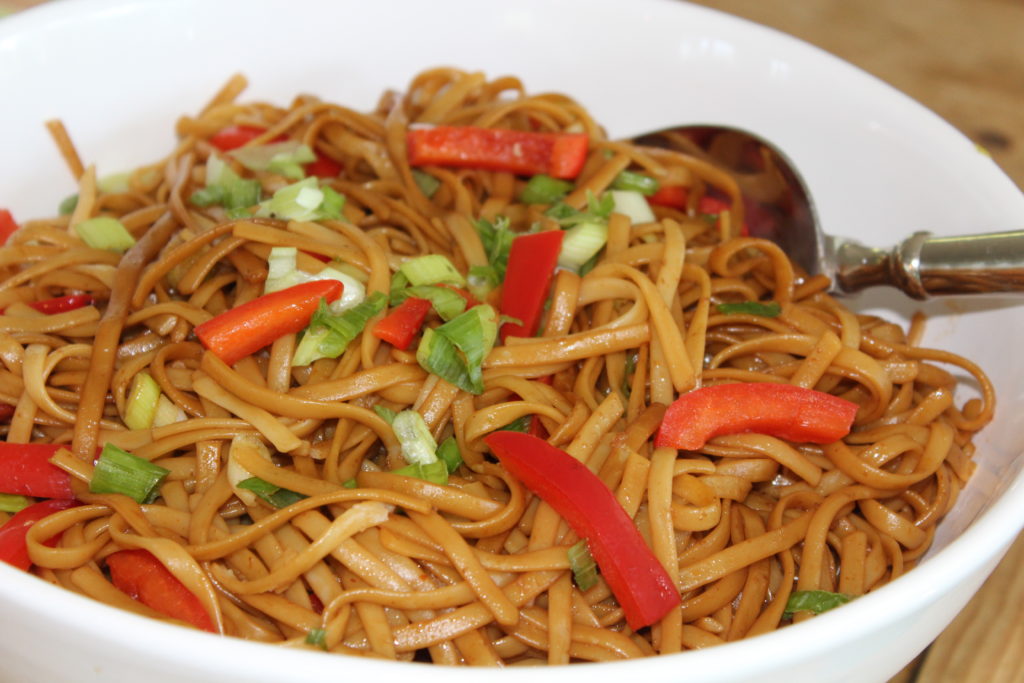
Spicy Sesame Noodles

Looking for a quick and tasty side dish for your next gathering? Try this dish for a departure from the usual sides. It is extremely quick, incredibly tasty, always a big hit and it only gets better the next day. Additionally, the ingredients are mostly shelf stable, which makes them wonderful items to keep in your pantry for a side dish on a moments notice.

1⁄4 cup soy sauce
3 Tbs. toasted sesame oil, Trader Joe’s has a good one
2 Tbs. red wine vinegar
1 1⁄2 Tbs. sugar
1 Tbs. chili garlic sauce*
1 lb. linguine
4 scallions, thinly sliced
1 red bell pepper, cut in match-stick strips

Combine the first five ingredients in a jar, shake to combine and set aside. This can be made a day ahead and refrigerated, which only enhances the flavors. Just remember to bring the sauce to room temperature before continuing.

When ready, cook the linguine, according to the package directions. Then, drain and briefly rinse under cool water to stop the cooking. Do not overcook the linguine, it should have a bit of bite to it. Then, transfer to a bowl and add the room temperature dressing. Hold some back to add just before serving, if needed. Finally, add the scallions and the red pepper strips, toss well to combine, sprinkle with a few more scallion pieces and serve, either at room temperature or chilled.

*Chili garlic sauce is available at Asian markets or in the international section of most supermarket.


Banana Bread

So, given that we have all been locked inside for way too many weeks, I assume I’m not the only one that has been baking bread…all kinds of bread. This is an easy recipe to pump out and please the family. They’ll love you for it and it is wonderful any time of day. Additionally, if you really want to make them happy, try my honey oatmeal bread, it’s an insanely easy and delicious sandwich bread.

Sourdough has been my other ‘project’ recently; very intimidating at first, but not as difficult as I thought it would be. It is incredibly gratifying when you pull that first loaf out of the oven and realize that YOU made it. More to come on that in a later post and I hope you try it.

Yes, I know what you’re thinking, this is an extremely dangerous obsession and sadly, you are correct and I have the pounds to prove it. However, it is a also a delicious and satisfying endeavor and the good news is, my consumption has tapered off dramatically (and yours will too), moderation is definitely the key.

Back to the banana bread; this is an adaption from Smitten Kitchen’s Ultimate Banana Bread and is a true banana lovers’ bread. In case you haven’t noticed, many recipes have only a mild banana flavor and I think it’s because they tend to skimp on the bananas. Personally, I like a strong banana flavor and this recipe fits the bill, with a hefty 4-5 bananas.

INGREDIENTS
1/2 cup butter (1 stick), cut into chunks
1 cup packed, light brown sugar
4-5 large bananas, mashed to equal about 2 cups
2 large eggs
1 tsp. vanilla extract
2 cups all-purpose flour
1 tsp. fine sea salt
1 generous tsp. ground cinnamon
pinch of fresh grated nutmeg
1 tsp. baking soda
1 tsp. baking powder
raw or turbinado sugar (optional)

DIRECTIONS
Preheat oven to 350º and butter a 9×5 inch loaf pan or coat with a nonstick spray and set aside.

In a large bowl, melt the butter, whisk in the brown sugar and then fold in the mashed bananas. Next, whisk in the eggs and vanilla. Meanwhile, combine the flour, salt, cinnamon, nutmeg, baking soda, baking powder and whisk to combine. Then, add the dry ingredients to the wet ingredients and stir well. When fully combined, pour into the prepared pan, sprinkle the sugar on top (about 1 Tbs., if using) and bake for 50-65 minutes. Use the toothpick test, when it comes out clean, its done. All ovens are different and can make a big difference when baking; so, be sure to use the toothpick as your guide.

Let it cool for as long as you can stand it and then, dig in…warm out of the oven, with butter; toasted the morning after, or as a mid-day treat with a cup of coffee or tea. Trust me, you’ll be back for more.

NOTES
There are many ways to vary this. Obviously, the most common addition is a cup of walnuts. Think about trying a cup of pecans or a cup of mini chocolate chips is also a nice change and better than you might think. Give it a try.