Pulled Pork Perfection
This is a dangerous dish to have around. Between the intoxicating aroma filling the house and the mouthwatering flavor, this is a tough one to stop eating. Yes, I think I may have a problem, but this is so delicious! Although this takes about 4-5 hours (depending on the size and your oven) and may seem overwhelming, it is actually quite simple. So few ingredients, very little tending or fussing and the oven does all the work.
INGREDIENTS
3-5 lb. boneless pork shoulder (sometimes called Boston Butt)
1-2 large sweet onions, thickly sliced
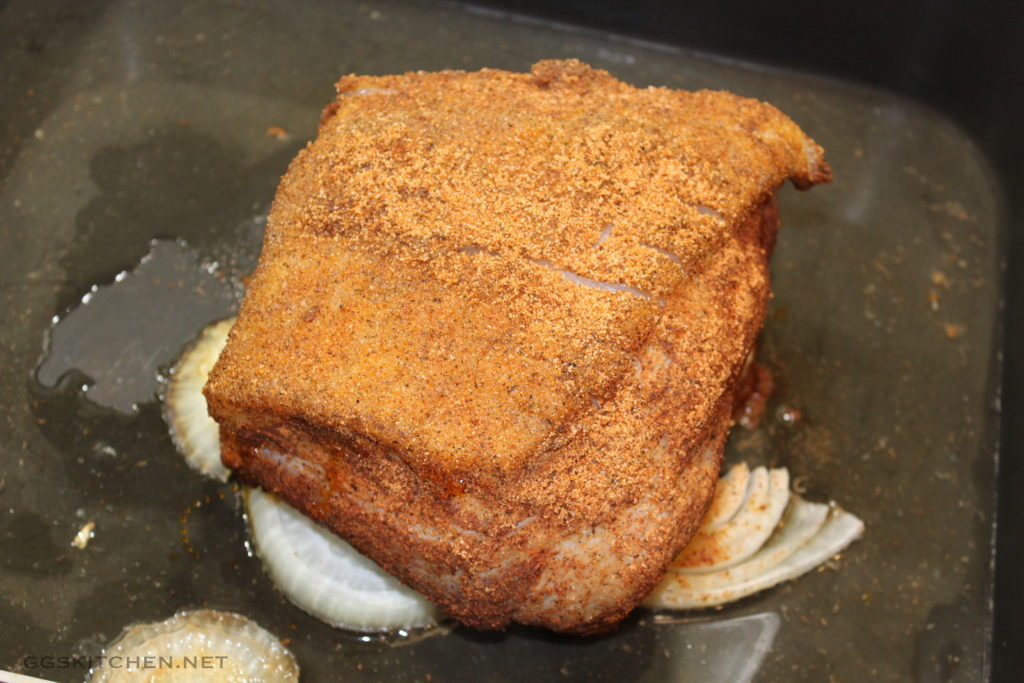
1/2 cup spice rub, I use Bad Byron’s Butt Rub or my homemade rub
2/3 cup apple cider vinegar
DIRECTIONS
The night before or early on the day of cooking, prepare the roast. First, if your pork shoulder has one side with a heavy layer of fat, you want to score that before cooking. Just make shallow cuts, first in one direction and then again in the opposite direction, forming a diamond pattern. No need to be fuzzy here, you are just allowing the fat to render out, without curling the meat. Next, sprinkle the spice rub on all sides of the pork, using your hands to rub it in and coat it completely with the rub. It will seem like a lot, but that’s okay, it should be, it needs to be quite heavily coated. Place the roast on a large plate and cover it with plastic wrap and refrigerate, hopefully for a solid 3-4 hours, preferably overnight.
Preheat the oven to 300º
Remove the roast from the refrigerator about 30 minutes before cooking. Put the onions in your roasting pan, in one close layer. This will be the “bed” that the roast sits on and it adds great flavor to the pan juices. Place the roast on top of the onions and pour the cider vinegar into the pan around the onions. Cook the pork for 4 – 5 hours or until it shreds easily with a fork. After the first hour, baste the roast with the pan juices. If the pan juices dry up, add a small amount of water, to ensure the onions don’t burn. Continue to baste, about once an hour.
When the meat is cooked, use two forks, pulling apart the meat and shredding it into bite-sized pieces, discard any large pieces of fat and add some of the pan juices, to keep it moist until serving.
NOTES
Serve the pulled pork with buns of your choice, a drizzle of pan juices, and some Lime Cilantro Slaw. If you’re feeling energetic, you could try these, no-fail, delicious buns from King Arthur’s website. You won’t be disappointed! Alternatively, I have added potatoes, carrots and parsnips to the pan and served it more as a roast. That is a great cold weather, comfort food meal, that also never disappoints.