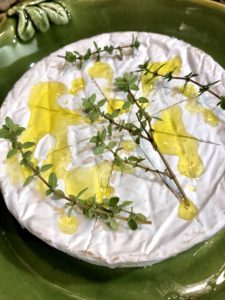
Roasted Red Pepper Spread

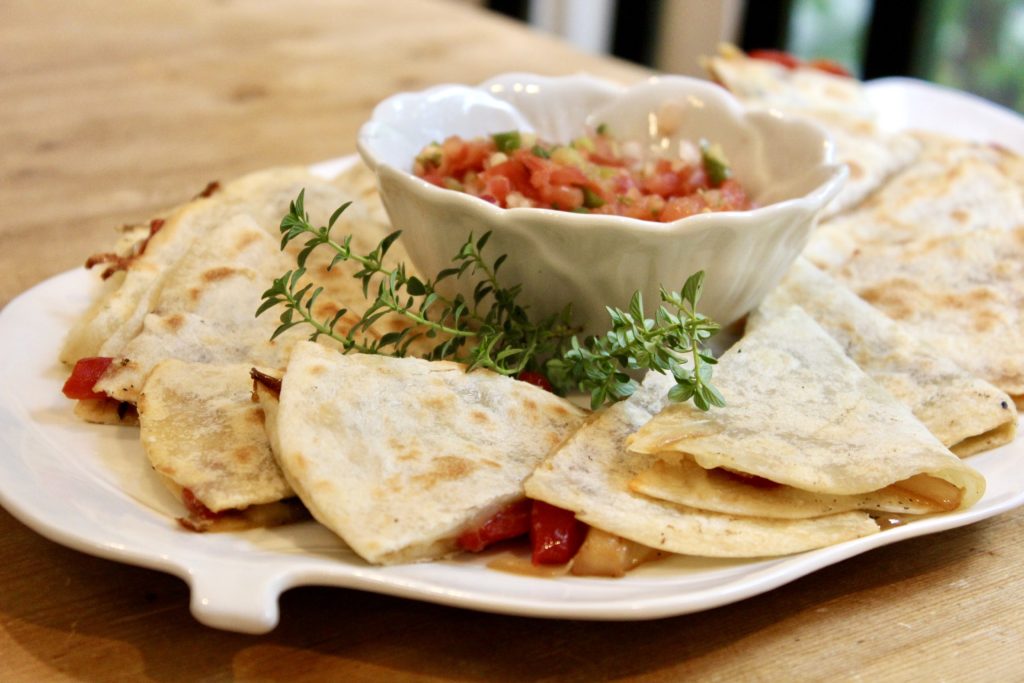
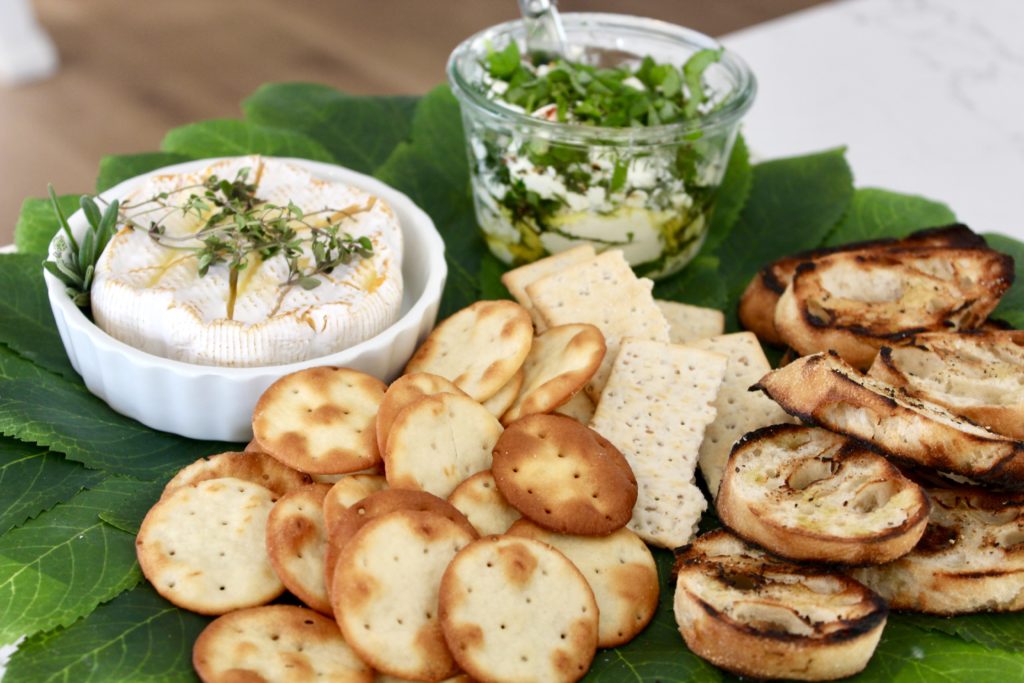
You have just stumbled upon your next new favorite recipe and it couldn’t be easier. All you need is about 10-15 minutes and you’re ready to go with this one. Honestly, it is addictively tasty and is also pretty darn healthy. Although this is delicious with crackers, crostini or crudité, it also works as an incredibly flavorful condiment. I’ve used it in quesadillas, as a flavor booster in sandwiches and I’ve even been known to just swipe a spoonful, it’s that yummy. A definite bonus with this recipe is that all ingredients are pretty much pantry staples, making for a great last-minute appetizer.
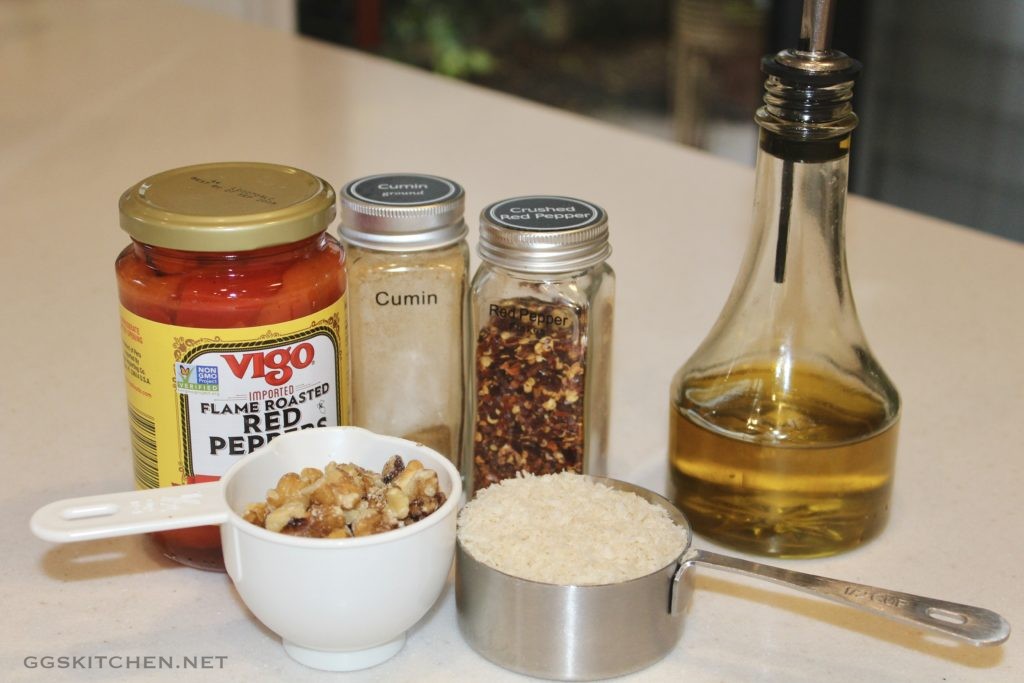
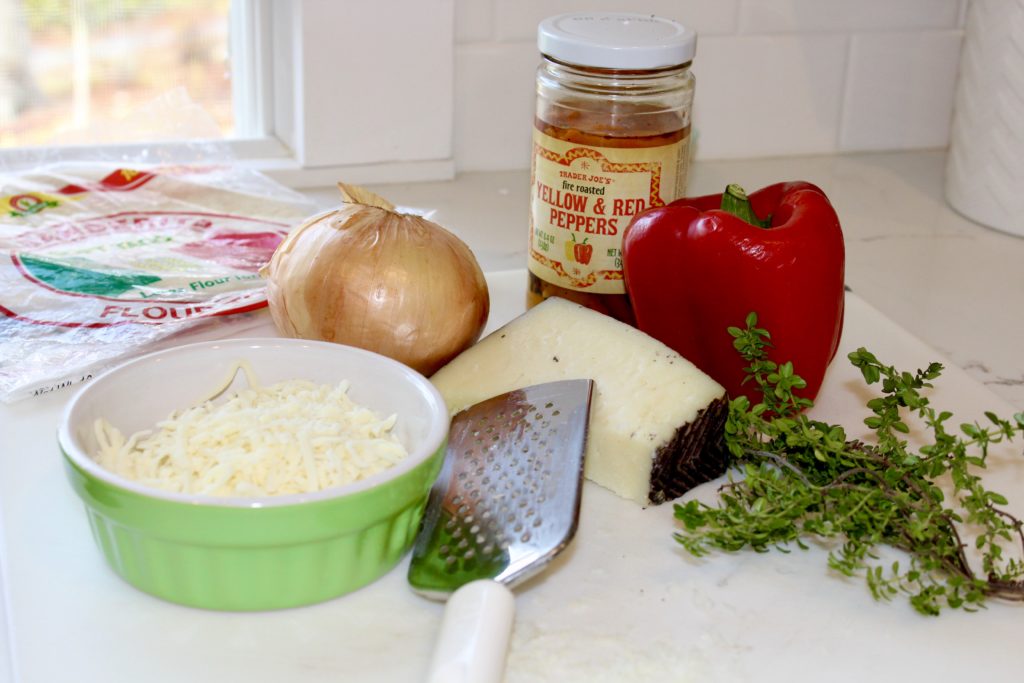
INGREDIENTS
3 Tbs. olive oil
1/2 cup walnuts
1/2 panko bread crumbs
1 garlic clove, minced or grated
12 oz. jar roasted red peppers
1 Tbs. lemon juice
1/2 tsp. kosher salt
1/2 tsp. ground cumin
1/4 tsp. fresh ground black pepper
1/4 tsp. red pepper flakes

DIRECTIONS
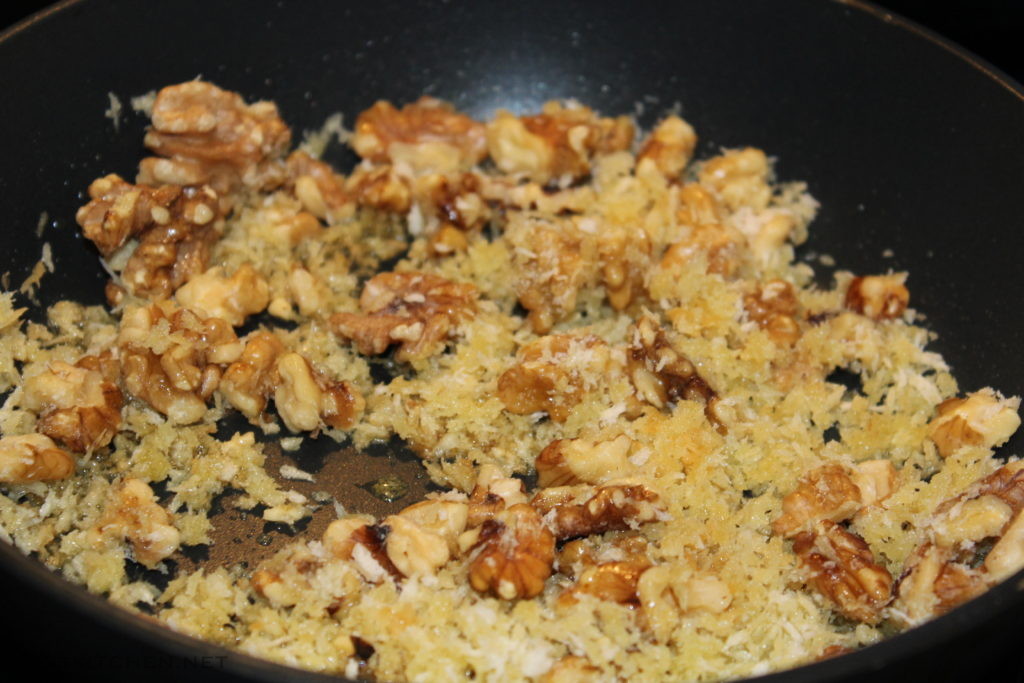
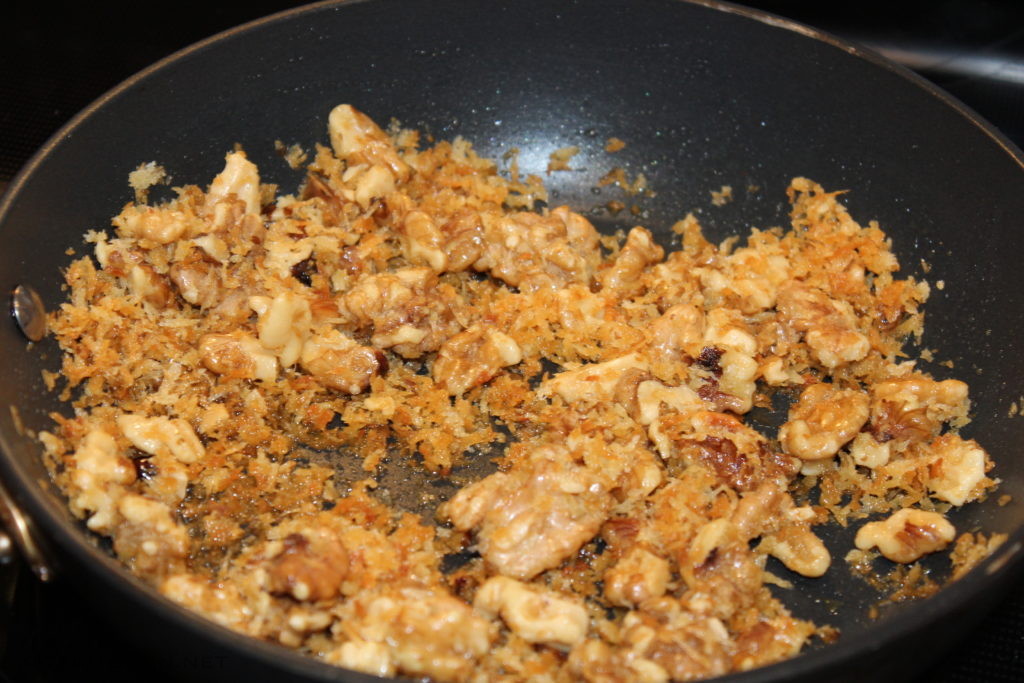
In a small skillet, over medium-low heat, add the first 3 ingredients and toast until the panko is a nice golden brown. Then, take off the heat and immediately add the garlic to the warm ingredients. Stir to combine and set aside to briefly cool.

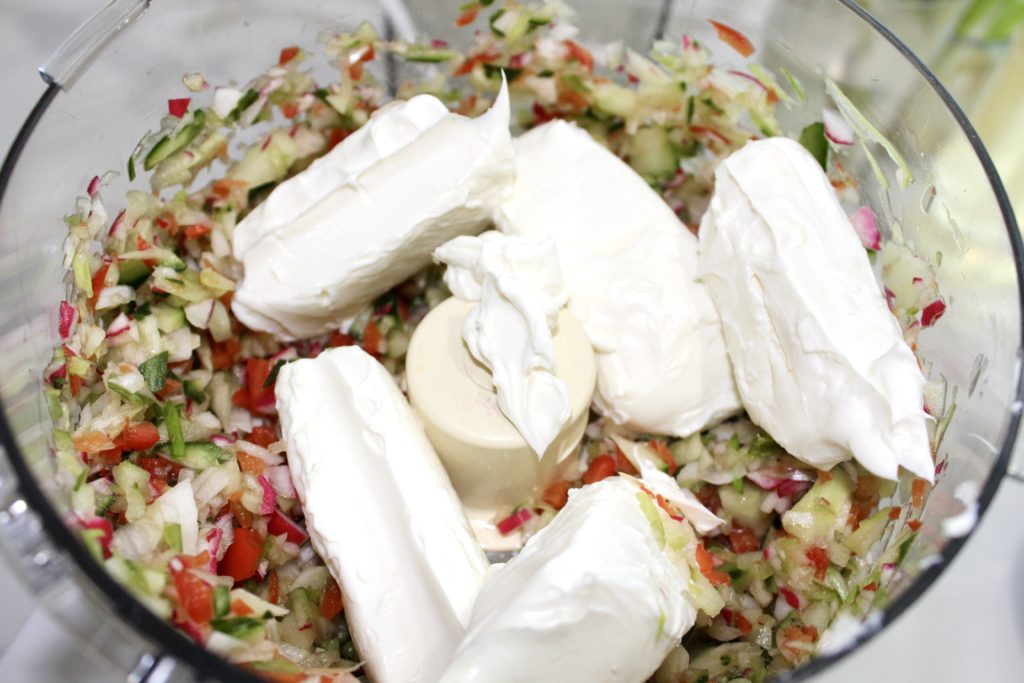
Next, drain the peppers and add to a food processor. Add the remaining ingredients, including the cooled walnut panko mixture. Finally, pulse the mixture, to your liking. I prefer a little texture with mine, but you may like it super smooth. The decision is yours.


Jordan Marsh’s Blueberry Muffins

For New Englanders, most need no introduction to this recipe. To those that don’t know, Jordan Marsh was a large department store based in downtown Boston. They had a wonderful in-store bakery and though the bakery had many wonderful items, their blueberry muffins were what made them famous. These treats are overflowing with blueberries and have a yummy, sugar crusted top that makes them absolutely irresistible. Although the Boston store closed in the mid 1990’s, this recipe lives on and is still an all time favorite. Give it a try, I promise it will not disappoint.

INGREDIENTS
1/2 cup butter, room temperature
1 cup sugar
2 eggs
1-1/2 tsp vanilla extract
2 cups flour
1/2 tsp salt
2 tsp baking powder
1/2 cup milk
2-1/2 cups blueberries
2 Tbs raw sugar (for the top of muffins)

DIRECTIONS
Preheat oven to 375º.

First, cream the butter and sugar until they are light and fluffy; add the eggs, one at time, beating well after each. Then, add the vanilla and mix to incorporate. In a separate bowl, combine the dry ingredients (flour, salt, baking powder), then add to the mixture, alternating with the milk. Do not overmix.

Crush 1/2 cup of the blueberries with a fork, add to the batter, stir to combine and then fold in the remaining whole berries.

Next, spray a 12 cup muffin pan with non-stick spray and I also recommend using paper muffin liners. Because of the volume of blueberries, they definitely tend to stick to the pan and the paper liners just make things easier. Fill the liners with the batter and take note that they will almost be overflowing. Finally, sprinkle the 2 tablespoons of raw sugar over the tops. The combination of the very full muffin liners and the additional sugar on top makes a wonderful, crunchy topped muffin when they overflow a bit (and they will). Trust me, that overflowing batter, with the crispy sugar, without a doubt is my favorite part of the muffin, it will become your favorite as well.

Bake at 375º for about 30-35 minutes. Cool in the pan. After several minutes of cooling, run a knife around the edge of each muffin to release it from the pan and then cool on a wire rack for about 30 minutes…if you can wait that long!

NOTES
If you don’t have raw sugar or turbinado sugar, you definitely can use regular granulated with good results. This will seem like too much batter for only 12 muffins, but stick to the 12 muffins, because part of the yumminess is the overflowing, crunchy top. Also, when storing the muffins, do not cover them or they will be too soggy the next day.


Heirloom Tomato Salad Variations: Enhancing Flavor and Presentation

Heirloom tomatoes should always be the star and simple is always better. You can slice or quarter them. Drizzle with good olive oil. Sprinkle with flaky salt, fresh ground pepper, and a sprinkling of juliennéd basil. That’s the basic formula and trust me, everyone would be quite happy at just that. However, a few additions can elevate it to a new level. They make a significant difference in both flavor and presentation.

Here are a few of my favorites.

yummy heirlooms
Basic, but still yummy!

So, you have a collection of gorgeous heirlooms, different colors, different sizes. First, slice and quarter them, mixing the colors and shapes. Then, add fresh mozzarella, burrata, or some crumbled gorgonzola would work well too. Just tear or slice the cheese and sprinkle it over the tomatoes. Next, if you have some pine nuts or walnuts, toast them in a dry skillet. Just heat them on low until they’re fragrant. Then sprinkle those on as well. Additionally, a drizzle of pesto or some basil oil would be a wonderful option.

Here, heirlooms sharing space with lemon poached chicken and avocado.
Another simple presentation.

Always include fresh basil. Use good olive oil, fresh ground pepper, and a pinch of good flaky salt. Be careful not to overdo the additions; less is more, keep it simple, and let the tomatoes shine.

heirloom salad
Here I used mozzarella balls, tossed with pesto and served over some arugula.
heirlooms
As simple as it gets.


Roasted Pepper Quesadilla

In need of a quick lunch, snack, or an appetizer? You will love the simplicity of this and the options are endless. Pantry raiding recipes are some of my favorites and this one is as easy as it gets.

First, several of the ingredients are shelf-stable and once you’ve made this, make sure you keep these items (or other favorites) on hand. Most of us have some leftover cheese on hand, so feel free to swap out what you already have. An Italian cheese mixture is great, gruyere, fontina, most any combination works well. I do think using more than one type of cheese gives you more depth of flavor.

INGREDIENTS
1 Tbs. olive oil
1 medium sweet onion, chopped
1 roasted bell pepper, red, yellow, or orange
5-6 kalamata olives, pitted, roughly chopped
1 Tbs. capers
3 sprigs fresh thyme, stripped
manchego cheese, grated
mozzarella, shredded
kosher salt, fresh ground pepper, to taste
6-8 flour tortillas

DIRECTIONS
First, preheat a 10″ or 12″ skillet over medium heat. Then, add the chopped onion and sauté until soft, but with a bit of browning. Meanwhile, slice the peppers into strips, add to the onions, and season to taste. Next, add the olives, capers, thyme, and briefly sauté long enough to warm through and to fully combine. Transfer the mixture to a small bowl and set aside.

Next, spray the same skillet with nonstick spray or use a teaspoon of butter. Don’t worry about any leftover bits, they will just add more flavor. Add one of the tortillas to the skillet and sprinkle a bit of the cheese over the whole tortilla. By lightly covering the whole tortilla, the cheese, once melted, acts like glue and helps keep all the contents from falling out.

Then, take a small portion of the pepper, onion mixture, add to just one half of the tortilla, and then top that with your second cheese. Place a cover over the pan for a very short period of time, to help warm everything and ensure all the cheese melts. Finally, when fully melted, fold over the tortilla, press down to bind and transfer to a platter, and slice into wedges.

NOTES
The beauty here is that you don’t need a lot of any one ingredient to make this work. If you have some leftover steak, chicken, ribs, just shred it and add to the peppers and onions. Have a few mushrooms left over, add them too. You like a spicy kick, add some hot sauce, banana peppers, or pepperoncini.


Foolproof Apple Tarts

Fall is my favorite season, here in New England, and beautiful days, cooler nights are a sure sign that fall has arrived. This is about the time I shift to more cozy, heartwarming comfort foods. And, it wouldn’t be fall without apples on the menu. Although I have a soft spot for apple pie and who doesn’t? I love the simplicity and no-fail aspect of these tarts. They are a wonderfully satisfying dessert that requires very little time and effort. That’s a definite win, win for me.

INGREDIENTS
1 package frozen puff pastry (I use Pepperidge Farm)
4 Granny Smith apples
1/4 to 1/3 cup sugar
4 tablespoons (1/2 stick) cold unsalted butter, diced
1/4 cup apricot jelly or jam
1 Tbs. water or Calvados, if you have it

DIRECTIONS
Preheat oven to 400º.
First, thaw the puff pastry, unfold and then place each sheet on a parchment-lined sheet pan. Then, cut each of the two sheets, into four squares.

Next, peel and core the apples, cut them in half through the cut-away, core area, and slice them crosswise into ¼-inch slices. Then, place overlapping slices of apples diagonally down the middle of the tart and fill in with smaller pieces on the sides, until the pastry is covered. Finally, sprinkle with the sugar and dot with the butter.

Bake for 40 to 45 minutes. You will know they’re done when the pastry is browned and the apple edges are lightly browned. Rotate the pan once during cooking. Don’t panic when the apple juices burn in the pan (they always do), the tart will be fine!

Meanwhile, combine the apricot jelly and water in a small microwaveable bowl and heat until bubbly. Then, brush the apples and the pastry completely with the jelly mixture. Loosen the tarts with a metal spatula so they don’t stick to the parchment and allow to cool. Serve warm or at room temperature.

NOTES
A nice addition to these would be toasted, slivered almonds sprinkled on top. Another would be adding a pinch of cinnamon to the sugar, before sprinkling on top. Additionally, you might want a scoop of vanilla ice cream when serving them hot from the oven!


Vegetable Cream Cheese

Looking for an easy, basic and tasty appetizer? Look no further! This recipe is a snap to put together and quite versatile as well. Use it as a spread for crackers, as a dip with crudité and if you have any leftover, try it on your bagels in the morning. The choice is yours, you can’t go wrong and it is delicious for all three.

INGREDIENTS
4-5 radishes, halved
4-6 scallions, reserve a few for garnish
1 stick celery
1/2 bell pepper, seeded (I prefer red, hence the pink tint)
1/4 hothouse cucumber, seeded
8 oz. cream cheese, room temperature, cubed
pinch kosher salt and fresh ground pepper, to taste
2 Tbs. sour cream or greek yogurt, if needed to thin mixture

DIRECTIONS
First, roughly chop each of the first five ingredients. This is merely to get them ready for the food processor, because it’s easier to pulse them when they are in smaller pieces.

With the metal blade in place, add all the vegetables to the bowl of a food processor. Pulse until roughly chopped. Don’t overdo the pulsing, unless of course you like a smoother texture. Personally, I prefer a bit more texture; you do what works for you.

ready to mix

Next, add the cream cheese and pulse until combined, but not too smooth. Alternatively, you do the final mixing by hand, as long as the cream cheese is soft enough. That will maintain the thick texture a bit better. Do make sure that the cream cheese is room temperature, it makes the mixing so much easier. If it seems too thick for you, add the yogurt and/or sour cream.

Season with kosher salt and fresh ground pepper, to taste. Finally, just cover and refrigerate to allow the ingredients to meld. Serve with crudité, crackers, and/or some breadsticks.

bagel veggie cream cheese

NOTES
This tends to be a bit thick, so if you prefer a thinner consistency to use as a crudité dip, then add the yogurt and/or sour cream. Alternatively, instead of adding yogurt, you could just add a little more cucumber, which is quite liquidy and would loosen it up to dip consistency. Be creative, there is no wrong way and don’t be afraid to swap out a few things if you don’t have them or don’t like them. That being said, I have made this oodles of times, as written and it is a delicious winner.


Spicy Sesame Noodles

Looking for a quick and tasty side dish for your next gathering? Try this dish for a departure from the usual sides. It is extremely quick, incredibly tasty, always a big hit and it only gets better the next day. Additionally, the ingredients are mostly shelf stable, which makes them wonderful items to keep in your pantry for a side dish on a moments notice.

1⁄4 cup soy sauce
3 Tbs. toasted sesame oil, Trader Joe’s has a good one
2 Tbs. red wine vinegar
1 1⁄2 Tbs. sugar
1 Tbs. chili garlic sauce*
1 lb. linguine
4 scallions, thinly sliced
1 red bell pepper, cut in match-stick strips

Combine the first five ingredients in a jar, shake to combine and set aside. This can be made a day ahead and refrigerated, which only enhances the flavors. Just remember to bring the sauce to room temperature before continuing.

When ready, cook the linguine, according to the package directions. Then, drain and briefly rinse under cool water to stop the cooking. Do not overcook the linguine, it should have a bit of bite to it. Then, transfer to a bowl and add the room temperature dressing. Hold some back to add just before serving, if needed. Finally, add the scallions and the red pepper strips, toss well to combine, sprinkle with a few more scallion pieces and serve, either at room temperature or chilled.

*Chili garlic sauce is available at Asian markets or in the international section of most supermarket.


Sweet Potato Oven Fries

Looking for a quick, healthy side dish? This just might do the trick. I love the simplicity of this, the preparation is about as minimal as could be and the tasty reward is significant. Try this as a yummy side with any grilled meat or poultry. However, my favorite is alongside a nice juicy grilled steak.

INGREDIENTS
2-3 sweet potatoes
olive oil
kosher salt
fresh ground black pepper
cayenne pepper, to taste
1-2 Tbs. pure maple syrup

DIRECTIONS
Preheat oven to 425º
First, wash and scrub the potatoes. Next, cut the potatoes in half, lengthwise and then cut each half into three or four lengthwise wedges. Place the wedges on a rimmed baking sheet, sprinkle lightly with the olive oil. Then add the salt, black pepper, cayenne pepper, maple syrup and toss to coat thoroughly.

Place into the preheated oven and roast for about 20-30 minutes, turning once or twice to ensure even browning. Because all ovens are different, check for doneness with a fork, it should be easily inserted. If it feels too firm, leave them in a bit longer. That’s it…serve immediately.

NOTES
Although this is my favorite, feel free to be more adventurous and use different spices or fresh herbs. You could replace the maple syrup with a tablespoon or two of brown sugar. I have tried this with both fresh rosemary and fresh thyme and loved it.


Quick Vegetable Sauté

I first made this on the recommendation from a close friend, quite some time ago. She shared how she prepared it and that the children actually REALLY liked it. Although it solved the age old issue of getting the little ones to eat their vegetables, it didn’t sound all that interesting, to me. However, once I made it, I was a convert. It was quite delicious and she was correct that the little ones would love it too. Over time, without the picky palates of little ones, I have added the fresh herbs and the kick of the red pepper.

This is a super fast, simple and tasty vegetable, that is also a very flexible “recipe”. It’s embarassing to even call it a recipe, because it is so basic and easy. Although it is a snap to make, the flavor does not disappoint. This can vary, depending on what you have in your frig and what you need to use up. You have some vegetables, herbs, cheese and you can’t or don’t want to go to the supermarket; pull them all out, be creative, and go with this basic formula.

INGREDIENTS
2 Tbs. butter
1 small summer squash
1 small zucchini squash
1 medium onion, sliced
pinch crushed red pepper
kosher salt & fresh ground pepper
grated parmesan, cheddar or mozzarella cheese
sprigs of fresh thyme, basil or mint, chopped

DIRECTIONS
First, place the butter in a large sauté pan or cast iron skillet, heat to medium high. Then, add the onion slices and cook until there is some translucency or light browning. Meanwhile, slice the squashes into thin rounds and add to the onions. Sprinkle with a bit of salt, pepper and crushed red pepper, to taste. Personally, I like a distinct kick, so I add a hefty pinch of the red pepper. Continue to sauté until tender but not too soft and make sure to leave them long enough to brown a bit. Finally, when nearly done cooking, sprinkle with the herbs, give a final toss to combine and top with the cheese of your choice or a combination of cheeses. Leave in the pan long enough for the cheese to melt (or place under the broiler to brown and bubble it) and then serve.

NOTES
One caveat regarding this being kid-friendly, they usually prefer the gooeyness of melted mozzarella, so try that one first.

Again, be creative, there is no right or wrong combination. Use what you have on hand. An onion and the herbs do add a tremendous amount of flavor. So, if you happen to have those, make sure to use them.


Simple, Delicious Baked Brie

Hard to imagine that so little effort could elevate this cheese from delicious, to extraordinary, but it does. A simple round of brie or camembert, add some olive oil, herbs, heat from the oven and in no time, you have an absolute winner. It’s a bit embarrassing to even call it a recipe, but here it is.

INGREDIENTS
1 round of brie or camembert
drizzle of extra virgin olive oil
several sprigs fresh thyme and/or rosemary

oven ready

DIRECTIONS
Preheat oven to 350º
Place the cheese in an oven proof dish that you will also serve it in. Make a few slits in the top of the cheese, drizzle with olive oil, add the thyme sprigs and place it in the oven for about ten minutes or until you can see it start to melt and ooze. Serve with some fresh crostini or your favorite crackers. That’s it, stand back and wait for the compliments!

cheese platter

NOTES
Many wonderful options for this include adding a drizzle of honey. Also, adding not just one, but a combination of herbs, you could add some dried cranberries and toasted walnuts. A handful of toasted, slivered almonds would work deliciously as well.