
Who will ever forget the winter of 2020?! It was a horrible one, by any standard. The Covid-19 pandemic brought about many changes in peoples’ lives and habits. One of the positive changes was families had a whole lot more quality time together. Additionally, a whole lot more baking was going on and the evidence was obvious at the supermarket. Although improving, for months it was nearly impossible to get your hands on any yeast or flour.
Sourdough definitely solves the problem of the yeast. However, the flour was another issue, that had no solution other than diligence, and constant checking. Whether ordering online, shopping in person or having others check when they shopped, there were no easy solutions.
Admittedly, delving into the sourdough process was a rather intimidating venture. I read, I watched videos, I learned, and then I just jumped in. Reassuring, were the numerous promises, that “even if it doesn’t look good, it will still taste good”. And they were absolutely spot on, the first couple of loaves were delicious, although definitely not perfect. However, I was hooked!
First, the starter. Again, easier than you think. No worries here, you will have a tough time “ruining or killing” your starter. If you already have a starter, terrific, and if not, here is a link to managing and purchasing your sourdough starter. Alternatively, I have plenty and would be happy to share, (while it lasts) if you happen to be local.
This recipe is adapted from Artisan Sourdough Made Simple, by Emile Raffa and I highly recommend getting this book. Another good resource is Flour, Water, Salt, Yeast, by Ken Forkish, you actually could get either one and have all you need to dig in and get started.
INGREDIENTS
1/4 cup (50g) of active starter
1-1/3 cups, plus 2 Tbs. (350g) warm water
4 cups, plus 2 Tbs. (500g) bread flour or all-purpose
2 tsp. (14g) fine sea salt
DIRECTIONS
First and foremost, I encourage you to use a kitchen scale; that is why I have included the weight measurements. That is the most accurate and believe me, it does make a big difference. If you don’t have a scale, go ahead and use the measurements given. However, if you are so inclined, buying a scale is very reasonable (here is one that I use). Honestly, it is infinitely easier than dirtying cups, bowls and measuring spoons.
Add the starter to a medium-sized bowl, then add a small amount of the water and whisk or stir to combine with the starter, until it looks like milk. This makes combining the two much easier than dumping all the water in at the same time and ending up with clumps, that take longer to smooth out. When fully incorporated, add the remainder of the water, stir to combine, then add the flour and sea salt. Combine until a stiff dough forms, then finish mixing by hand or with a pliable bench scraper, to fully incorporate the flour. The dough will feel dense and shaggy, and it will stick to your fingers as you go. Scrape off as much as you can. Cover with a “shower cap”, bowl cover or a damp towel and let rest for 30 minutes.
After the dough has rested, wet your fingers, grab a portion of the dough and fold it over, pressing your fingertips into the opposite edge. Repeat, working your way around the dough until it begins to tighten. Check out this video, it will show you how to do this. It is quite simple and takes about 20 seconds to complete.
Cover the bowl with a damp towel and let rise overnight at room temperature. This will take about 8 to 10 hours and is ready when it no longer looks dense and has roughly, doubled in size.
In the morning, place the dough on a lightly floured surface. To shape it into a round, start at the top and fold the dough under itself, toward the center. Turn the dough slightly and fold over the next section of dough. Repeat until you have come full circle. Check out this video to help you visualize the process. Flip the dough over and let rest for 5 to 10 minutes. Meanwhile, line an 8″ or 9″ bowl with a towel and generously dust with flour. With floured hands, gently cup the dough and pull it toward you in a circular motion to tighten its shape. Then, place the dough into the bowl, seam side up. Again, cover the bowl and let it rest for 30 minutes to 1 hour.
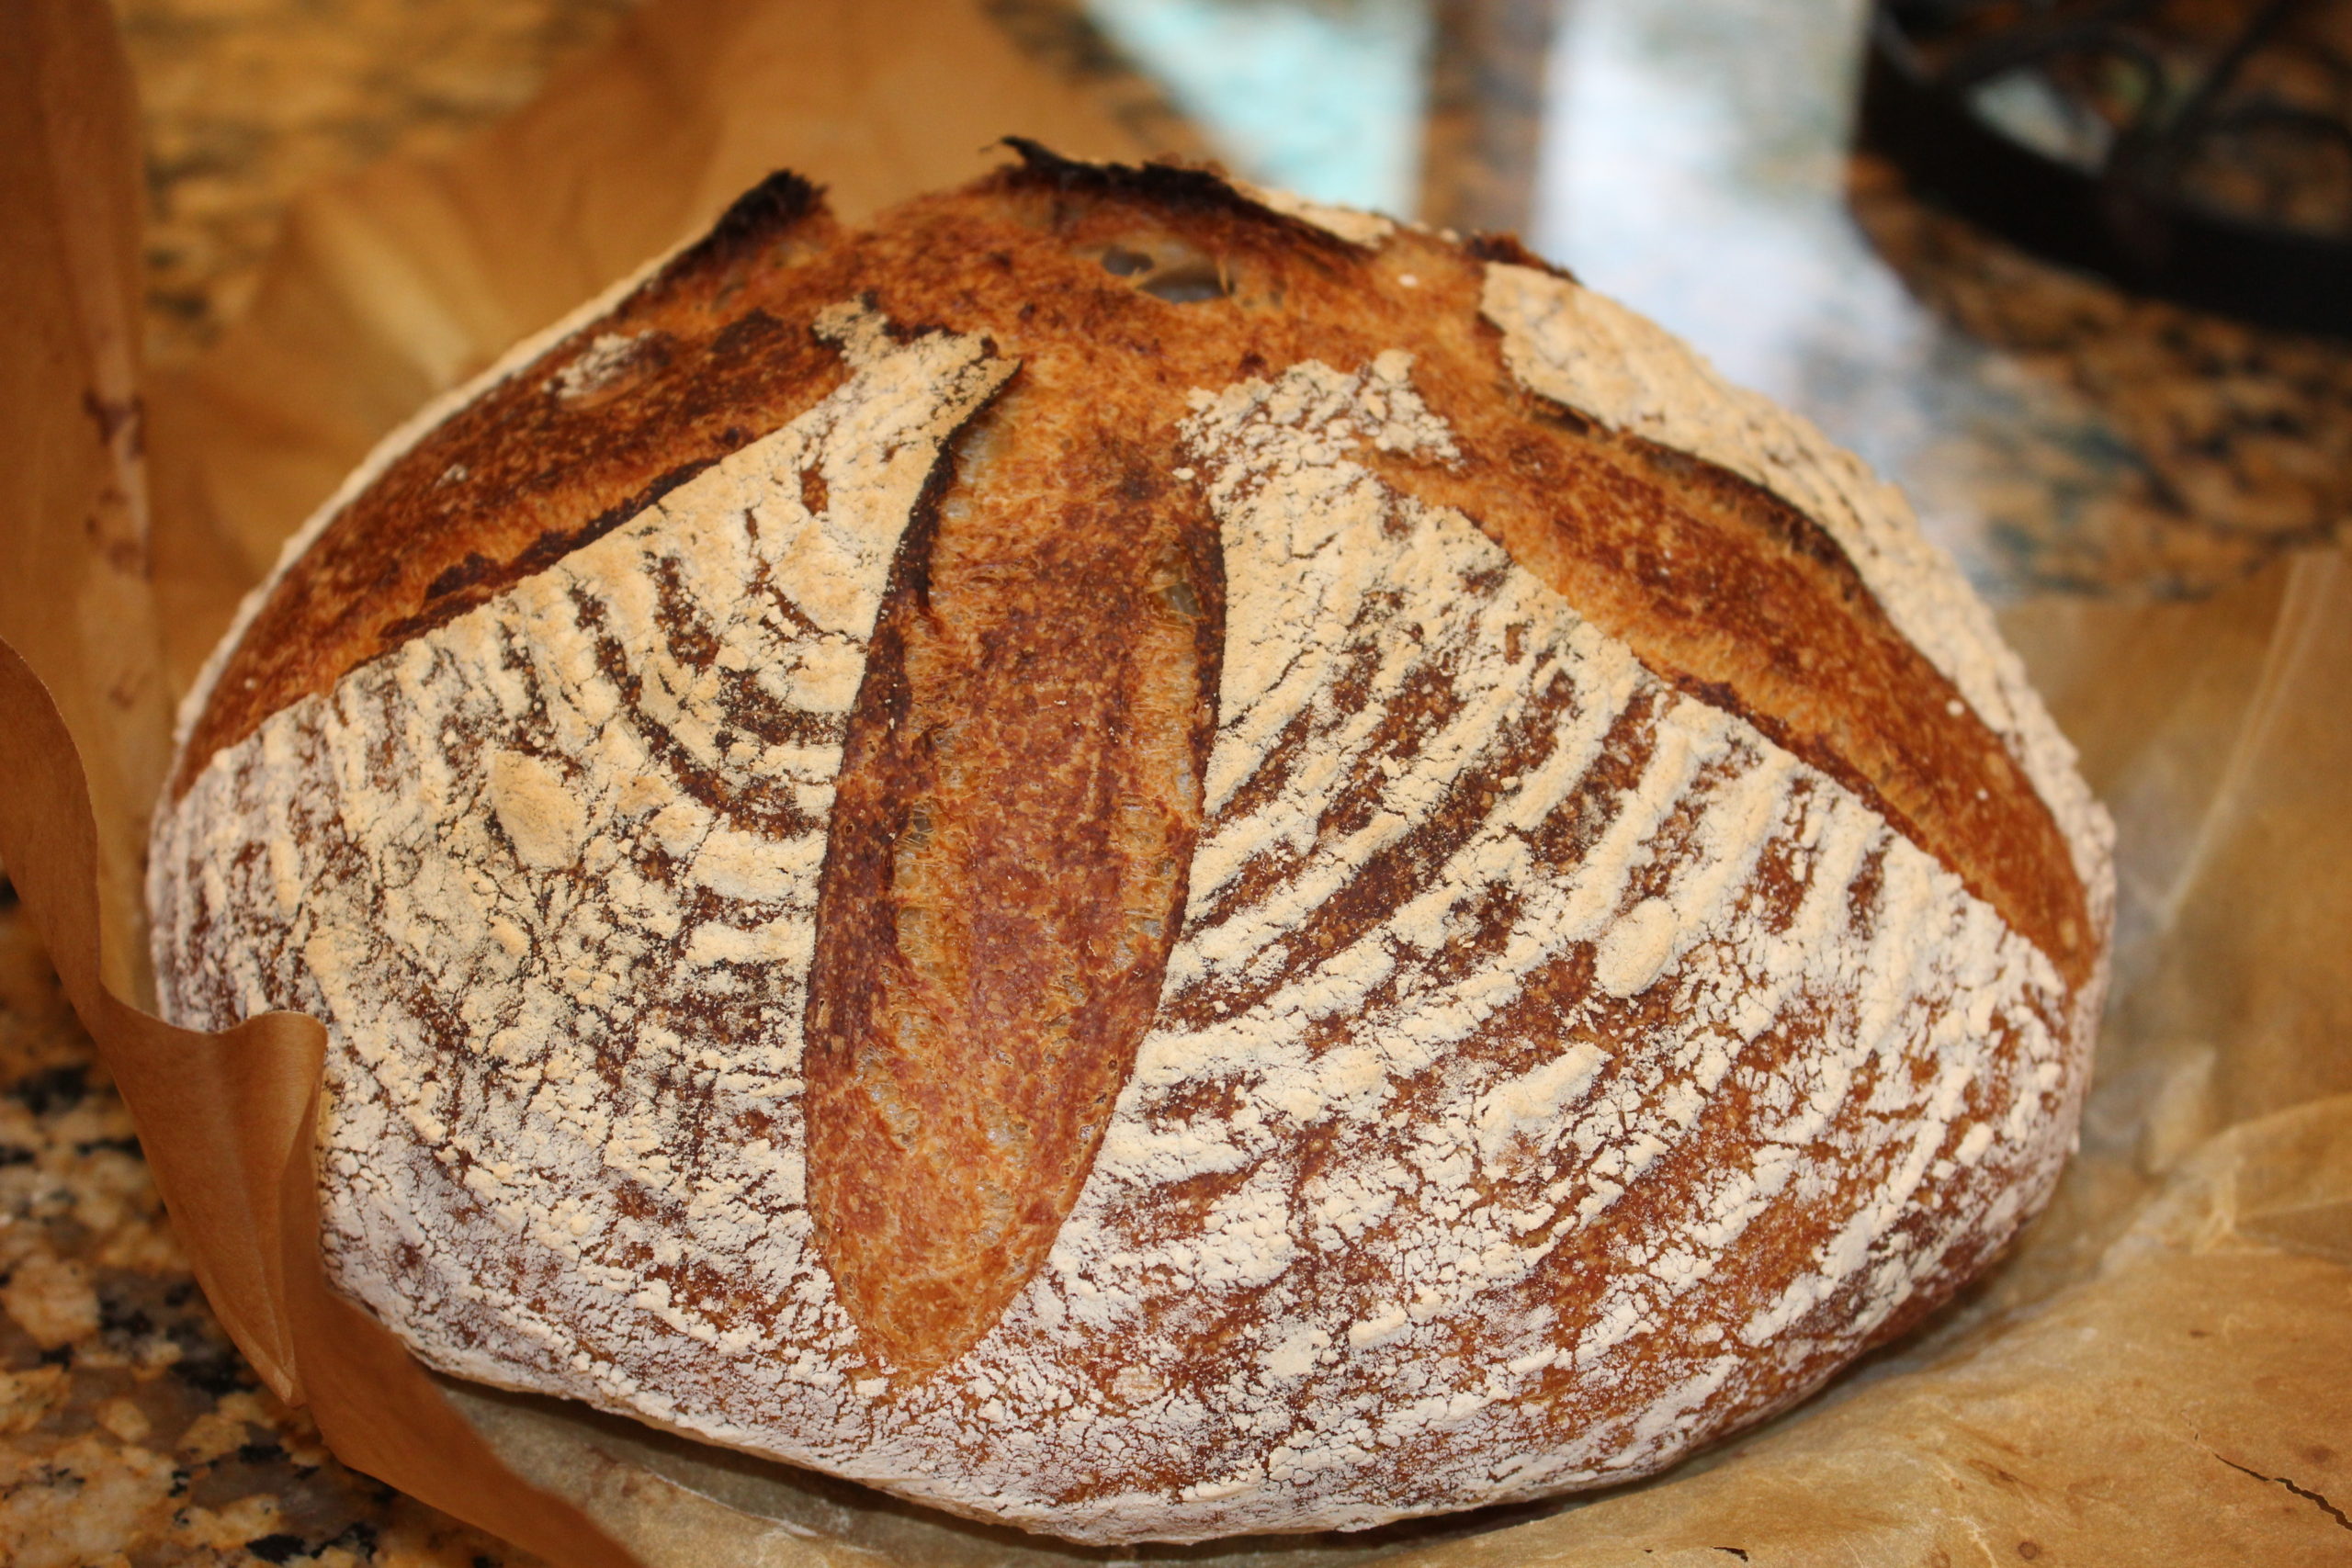
Meanwhile, preheat your oven to 500°F and move the rack to the lower third of the oven. The dough is ready when it looks puffy and has risen slightly. Take a sheet of parchment paper, cover the bowl and invert the bowl to release the dough. Using a very sharp knife or a bread lame, score the top in a cross-cut pattern or star pattern (see below), and transfer the dough to the dutch oven.

Bake the dough, covered, for twenty minutes. After twenty minutes, remove the cover, and continue to cook for 30 minutes more. If you prefer a darker crust, remove the loaf from the pot and place directly on the oven rack for an additional 5-8 minutes. Cool for a solid hour before cutting. This allows the inside to finish cooking; if cut too soon, the inside could be a bit underdone and gummy. Trust me, it is worth the wait!


Reader Comments