Homemade Chipotle Spice Rub for Ribs & Pulled Pork

Forget the store bought spice rubs! This is definitely a much better option, for two simple reasons. First, it doesn’t have all those preservatives and stabilizers found in mass produced rubs, and secondly, it comes together in mere minutes. Given how much is used when doing ribs or a pulled pork, the store bought options can get a bit pricey. This is an easy, versatile alternative, that also happens to be cost effective. To ensure that I always have it on-hand and ready for the next yummy recipe, I often make a double batch.

INGREDIENTS
2 Tbs chipotle powder
2 Tbs smoked paprika
1 Tbs garlic powder
1 Tbs cumin
1 Tbs coriander
2 Tbs salt
2 Tbs dark brown sugar

DIRECTIONS
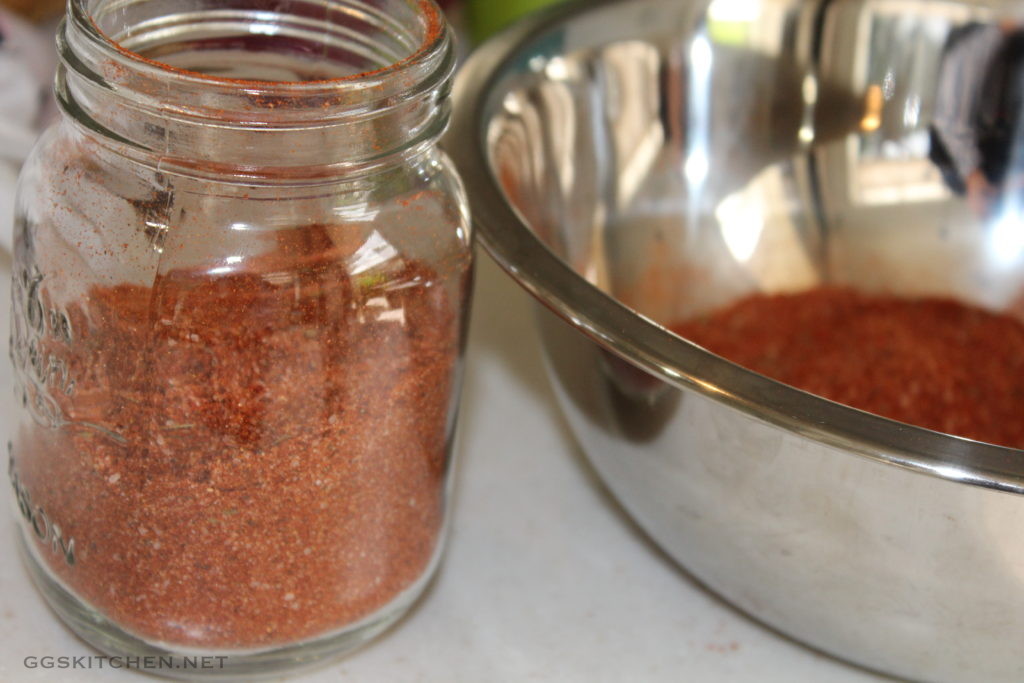
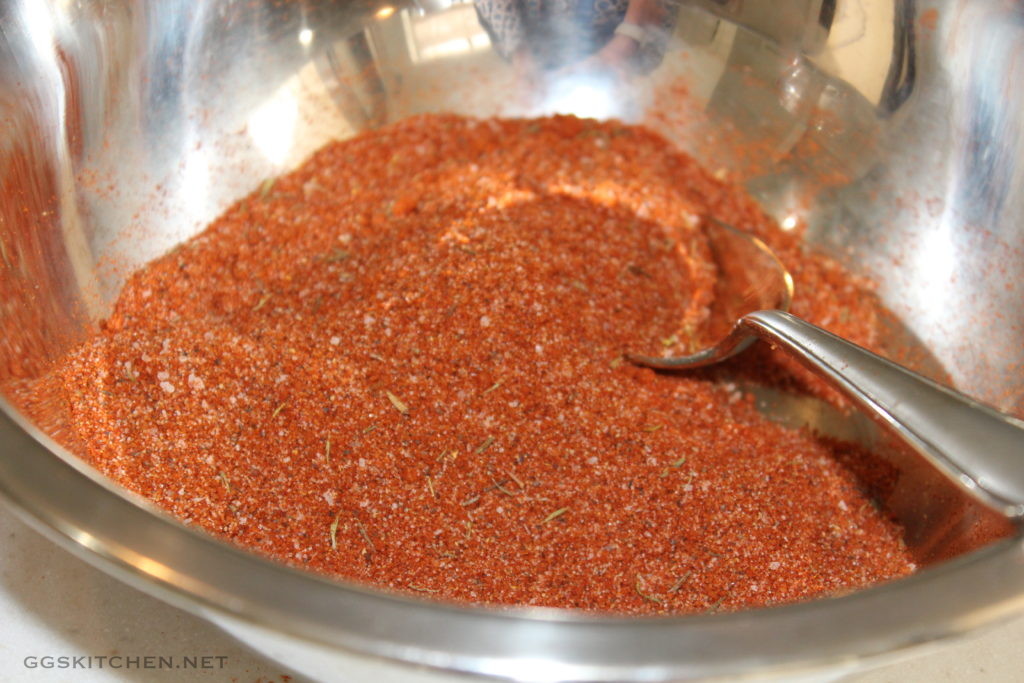
Place all ingredients in a bowl, stir well, and transfer to a glass jar for storage. It’s as simple as that.

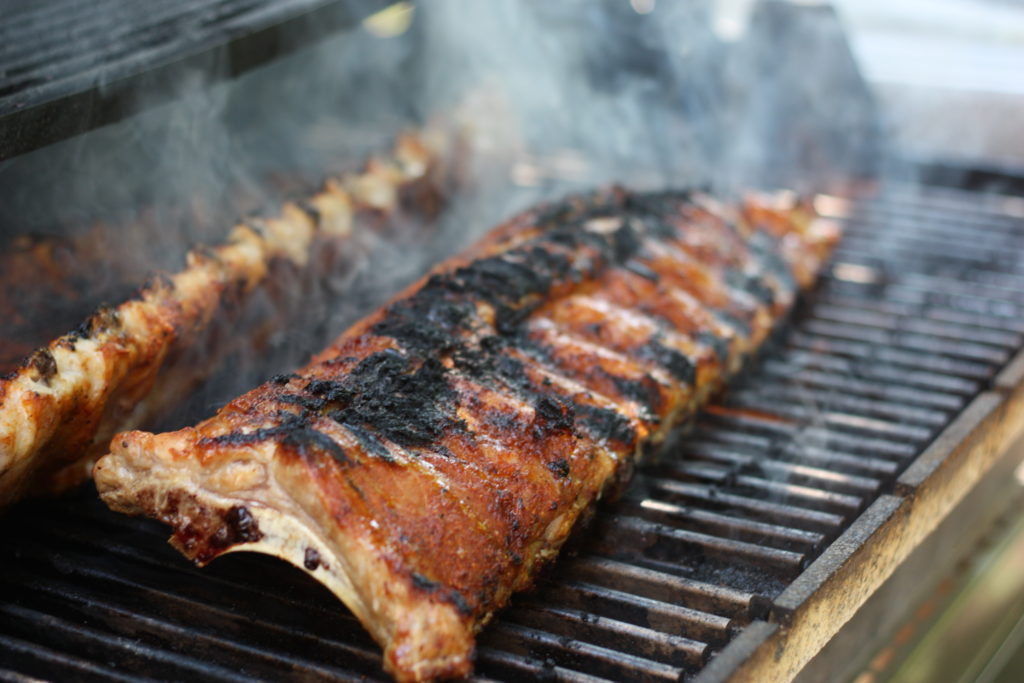
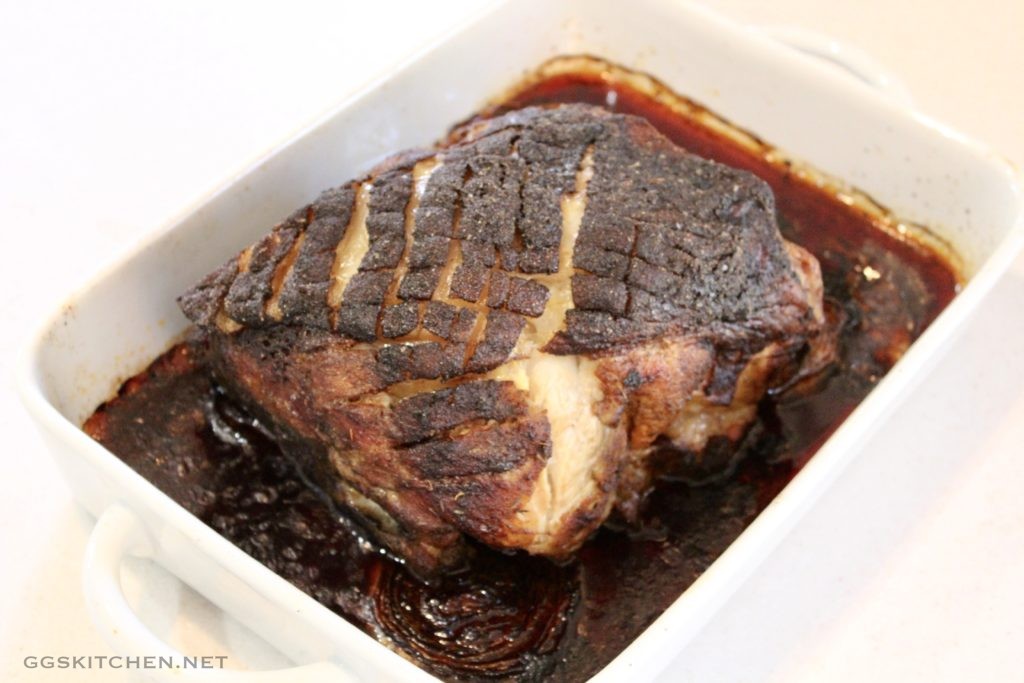
Try this the next time you make baby back ribs or when slow roasting a pulled pork. Although I haven’t tried it on chicken just yet, I think it would definitely be a worthy option.


Crunchy Celery, Feta and Chickpea Salad

Here is an easy, crowd-pleasing salad that I guarantee will be a big hit at your next barbecue. I just happened upon this yummy recipe on Instagram, it is almost a full take on one that Gaby, of What’s Gaby Cooking, was showcasing. It not only looks and tastes delicious, it’s a cinch to throw together. Think about this as a stand alone lunch or as a wonderful salad at your next barbecue. It pairs beautifully with almost any grilled meat or fish and certainly would be terrific with cheeseburgers.

There is a whole bunch of celery in this and that is not a mistake! I like celery, but I certainly don’t crave it. I do, however, crave salt and crunch and this salad satisfies both of those in spades. Gaby’s enthusiasm (and if you’ve ever visited her website, you know what I’m talking about) was infectious enough and I decided to just give it a whirl. It also didn’t hurt that I happened to have all of the ingredients on hand.

As written, it is incredibly crunchy and satisfying, however, it has endless possibilities beyond what I have here. So, feel free to add or delete according to your preferences. I’ve added a few suggestions in the notes section below. Just beware, the celery and the feta on their own are inherently salty. So, be careful how much salt you add, both in the dressing and on the ingredients. You can always add salt, but you can’t remove it!

INGREDIENTS
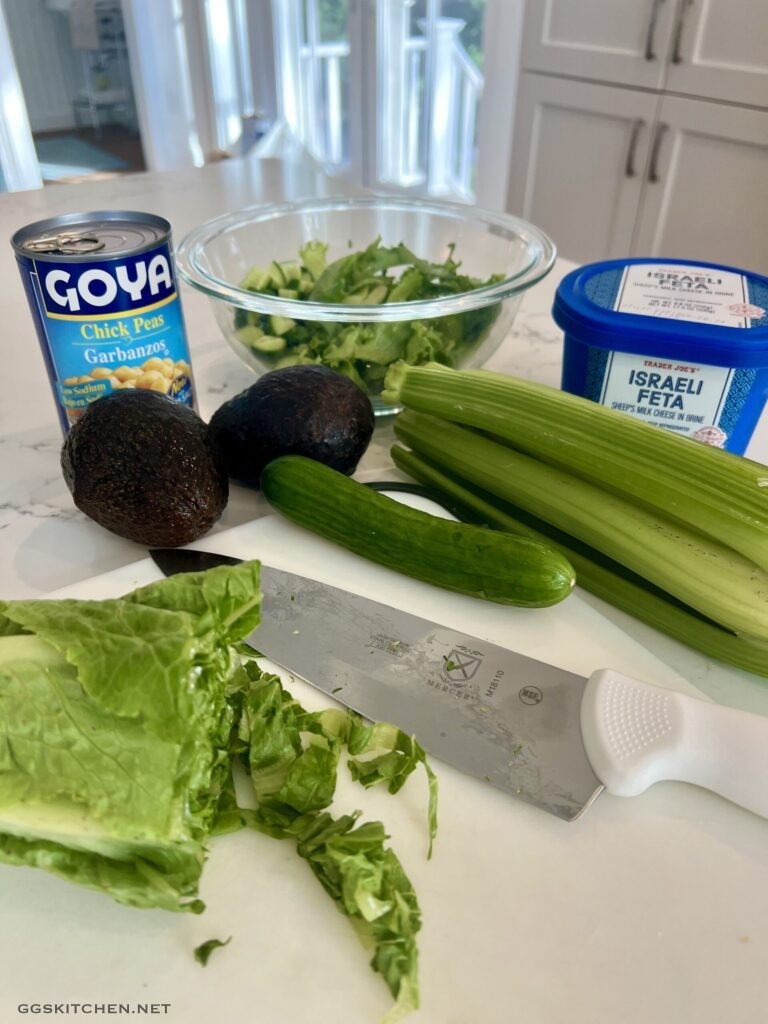
1 head romaine lettuce, sliced
2 persian cucumbers, diced
1 bunch celery, sliced
1 can (15 oz.) chickpeas, rinsed & drained
1/2 cup feta, crumbled or cubed
1-2 ripe avocados, diced

DRESSING
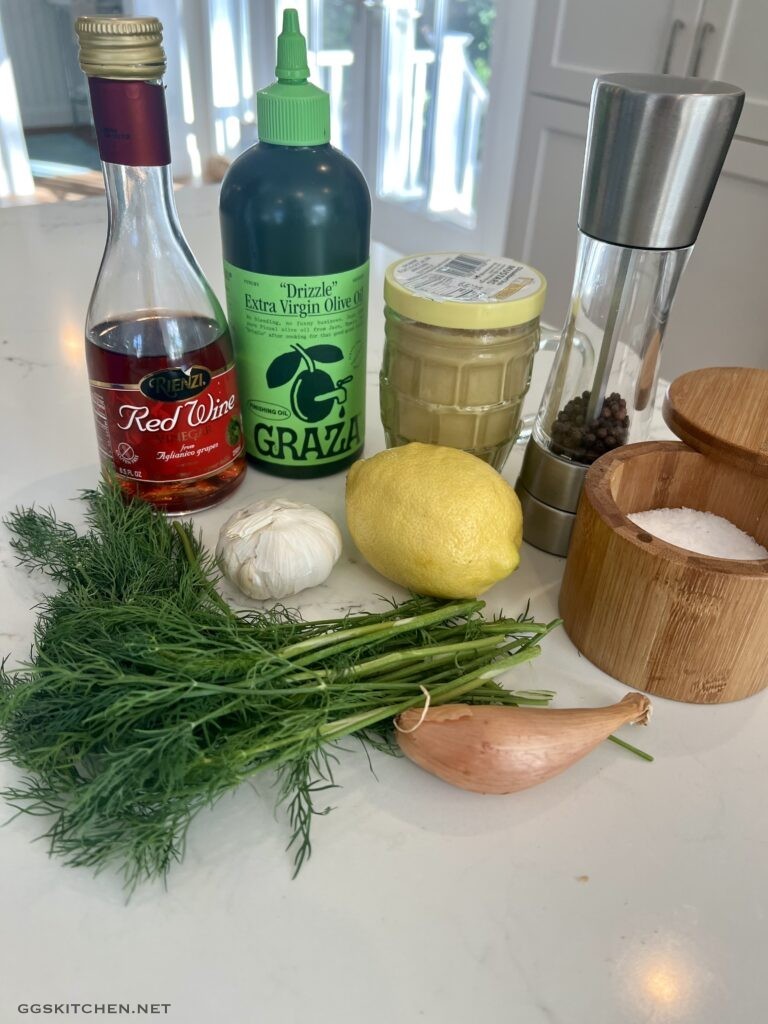
1 cup fresh dill
1 lemon, zested & juiced
2 cloves garlic
1 small shallot
1 Tbs. dijon mustard
2 Tbs. red wine vinegar
1 cup olive oil
kosher salt & fresh ground pepper, to taste

INSTRUCTIONS
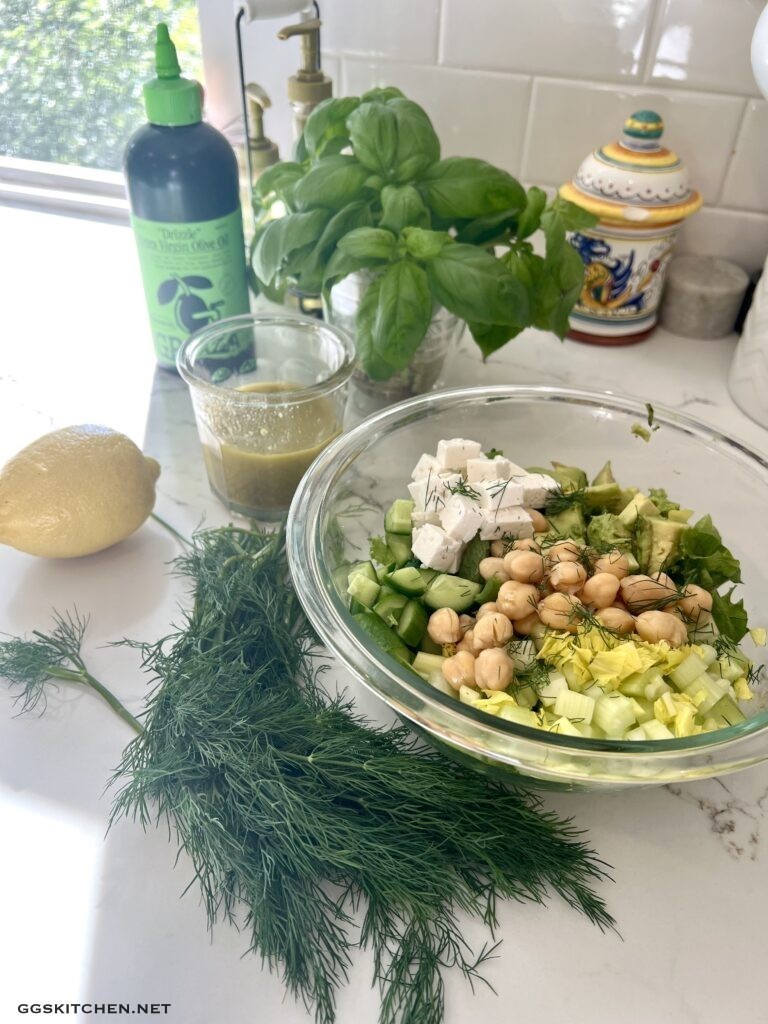
First, prep all of the vegetables and place in a large bowl. Then, combine all of the dressing ingredients in a blender or food processor. Blend all until smooth, check the seasonings, and add more salt and pepper as needed. Finally, when ready to serve, drizzle some of the dressing over the vegetables, toss to coat and serve immediately.

NOTES
I tend towards underdressing my salads, so initially, I would not use all of the dressing. Start with a light drizzle, toss to combine and then decide whether that is enough dressing for you. Add more as needed.

Also, the actual salad ingredients and amounts can be modified to your preferences, with no adverse effects. I often don’t add the chickpeas, because I don’t always have them on hand. However, they definitely do add not only a good amount of protein and fiber, but also some additional depth and texture to the overall salad. As always, play with the ingredient amounts to please your palate.

Regarding substitutions, if you don’t like feta, try goat cheese or even blue cheese, my husband’s favorite. He is always “suggesting” that blue cheese would be a great addition, and it is! You can sub in or out different lettuces, but I would definitely stick with the crunchy ones or a combination of crunchy ones. Also, consider adding in some olives, walnuts, toasted pine nuts or peperoncini for a little kick. Maybe some diced red bell pepper or some cherry tomatoes for color. A mixture of fresh herbs would also be yummy; try mint, basil, parsley or a combination to your liking. The one thing that I would not change however, is the dressing, I think it is perfect, delicious, and very refreshing just as written.


Quick, Simple Avocado Toast with Goat Cheese

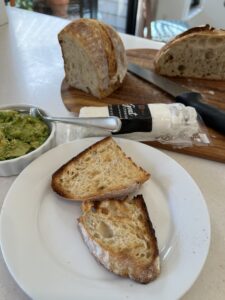
Well, this may seem silly to post about something as simple as avocado toast. However, hear me out before you dismiss this. There are so many variations of this and I dare say, this is the best or certainly one of the best I’ve ever had. It is insanely quick and simple to pull together and better than anything you get in a restaurant.

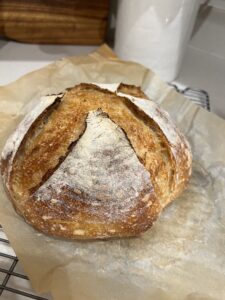
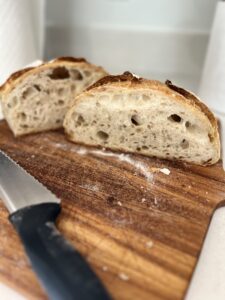
Now, as we all know, the simpler the recipe, the higher quality the ingredients should be. This is no exception, especially when it comes to the bread. If you don’t make your own sourdough, make sure to get a good quality loaf for this. However, if you’re feeling adventurous, you could always give it a try. Although there definitely is a learning curve, the effort is well worth it.

INGREDIENTS
2 slices fresh sourdough bread
1 ripe avocado
2 oz. goat cheese or marinated goat cheese
extra virgin olive oil
pinch of crushed red pepper
fresh ground pepper
kosher salt, any sea salt or fleur de sal

DIRECTIONS
First, soften the goat cheese a bit. Then, mash the avocado with a fork, add a drizzle of the olive oil, a pinch of red pepper, salt and pepper to taste. Stir to combine well. Alternatively, you could just slice the avocado, as opposed to mashing it. The choice is yours.

Next toast or grill the sourdough, to your liking, spread some of the goat cheese on the warm toast and then top with the avocado mixture. Finally, top it off with another few drops of the olive oil and a small sprinkle of the salt. Voilà, you’re done! Honestly, this is my all time favorite breakfast, I just never tire of it.


Summer Squash Gratin with Salsa Verde

Although everyone seems to have an abundance of summer and zucchini squash recipes, I think this one takes things to another level. I found it on smitten kitchen and have made very few modifications. If you are not familiar with that website, you need to check it out. Not only are the recipes terrific and easy to follow, but it is also quite entertaining; I love her subtle and dry sense of humor. Additionally, she has wonderful pictures of most steps taken when preparing her dishes.

INGREDIENTS:
Gratin
2 lbs. summer squash, any mixture is fine, smaller ones are better
1 tsp. kosher salt
1 1/4 c. panko
3 Tbs. butter
3/4 c. thinly sliced shallots, about 4 to 5
1 c. grated gruyere cheese
1/4 c. salsa verde (below)
Freshly ground black pepper

INGREDIENTS:
Salsa Verde
1 Tbs. thyme leaves
1/4 c. mint leaves, coarsely chopped
1 c. flat-leaf parsley, coarsely chopped
2 small cloves garlic
1 anchovy filet
1 Tbs. capers, drained
1/2 cup olive oil
1/2 lemon, juiced, or more to taste

DIRECTIONS
Salsa Verde
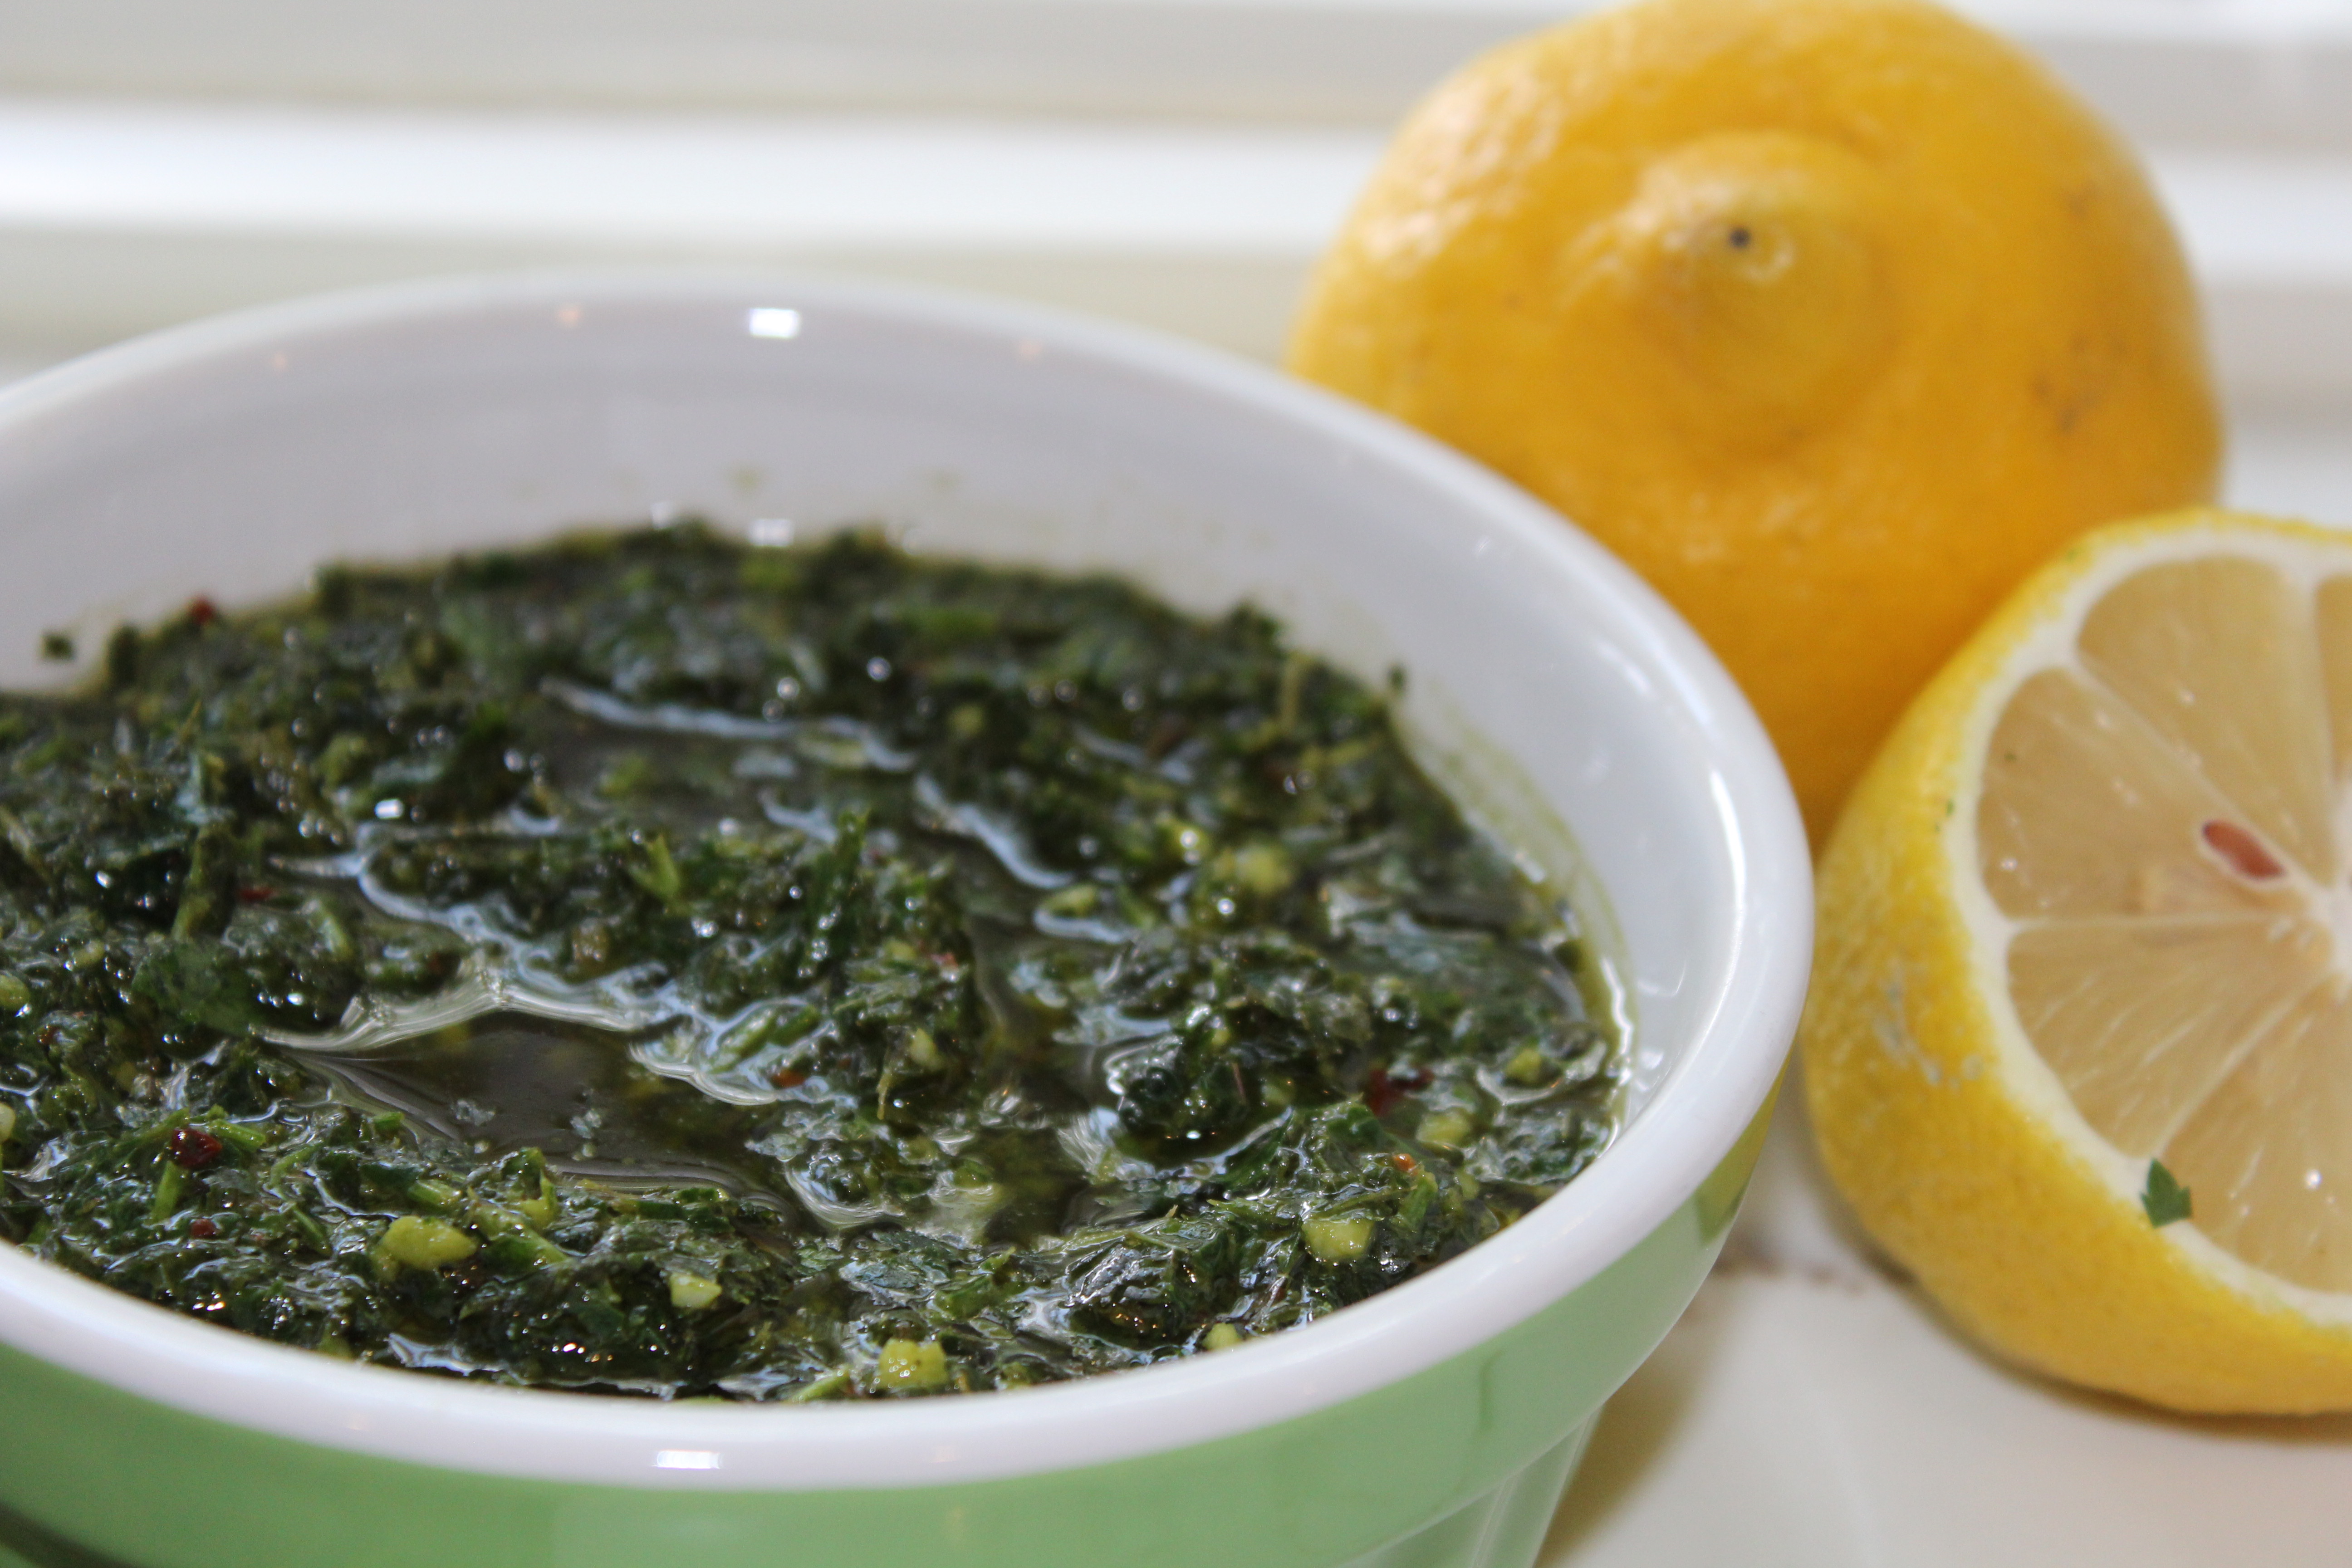
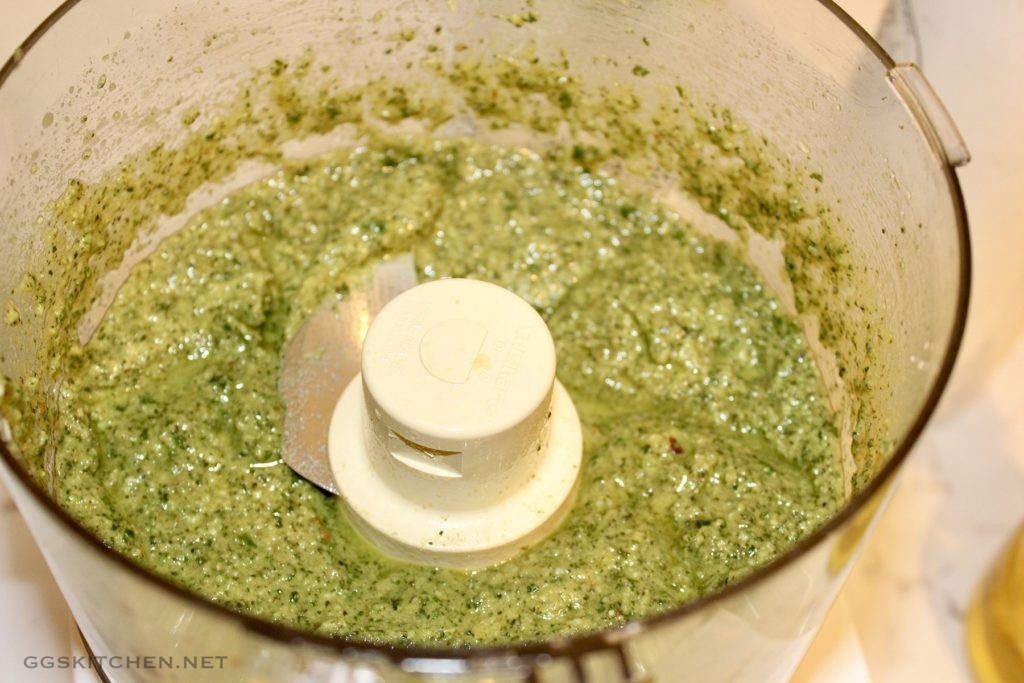
First, combine the herbs, garlic, anchovy and capers in a food processor until it is the consistency of a paste. Make sure to scrape the bowl when needed. Next, with the machine running, slowly drizzle in the olive oil. Then, when fully emulsified, season with kosher salt, fresh ground pepper and lemon juice and set aside. You can actually do this a day or two ahead of time, if you wish.

salsa verde

DIRECTIONS
Gratin
Preheat oven to 400°F.
First, cut the squash into very thin coins, toss them with one teaspoon of kosher salt and place them in a colander to drain for about 10-15 minutes. You can then dry them briefly, on paper towels, before placing them into a large mixing bowl.

Meanwhile, place the breadcrumbs in a small bowl. Then, melt the 3 tablespoons of butter in a small pan and cook until it browns a bit and has a nutty aroma. Next, pour the melted butter (make sure to scrape out all of the little brown bits) over the breadcrumbs and toss to fully coat them.

Next, add half the breadcrumbs, shallots, gruyere, 1/4 cup salsa verde (about half) and some freshly ground black pepper to the bowl with the summer squash and toss well to combine. Then transfer the mixture to a 9-inch cast-iron skillet, or a 9″x9″ baking dish. Finally, scatter remaining breadcrumbs over the top and bake for 35 to 40 minutes or until the squash is tender and the crumbs are crisp.

NOTES
Just an FYI, I tried this without salting and draining the squash (because I forgot!) and it turned out just fine. So, if you can’t be bothered with that step, leave it out. Also, don’t really worry about the slice thickness too much, it works quite well even if they are not super thin. The 400º temperature for 35-40 minutes is definitely enough to cook the squash through.


Sunflower Crunch Salad

I must admit, this salad is rather deceiving, in a good way. Although the ingredients look ordinary enough, the finished product is nothing short of delicious, satisfying and I dare say, addictive. My husband who is no fan of “foo-foo” salads, can’t get enough of this one. I first had a version of this with a group of ladies. There was plenty of chit chat, until lunch came, and then there was silence, for several minutes. Three of the four of us had ordered this salad, and after several minutes, someone finally looked up and commented how incredibly delicious it was. The dressing definitely is what makes it and the ingredients just have a wonderful balance of crunch and sweetness, that pulls it all together nicely. So, here you have my best imitation of it and hopefully you have the same reaction after trying it for yourself.

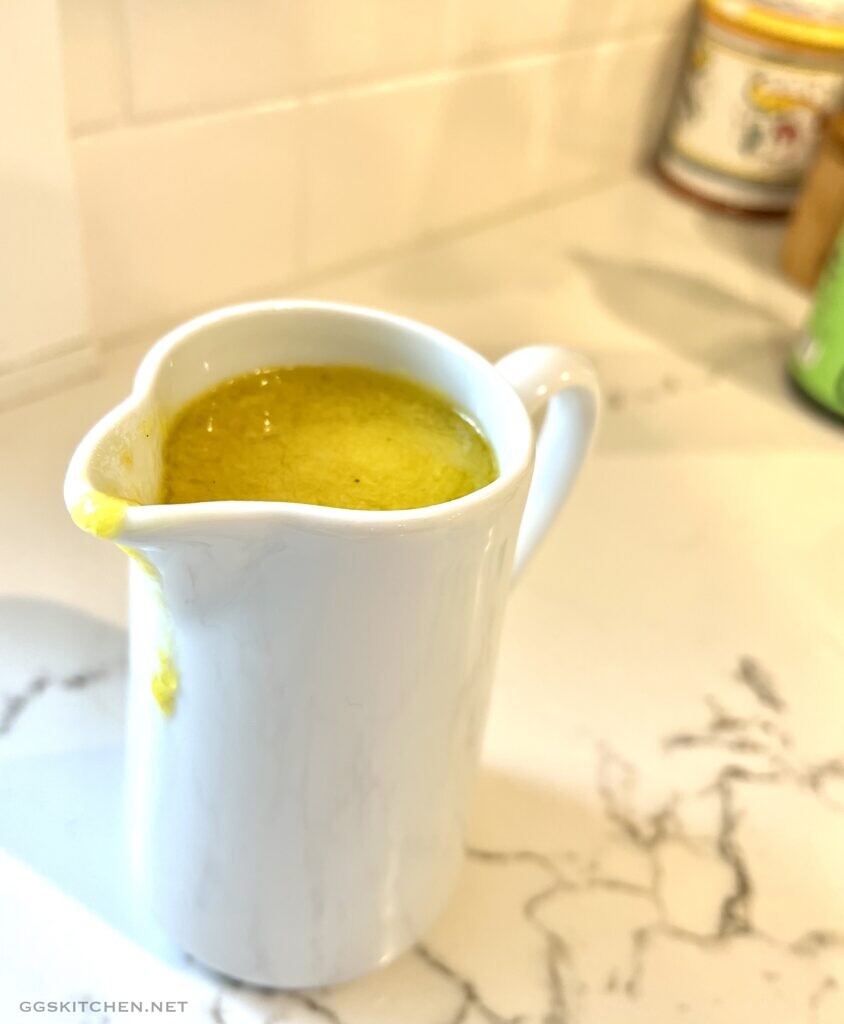
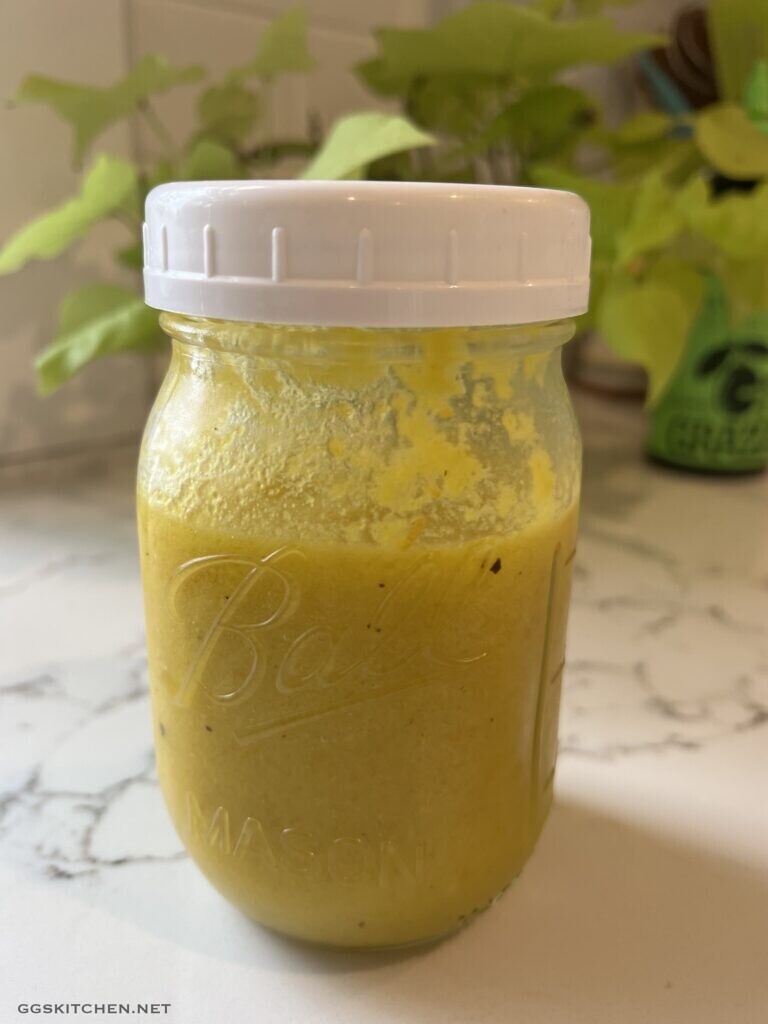
Ginger Citrus Vinaigrette
1 medium orange, zested, then juiced
1 cup extra virgin olive oil
1/2 cup rice wine vinegar
2 Tbs. honey
1/4 tsp. kosher salt
1/8 tsp. fresh ground pepper
3/4 inch piece fresh ginger, finely minced or grated
1 small garlic clove, finely minced or grated

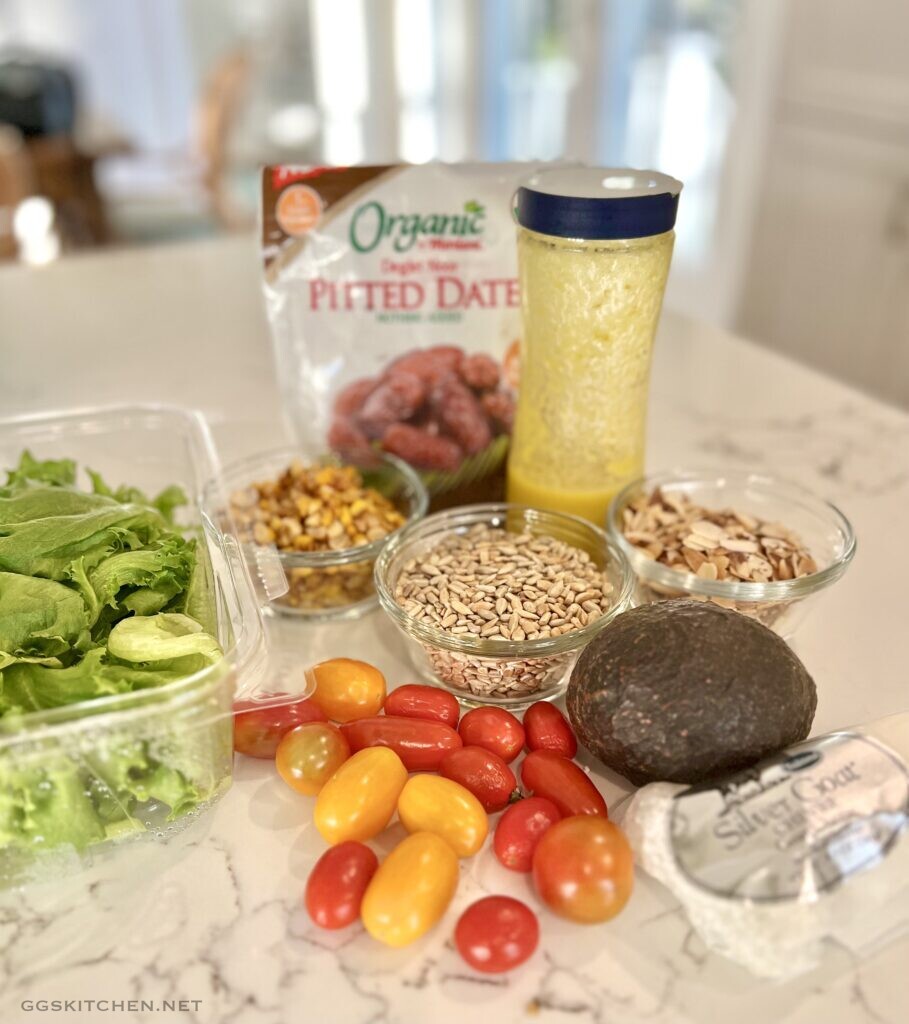
SALAD INGREDIENTS
crunchy greens, Little Leaf is my favorite
avocado
grilled corn, 1 or 2 ears, cut off the cob
fresh dates, sliced into thin strips
goat cheese
slivered almonds, toasted
sunflower seeds, I prefer roasted & salted
cherry tomatoes, halved

salad ingredients

DIRECTIONS
First, let’s make the dressing and it couldn’t be easier. Place all of the ingredients in a blender and whirl it up, until emulsified. Alternatively, you can just use a jar and shake until well combined. That’s it! I do recommend making this ahead of time and letting the flavors blend and mellow nicely. This makes more than you will probably need for the salad, but no worries, it keeps well for several days.

When ready to serve, place the lettuce into a large bowl. Then, add the remaining ingredients to the lettuce, season with salt and pepper and then drizzle the dressing over everything. Be careful, and go light on the dressing at first. There is nothing worse than an overly dressed, soggy salad. You can always add more, but you can’t take it out. Toss well to combine, give it a taste, and if needed, add more dressing, more salt and pepper, enjoy!

NOTES
The lack of specific amounts on the salad ingredients list is intentional. There really is no exact amount that is right or wrong. I usually put in what I think is enough lettuce for the number of people I’m looking to serve. Regarding the other items, I usually just eyeball it, putting in a handful of each. Although I do love almonds, so I put in a bit more of those. Also, if you’re a not a big fan of dates, I still strongly urge you to try them. They are in small pieces and they add a wonderful touch of sweetness to the salad, without overpowering it.


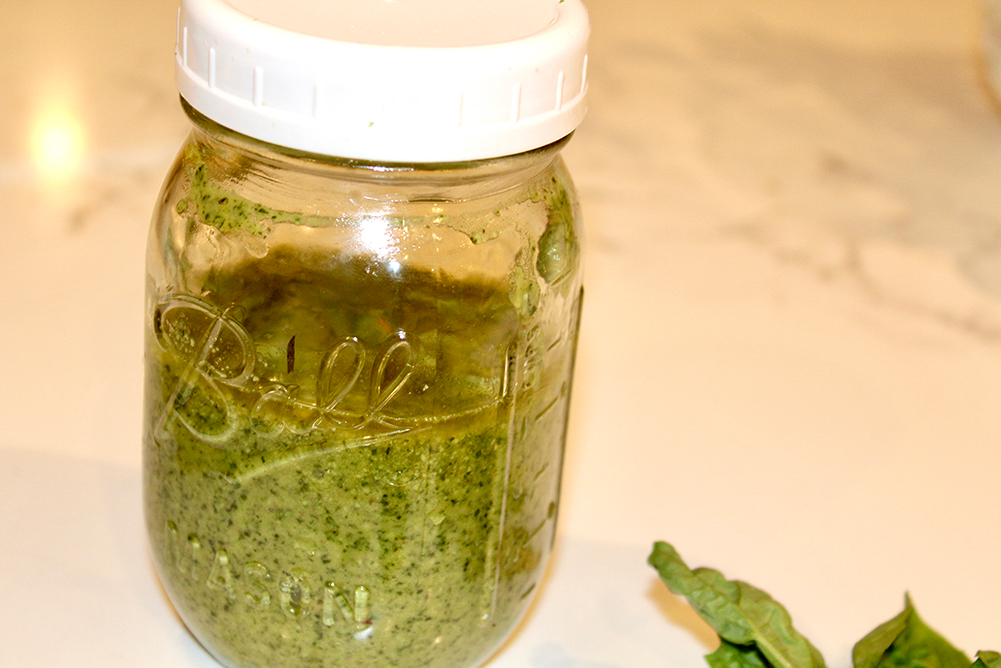
Basic Pesto

Come mid-summer, when you have an overabundance of fresh basil, dive into this simple and delicious recipe. Pesto is yummy on just about anything, from pasta, to sandwiches, salads and of course, pizza.

INGREDIENTS
1/3 cup walnuts or pine nuts
2 large garlic cloves, roughly chopped
2 cups gently packed fresh basil leaves
1/2 tsp. salt
1/4 tsp. ground black pepper
2/3 cup extra virgin olive oil
1/2 cup freshly grated Parmigiano-Reggiano

INSTRUCTIONS
Place the walnuts and garlic in the bowl of a food processor fitted with a steel blade. Process until coarsely chopped, about 10 seconds. Add the basil leaves, salt, and pepper and process until mixture resembles a paste, about 1 minute. With the processor running, slowly pour the olive oil through the feed tube and process until the pesto is thoroughly blended. Add the Parmesan and process a minute more. Use pesto immediately or store in a tightly sealed jar or air-tight plastic container, covered with a thin layer of olive oil (this seals out the air and prevents the pesto from oxidizing, which would turn it an ugly brown color). It will keep in the refrigerator for about a week.

NOTES
Pesto can also be frozen, in an airtight container, for up to 6 months. Try pouring the pesto into an ice cube tray and freeze. Once it’s frozen, remove the pesto cubes from the tray and put them in a resealable plastic bag or airtight container. You can add the frozen or defrosted cubes to soups, pasta dishes, sandwiches, potatoes and more.


Chocolate Cake with Mocha Frosting

If you are looking for a special treat for the birthday person, or a dinner party, you need to give this a try, I promise you won’t be disappointed. This is my go-to recipe for chocolate loving birthday girls (or boys of course) and I give full credit to Ina Garten, aka, Barefoot Contessa. The beauty of this is that you can have full confidence the very first time making one of her recipes. No fiascos, no surprises and more importantly, you know it will be an instant hit. This cake is no exception. Also, there is no question that this is a bit more involved than a box cake mix, but the little bit of added time is well worth the effort.

INGREDIENTS
12 Tbs. butter (1 1/2 sticks), room temperature
2 cups sugar
1 Tbs. pure vanilla extract
3 extra large eggs, room temperature
1-3//4 cups all purpose flour
1 tsp. baking soda
1 tsp. kosher salt
2/3 cup hot tap water
2/3 cup unsweetened cocoa powder, Pernigotti or Droste are good ones
1 tsp. instant espresso powder
2/3 cup half and half

DIRECTIONS
Preheat the oven to 350 degrees. Grease a 9 × 13 × 2 inch baking pan, line it with parchment paper, then grease and flour the pan.

First, place the butter and sugar in the bowl of an electric mixer, fitted with the paddle attachment and beat on medium speed for 4 to 5 minutes, until light and fluffy, scraping down the bowl. On medium speed, add the vanilla, then beat in the eggs, one at a time, until incorporated and the batter is smooth.

Next, sift the flour, baking soda, and salt together in a medium bowl. Then, in another bowl or a liquid measuring cup, whisk together the hot water, cocoa powder, and espresso powder until smooth. Add the half-and-half and whisk until smooth.

Now, with the mixer on low, add the flour and chocolate mixtures alternately in thirds, starting and ending with the flour. With a rubber spatula, scrape down the bowl to be sure the batter is well mixed. Then, pour the batter into the prepared pan, smooth the top, and bake for 25 to 35 minutes, until a cake tester inserted in the center comes out clean. Cool completely in the pan. Turn out onto a flat platter or board, remove the parchment paper and frost the top with the mocha frosting. Cut in squares, add a dollop of vanilla ice cream and serve.

MOCHA FROSTING INGREDIENTS
12 oz. bittersweet chocolate, (Lindt) 1/4″ chopped
3 Tbs. butter, room temperature
2 tsp. instant espresso powder
1-1/4 cups heavy cream
1 tsp. pure vanilla extract

DIRECTIONS
Meanwhile, place the chocolate, butter, and espresso powder in a bowl. Heat the cream to a simmer and pour it over the chocolate mixture, stirring occasionally, until the chocolate is melted. (If the chocolate isn’t melted, microwave the mixture for 15 seconds.) Add the vanilla and stir until the mixture is smooth. Cover and refrigerate for 30 minutes only, until cool but not cold.

Finally, scrape down the bowl and beat the frosting with a handheld mixer on high speed for 15 to 20 seconds only, until the mixture forms soft peaks. (If you overbeat it, it will curdle!) Spread on the cake immediately with a metal spatula.

NOTES
Not to worry if you don’t have either of those high-end cocoa powders or chocolate, you can definitely use the run of the mill supermarket version. However, remember that the better the chocolate, the better the flavor.


Rigatoni Toscano

This dish is inspired by a meal that I had a few years ago at Toscano, on Beacon Hill, in Boston. It is located on Charles Street, in one of the more charming sections of the city. If you’re ever in the area, you definitely should give it a try.

Although I never wrote them for the recipe, I just couldn’t stop thinking about it. I finally just tried to recreate it from memory and the list of ingredients on their menu. Don’t be deterred because it looks like a lot of ingredients, it really is quick to pull together. I also do recommend giving it some time to sit and let the flavors meld a bit. So, making the sauce in the morning or the day before works great. This is absolutely one of the best pasta dishes that I have ever made. A little hint, it’s the double smoked bacon that takes this over the top.

INGREDIENTS
4-5 oz. double smoked bacon, finely chopped (see notes below)
1/4 cup water
1 Tbs. extra virgin olive oil
2 Tbs. butter
1 medium onion, finely chopped
1 Tbs. tomato paste
7-8 sage leaves, more for garnish
pinch crushed red pepper
1/2 tsp. salt
1/2 tsp. fresh ground pepper
28 oz. can whole tomatoes, crushed
1/4 cup heavy cream
fresh grated parmesan
finely chopped Italian parsley, for garnish
1 lb. rigatoni or other large tubular pasta

DIRECTIONS
First, put the bacon and water in a large sauté pan and bring to a slight boil. Using the water, before frying the bacon, helps to render the fat out of the bacon. When all of the water has evaporated, add the olive oil, butter and cook the bacon until just barely crispy. You want some bite to it, but not too crispy.

Then, add the onion, tomato paste, red pepper and sage; toss to combine, season with salt and pepper and cook until the onions are soft and translucent. Next, add the tomatoes and simmer for an additional 5-10 minutes. I prefer getting to this stage early in the day (or the day before) and letting the flavors blend and bit.

Then, when ready to serve, reheat the sauce, add the cream and simmer for a few minutes to heat through and incorporate the cream. Meanwhile, bring a pot of water to a boil, add a large pinch of salt to the water and add the pasta. Cook the pasta until just al dente, save a cup of the pasta water and then drain. Pour the drained pasta directly into the sauce and stir to coat well. Add some of the pasta water to loosen the sauce, mix well and simmer for a few minutes. Please don’t skip this step. By finishing the pasta in the pan, with the sauce, you get an incredibly silky sauce that coats the pasta beautifully. Additionally, bits of the sauce sneak into the rigatoni, so each bite has all you need. Add some grated parmesan, toss to coat and serve with a garnish of finely chopped fresh sage and Italian parsley. Serve with a good crusty bread, (like my sourdough) to sop up the sauce, a simple salad and you’ll be in heaven.

NOTES
The double smoked bacon can be a challenge to find, but it is absolutely worth seeking out. Many gourmet markets, like Whole Foods or produce markets, like Wilson Farm in Lexington, MA now carry it. When all else fails, you can certainly get it from Amazon.


Spring Pea Salad

Looking for a wonderful salad/vegetable to kick off spring? Well, you’ve just found it and this is as beautiful as it is tasty. This is a mildly tweaked version of a Cook’s Country recipe and I think it’s a wonderful cross between a salad and a vegetable. The three vegetables are quickly blanched to enhance the green and still maintain their crunch. Add in some sliced radishes, fresh mint and a light, refreshing dressing and you have a match made in heaven! Try pairing this beauty with almost any grilled meat, however my personal preference is grilled lamb chops. Not only do the veggies go well with lamb, but the mint does as well. It really is a wonderfully refreshing combination that is a true crowd pleaser. An added bonus, it can be made well ahead and still maintain its wonderful crunch. Just don’t fully dress it until ready to serve.

INGREDIENTS
Dressing
1 garlic clove, minced
2 Tbs. lemon juice
1/4 cup extra-virgin olive oil
1⁄4 cup plain Greek yogurt
2 tsp. Dijon mustard
1⁄4 tsp. pepper

Veggies
4 oz. sugar snap peas, strings removed
6-9 oz. English peas (about 3⁄4 cup)
4 oz. snow peas, strings removed
1 Tbs. extra virgin olive oil
1 tsp. lemon juice
pinch kosher salt
2 oz. baby arugula (about 2 cups)
5-6 radishes, sliced into thin half moons
1/2 cup fresh mint, roughly chopped

DIRECTIONS
First, in a small bowl, whisk the dressing ingredients until well combined and set aside to allow the flavors to meld. Then, combine the garlic and 2 tablespoons of lemon juice in a separate bowl and set aside. Next, in a medium saucepan, bring 1 quart of water to a boil. Meanwhile, make an ice bath, for the blanched veggies, by filling a large bowl with ice and water, then place a colander in that bowl.

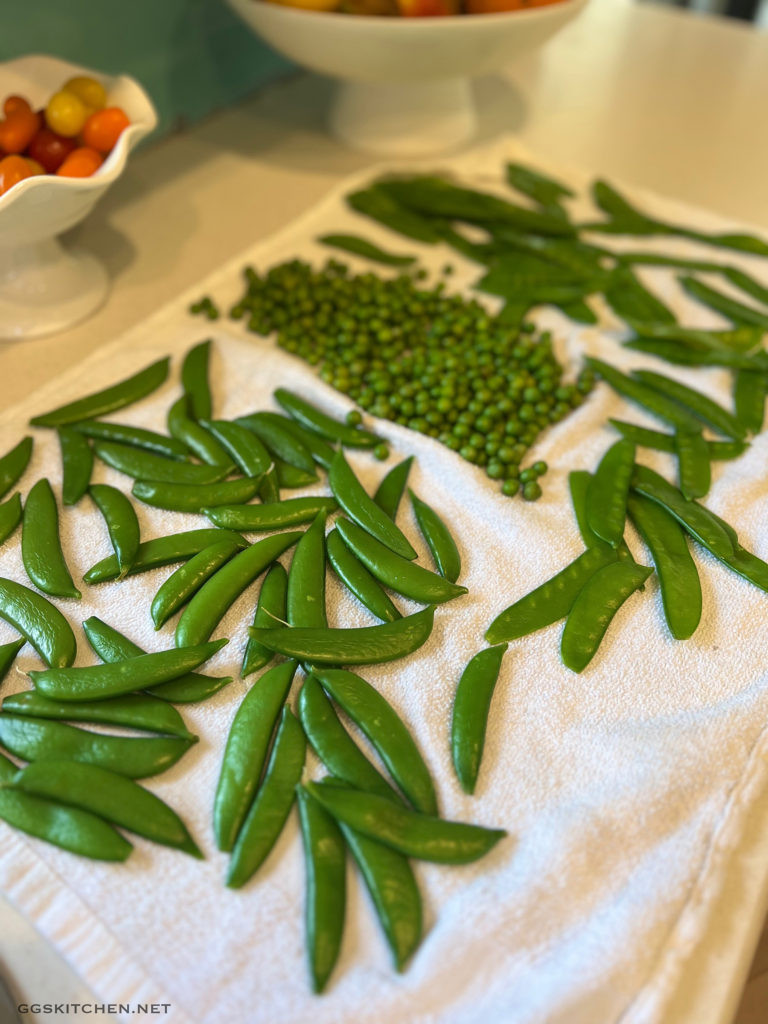
Once the water starts to boil, add 1 tablespoon of salt to the water and add the snap peas and cook just until bright green, but still crisp, no more than a minute. Using a skimmer or a slotted spoon, transfer snap peas to colander set in the ice bath. Swish them around for about a minute, until fully cooled and place on a clean kitchen towel to dry. Next add the English peas to the boiling water and do the same. Transfer to the colander, then to the towel for drying. Repeat this with the snow peas as well, however leave those in only long enough to brighten the color. If they stay in too long, they will not stay crisp. The sugar snap peas should be cut on the bias, into 1/2″ pieces and the snow peas should be sliced thinly and also on the bias. Don’t fuss over cutting them exactly, they will still be delicious even if they’re not perfect.

When all the peas are blanched, cooled, and dry, transfer to a bowl, add a teaspoon of lemon juice, a pinch of salt, the 1 tablespoon of extra virgin olive oil and toss to combine. Finally, when ready to serve, and up to an hour ahead of serving, spread a portion the dressing over the bottom of a large shallow bowl or serving platter. I like my salad lightly dressed, so I don’t use all of the dressing at once. You can always add more, but you can’t take it away! Only you can decide how much to use. Then, add the arugula, radishes and mint to the peas. Toss well to combine and pile the salad on top of the dressing. Serve immediately and make sure to scoop up some of the dressing when you do.

NOTES
If you can’t find fresh English peas, you can definitely substitute 3⁄4 cup of thawed frozen peas and there is no need to blanch those. Definitely don’t use canned, they would be too soft. Also, if your local market happens to carry Pero Family Farms vegetables, you’re in luck. They have each of the three fresh peas in small bags, they’re the perfect size needed for this recipe.

Additionally, you can obviously increase or decrease the amount of each vegetable, depending on your tastes or availability in your area. Although I do strongly recommend a combination, since it just makes it a more interesting salad.


Key Lime Pie

This is a classic dessert, that needs no introduction. However, making it fresh adds a whole new dimension to the yummy factor. I know many stores have a version of this, but honestly you can’t compare them to the homemade version. My first encounter with this recipe, was at a friends house for dinner (thanks Betsy) and I’m not sure I had ever had a homemade version of key lime pie. It was so delicious and everyone was talking about it. I have now made it several times and the reactions are always the same, it just never disappoints. An added bonus, when entertaining, you can make it well ahead of time and just keep it chilled.

INGREDIENTS
Crust
11 graham crackers
1/3 cup sugar
6 Tbs. butter, melted

Pie Filling
2- 14oz. cans sweetened condensed milk
1/2 cup light sour cream
zest from 2 regular limes or 4 key limes
3/4 cup key lime juice

Topping
1 cup heavy whipping cream
1/2 cup powdered sugar
1 tsp. pure vanilla extract

DIRECTIONS
Preheat the oven to 375º.
Roughly crumble the graham crackers into the bowl of a food processor and pulse until finely crumbled. Then, add the sugar and melted butter and process until it starts to stick together. Press the mixture into a 10″ pie pan and bake for 7 minutes. Set aside to cool for 20-30 minutes.

Reduce the oven to 350º.
Meanwhile, in a medium bowl, whisk together the sweetened condensed milk, sour cream, lime zest and lime juice. Pour the mixture into the pie crust and bake for 10 minutes. Cool for a bit and then refrigerate for 2- 3 hours. When fully chilled, whip the heavy cream, sugar and vanilla together, until stiff peaks form. Finally, spread the whipped cream over the pie, garnish with lime zest and if you wish to get fancy, a couple of thin lime slices.

NOTES
I have tried this with both key limes and regular limes. I’m not going to lie, I could tell the difference. However, I would not hesitate to use the regular limes if that’s all that was available. Also, be forewarned when using key limes, it can be a bit tedious because they’re tiny, so you need a lot…I think I used 30, to get the 3/4 cup!

Additionally, make sure that you zest the limes before juicing them. It’s nearly impossible to zest it after you’ve extracted the juice.